

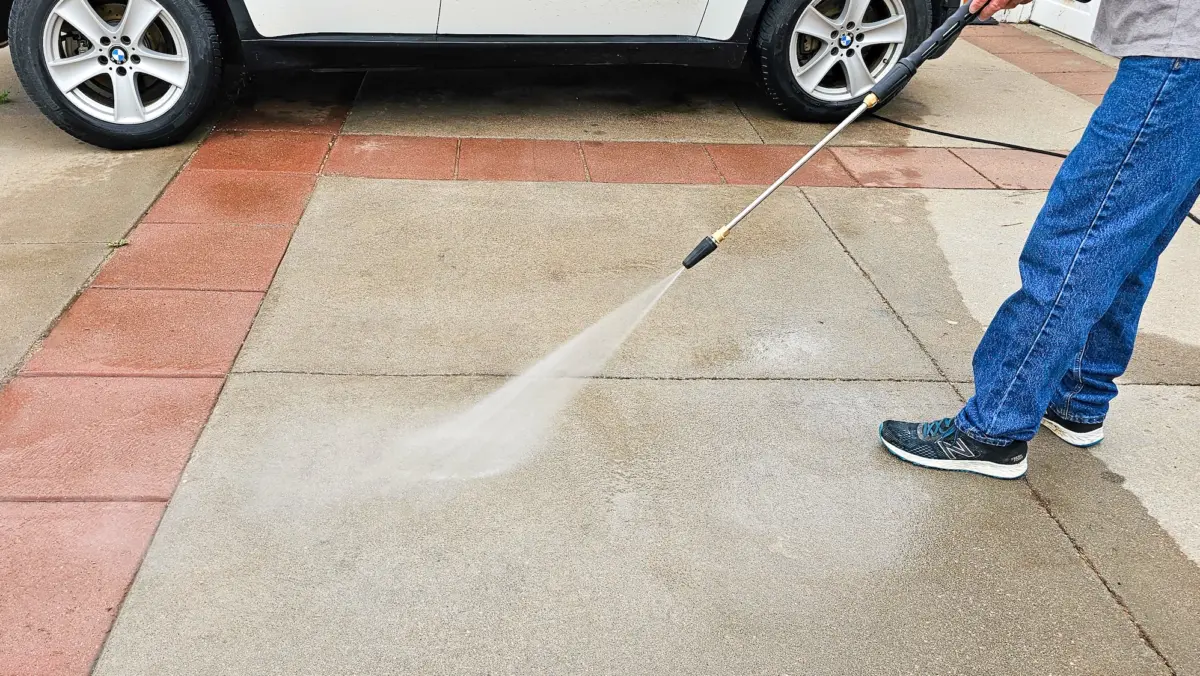
Over time, driveways silently bear the brunt of everyday life. Baked-on motor oil, tracked-in mud, stubborn algae, and years of accumulated environmental grime can quickly transform a once-pristine concrete surface into an eyesore that drags down your home’s overall curb appeal.
While renting or purchasing a pressure washer makes this an attractive do-it-yourself project, blasting away years of stains requires more than simply pointing a high-pressure nozzle at the ground and pulling the trigger. Incorrect equipment choices, inappropriate chemical cleaners, or improper technique can lead to permanent concrete etching, unsightly swirl marks, or striped surfaces that look worse than when you started.
To cut through the guesswork, we consulted industry expert Philip Arms of Arms Brothers Pressure Washing in Sugar Land, Texas. Drawing on professional insights, we have compiled a comprehensive guide to equipment specifications, vital safety protocols, step-by-step methodologies, and expert finishing techniques to help you restore your driveway safely and effectively.
Main Facts: What You Need to Know Before You Start
Achieving professional-grade results on a concrete driveway relies on balancing water pressure, flow rates, and chemical selection.
- The Age Rule: Concrete may appear indestructible, but it takes years to reach full structural integrity. Experts warn against pressure-washing concrete that is less than 3 years old. Applying high pressure too early strips away the protective "cream" layer of the concrete, causing permanent etching and structural compromise.
- PSI and GPM Sweet Spot: Your machine must strike a balance. Philip Arms recommends a pressure washer that outputs between 2,000 and 3,000 PSI (Pounds per Square Inch). Anything lower will fail to lift embedded grime; anything higher risks carving into or pitting the concrete. Furthermore, a flow rate of 4.0 GPM (Gallons Per Minute) is ideal for efficient coverage, though smaller residential jobs can manage with 2.5 GPM.
- The Financial Equation: Hiring a professional contractor to pressure-wash a standard driveway typically costs between $100 and $500 (averaging 30 to 55 cents per square foot, according to data from Angi). By contrast, tackling the project yourself using your own equipment and $15 to $20 worth of specialized cleaning solution can yield identical results for a fraction of the cost.
Chronology: A Step-by-Step Guide to Driveway Restoration
Executing a flawless driveway cleaning requires a disciplined sequence of preparation, chemical treatment, agitation, washing, rinsing, and post-treatment.
Step 1: Clear the Surface and Spot-Treat Stubborn Stains
Before introducing water or chemicals, clear all loose debris. Use a leaf blower or a stiff-bristle push broom to sweep away leaves, twigs, and loose dirt.
Once the surface is clear, inspect it for deep-set blemishes. While pressure washers excel at clearing general dirt, motor oil, transmission fluid, and dark algae patches require manual intervention. Apply a targeted alkaline-based degreaser or algaecide to these problem spots and agitate them with a stiff-bristle brush before moving to the main wash.
Step 2: Select and Load the Cleaning Solution
Selecting the right chemical is critical because concrete is vulnerable to chemical erosion.
- Alkaline-based degreasers are best for breaking down petroleum-based motor oil and vehicle fluids.
- Peroxide-based cleaners excel at lifting organic stains, mud, and general grime.
- Avoid harsh acids (such as muriatic or hydrochloric acid), which can eat away at the concrete matrix. If using bleach, ensure it is heavily diluted to prevent discoloration and weakening of the material.
Pour your chosen, concrete-safe cleaner directly into the pressure washer’s soap reservoir.
Step 3: Apply the Detergent Using Low Pressure
Attach the 65-degree low-pressure soap nozzle (typically color-coded black). This wide-angle nozzle drops the system pressure, activating the pressure washer’s siphon to draw the cleaning solution through the line.
- Always start at the lowest point of the driveway and work your way upward to prevent streaking.
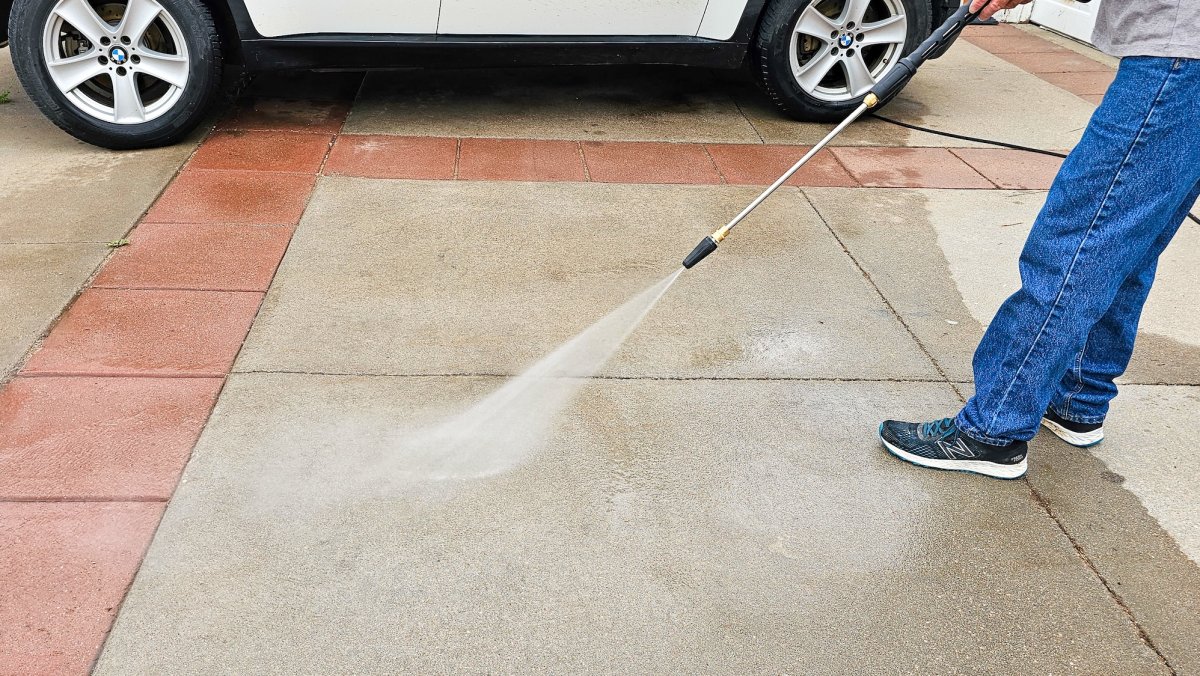
- Hold the wand roughly 12 to 18 inches from the concrete surface, sweeping it back and forth in smooth, overlapping motions.
- Allow the cleaning solution to dwell and penetrate the surface for approximately 10 minutes without letting it dry out completely.
Step 4: Execute the Pressure Wash (Two Methods)
When it comes to washing the driveway clean, you have two primary options: using a specialized surface cleaner attachment or relying strictly on the pressure washer wand.
Method A: Using a Surface Cleaner Attachment (Recommended)
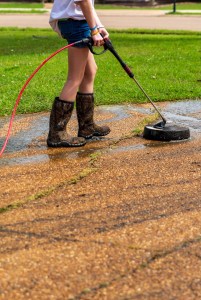
A pressure washer surface cleaner is a disk-shaped accessory featuring spinning internal wands enclosed beneath a 12- to 16-inch deck.
- Advantages: It covers ground significantly faster than a standard wand and eliminates the dreaded "zebra stripes" or swirl patterns commonly left behind by manual sweeping.
- Application: Because surface cleaners are exceptionally efficient, they often eliminate the need to pretreat the entire driveway with soap (though localized oil stains still require pretreatment). Simply guide the disk slowly and steadily across the concrete.
Method B: Using the Wand Only
If you do not own a surface cleaner, you must rely solely on the wand. Maintain a consistent distance from the ground (about 6 to 12 inches) and sweep the nozzle in uniform, overlapping horizontal passes. Move at a steady pace to avoid lingering too long in one spot, which can gouge the concrete.
Step 5: Rinse Thoroughly
Switch to a wide 40-degree nozzle on your wand and thoroughly rinse the entire driveway. Flush away all loosened dirt, debris, and residual detergent. Once rinsed, allow the concrete to dry completely before proceeding to the final step.
Step 6: Apply a Chlorine-Based Algaecide for Longevity
Most homeowners consider the job finished once the concrete looks clean, but industry professionals emphasize this final step as the secret to long-term results.
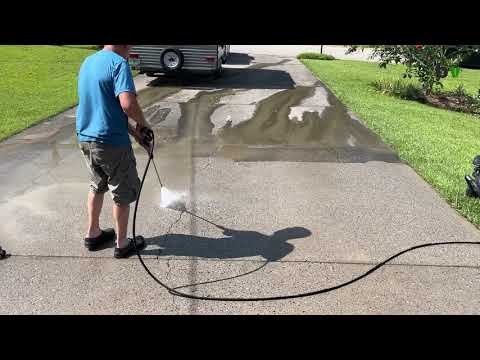
According to Philip Arms, applying a chlorine-based algaecide post-wash is crucial. "This step involves applying a chlorine-based algaecide that neutralizes all organic growth, gets rid of any pressure-washing lines, and keeps the concrete free from organic growth for 3 to 5 years under normal conditions," he explains.
Supporting Data & Equipment Specifications
Understanding the tools of the trade ensures you purchase or rent equipment capable of handling the job safely and efficiently.
| Equipment Component | Specification / Requirement | Purpose / Function |
|---|---|---|
| Water Pressure | 2,000 to 3,000 PSI | Lifts embedded dirt without etching or fracturing the concrete surface. |
| Water Flow Rate | 2.5 to 4.0 GPM | Determines how quickly and efficiently you can cover surface area. |
| Detergent Nozzle | 65-Degree (Black) | Lowers output pressure to activate soap-siphon capabilities. |
| Rinsing Nozzle | 40-Degree (White) | Provides a wide, gentle fan pattern ideal for final rinsing. |
| Surface Cleaner | 12- to 16-Inch Deck | Speeds up large flatwork projects and prevents striping marks. |
Official Insights: Expert Guidance from the Field
Operating a pressure washer is deceptively hazardous. Unlike a standard garden hose—which maxes out at a relatively harmless 80 PSI—residential and commercial pressure washers can easily exceed 3,000 PSI. At this velocity, water streams possess enough force to puncture human skin, sever tissue, or cause permanent, blinding eye injuries. Furthermore, high-pressure streams hitting concrete can send sharp chips of stone, sticks, and grit airborne at high velocities.
Essential Safety Checklist:
- Wear Personal Protective Equipment (PPE): Always wear ANSI-approved safety goggles, heavy-duty work gloves, long pants, and sturdy, closed-toe footwear (never wear sandals or sneakers).
- Beware of Electrical Hazards: If using an electric pressure washer, ensure all extension cords are rated for outdoor use and connections are kept well away from standing water. If operating a gas-powered unit, run it exclusively in well-ventilated outdoor spaces to avoid carbon monoxide buildup.
- Test in an Inconspicuous Area: Before unleashing full pressure on the main section of your driveway, test your nozzle distance and chemical mix on a hidden corner or edge to confirm it does not mar the surface.
Broader Implications: Curb Appeal, Structural Integrity, and Home Value
Maintaining your driveway extends far beyond immediate visual satisfaction. Routine maintenance plays a pivotal role in the broader ecosystem of homeownership:
- Preventing Long-Term Degradation: Left unaddressed, algae, mold, and trapped moisture can break down the porous structure of concrete, leading to premature cracking and spalling during freeze-thaw cycles. Motor oil and chemical spills soften the concrete binder, accelerating surface decay.
- Maximizing Real Estate Value: Curb appeal is often a buyer’s first impression. A clean, well-maintained driveway signals that a property has been meticulously cared for, enhancing perceived home value whether you are preparing to sell or simply investing in your neighborhood.
- Safety Enhancement: Algae-covered concrete becomes slick when wet, transforming your driveway into a slip-and-fall hazard for family members and visitors. Deep-cleaning and treating the surface restores necessary traction, making your property safer year-round.
By investing a Saturday into proper preparation, selecting the right PSI, and following professional sealing and algaecide protocols, you can transform your home’s exterior while saving hundreds of dollars in contractor fees.
