

By The Gardening & Horticulture Desk
Published: August 2026
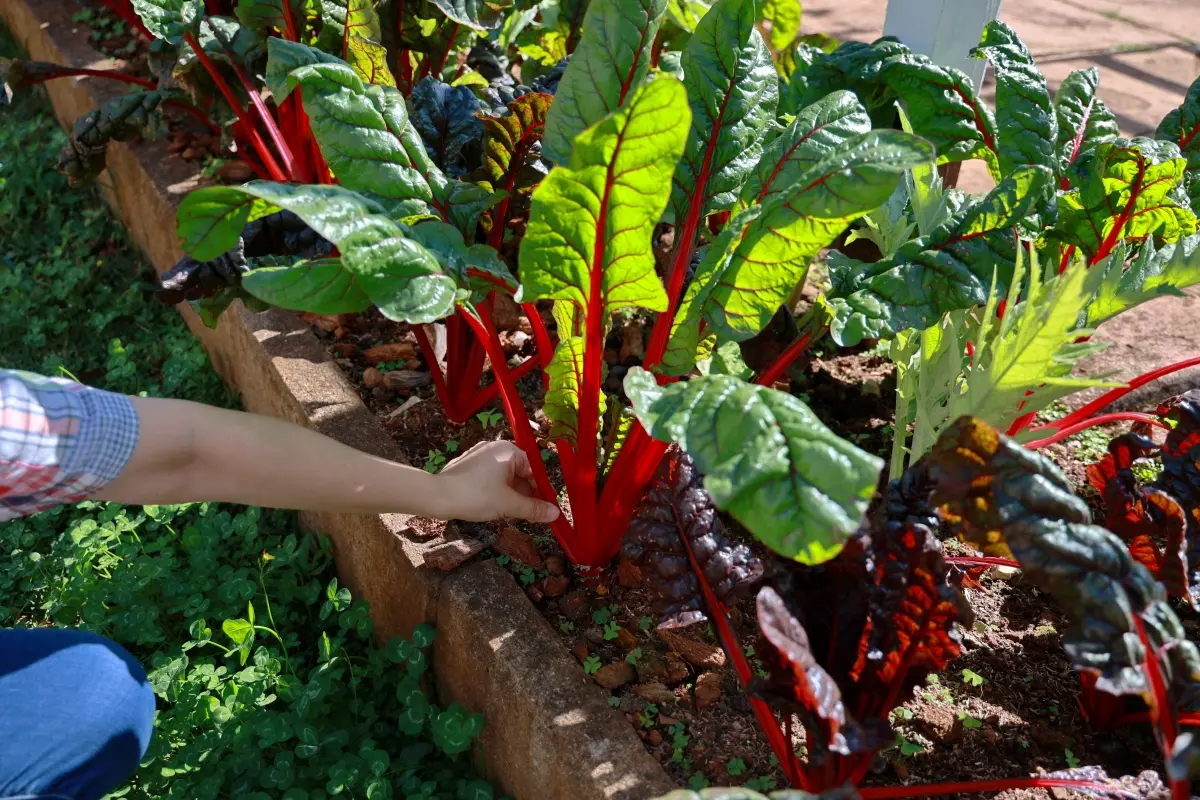
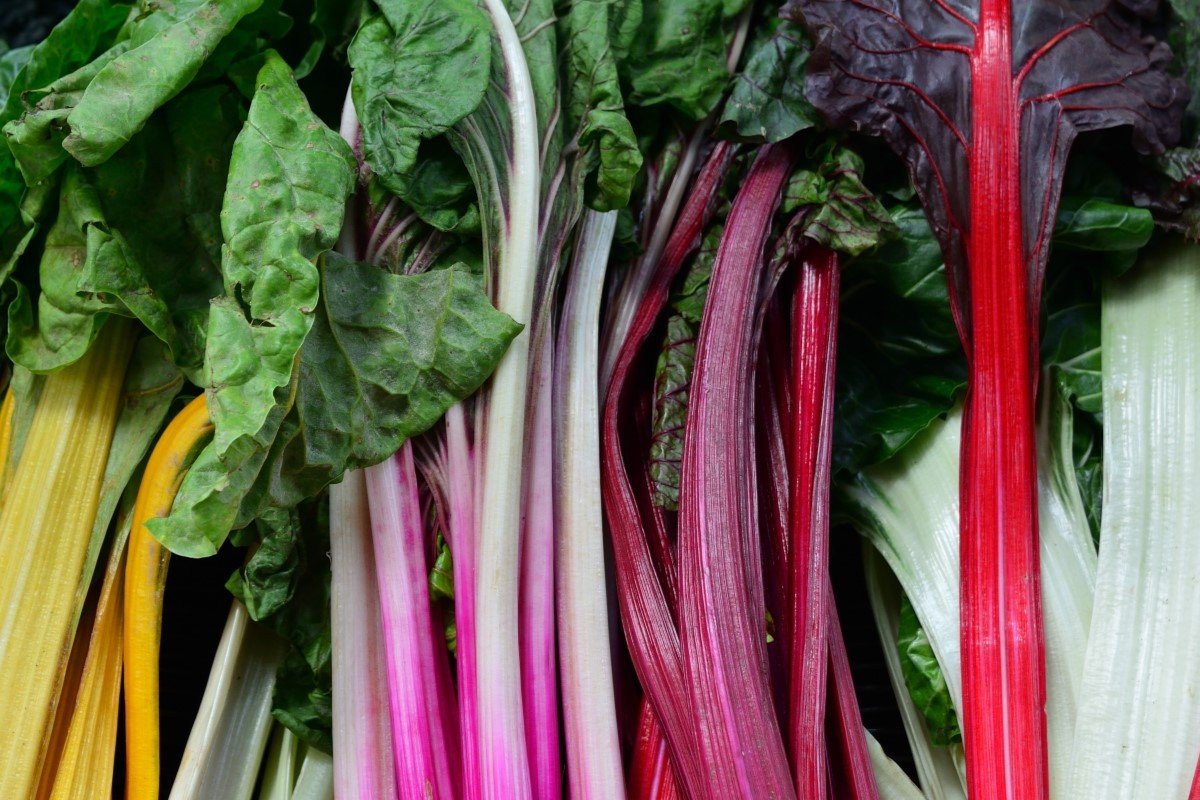
While leafy greens like kale and spinach have long dominated social media feeds and culinary trends, seasoned horticulturists and regenerative farmers point to an unsung hero waiting in the wings: Swiss chard. Belonging to the Beta vulgaris species—making it a close cousin to the common beetroot—this vibrant green offers incredible nutritional value, resilience against shifting weather patterns, and a striking visual aesthetic that easily rivals ornamental flowers.
Whether planted as a vibrant splash of color in a fall container garden or established as a dependable, multi-harvest crop in an early spring raised bed, Swiss chard provides exceptional versatility for both novice gardeners and master growers alike.
Main Facts: What is Swiss Chard?
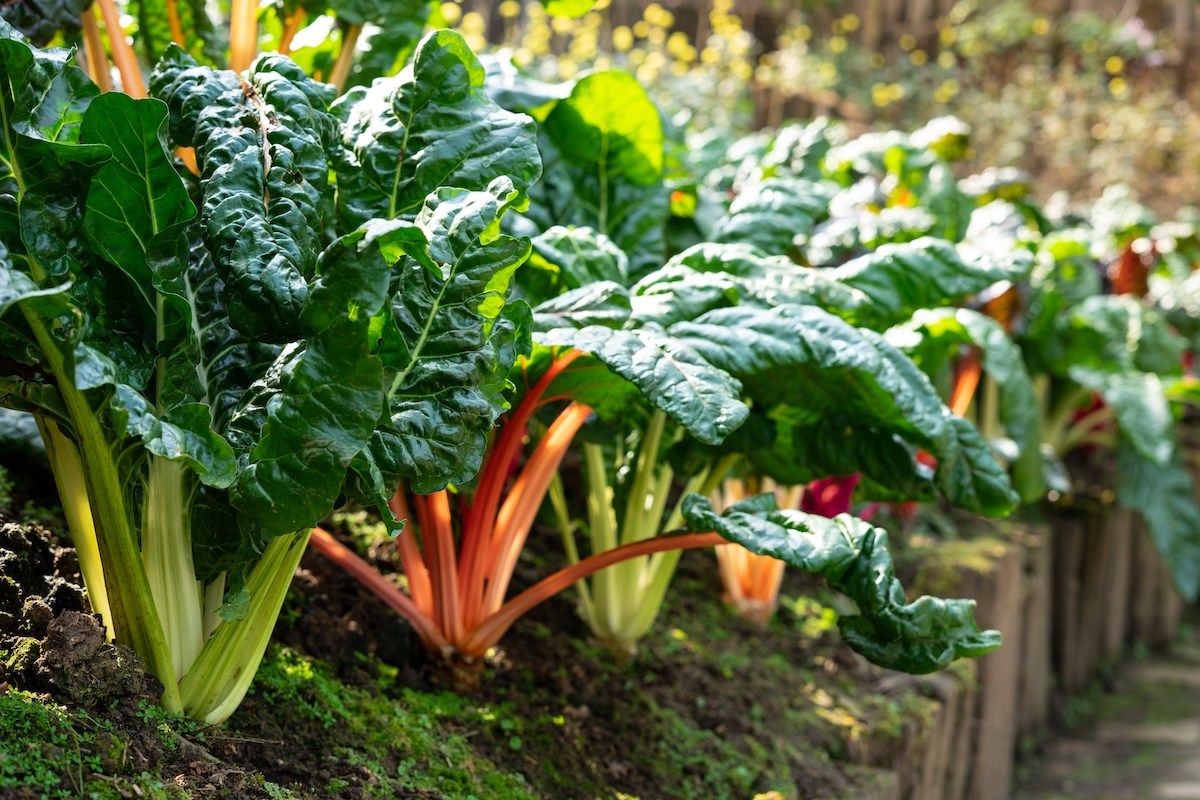
Botanically classified as Beta vulgaris var. cicla, Swiss chard is a resilient, cool-season biennial typically grown as an annual in hardiness zones 2 through 11. Unlike its beetroot relative, chard is cultivated entirely for its lush leaves and thick, succulent stalks rather than its root.
According to Farmer Lee Jones of The Chef’s Garden—a renowned regenerative vegetable farm in Huron, Ohio—chard’s relative obscurity compared to kale remains a mystery. “In addition to being rich in vitamins A, B, C, E, and K, it contains many beneficial minerals,” Jones notes, adding that the vividly colored stems bring an extra punch of plant-based antioxidants to the table.
Nutritional Profile at a Glance
- Vitamins: Packed with fat-soluble vitamins K and A, alongside high levels of Vitamin C and various B-complex vitamins.
- Minerals: A reliable source of iron, magnesium, potassium, and calcium.
- Antioxidants: Betalains and flavonoids concentrated in the colorful stalks provide anti-inflammatory and cellular-health benefits.
Culinary experts note that chard easily matches—and occasionally surpasses—spinach in the kitchen. Young, tender baby leaves can be eaten completely raw in salads, while mature leaves stand up brilliantly to heavy sautées, soups, stews, and braises.
Chronology: The Lifecycle and Planting Timeline of Swiss Chard
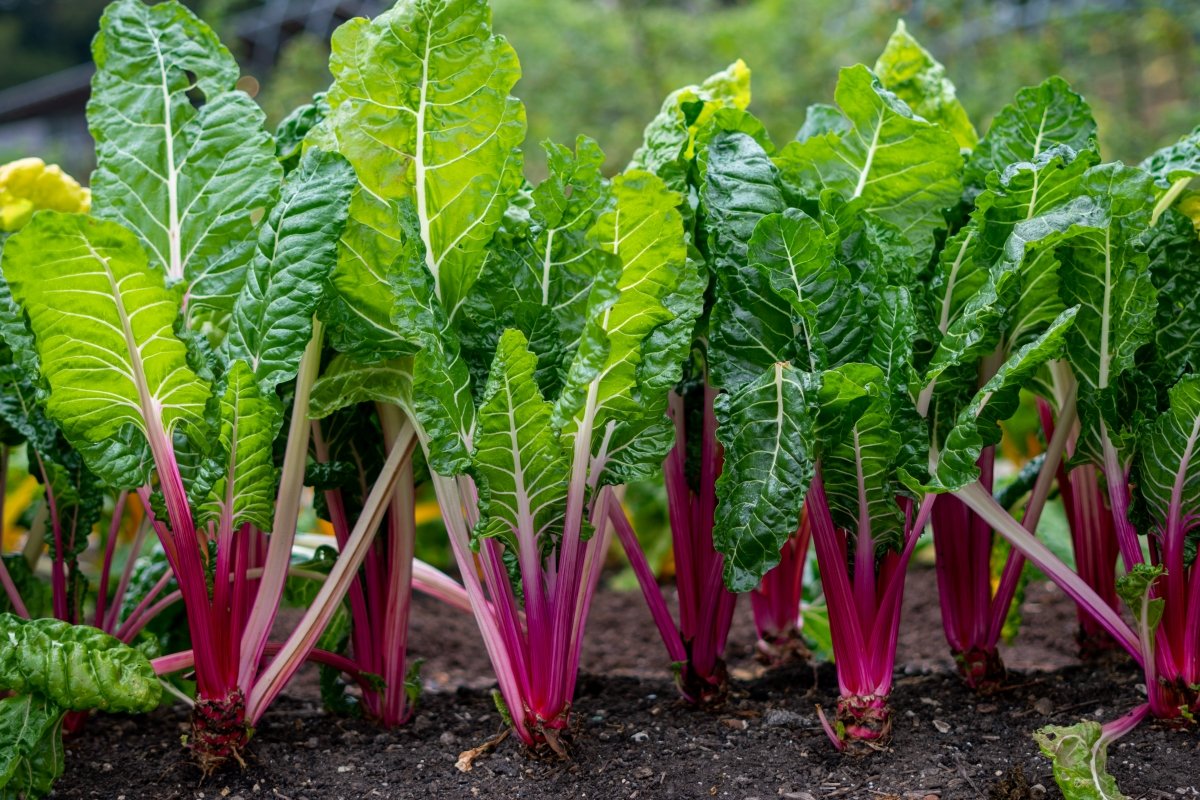
Successfully growing Swiss chard is all about timing. Because the plant thrives in cool weather while maintaining a surprising tolerance for brief spells of heat and drought, planning your sowing schedule around seasonal temperature shifts ensures a continuous, high-yielding harvest.
[Late Winter / Early Spring] ──> [Late Spring / Early Summer] ──> [Late Summer / Early Fall] ──> [Winter]
   Start seeds indoors 4 wks       Monitor for bolting; harvest      Sow second crop 4 weeks        Overwinter with row
   before last frost.              mature greens; manage pests.      before first fall frost.       covers or cold frames.
Phase 1: Spring Sowing (March to April)
- Indoor Seed Starting: Begin seeds indoors roughly 4 weeks before your region’s expected last spring frost date.
- Direct Sowing: Sow seeds directly in the ground once outdoor soil temperatures consistently reach 50°F (10°C) or higher.
Phase 2: Summer Maintenance (May to July)
- Heat Management: As daytime temperatures regularly exceed 80°F (27°C), chard growth may slow. Ensure consistent moisture and provide afternoon shade in hotter climates to prevent premature bolting (flowering).
- Continuous Harvesting: Regularly pick outer leaves to encourage the plant to direct its energy into producing fresh, tender growth from the center.
Phase 3: Fall Crop Establishment (August to September)
- Second Sowing: Sow seeds or set out transplants about 4 weeks before your region’s average first autumn frost date. Cooler autumn temperatures actually enhance the sweet, earthy flavor of the leaves.
Phase 4: Overwintering (November to February)
- Cold Extension: In moderate climates, protect plants with floating row covers or cold frames to withstand temperatures as low as 15°F (-9°C), extending fresh harvests deep into the winter months.
Supporting Data: Recommended Varieties and Cultivar Performance
Not all Swiss chard is created equal. Depending on whether your primary goal is culinary production, ornamental landscape integration, or rapid baby-leaf harvesting, select varieties tailored to your unique garden design.
| Cultivar Name | Stem Color | Leaf Texture | Primary Use / Benefit |
|---|---|---|---|
| Bright Lights | Pink, red, white, yellow | Crinkly, broad | Award-winning rainbow mix; mild, sweet flavor; excellent for beginners. |
| Five Color Silverbeet | Orange, yellow, pink, white, red | Moderately smooth | Australian heirloom; produces edible baby greens in as few as 20 days. |
| Fordhook Giant | Thick white | Heavily crinkled, deep green | Heavy-yielding heritage variety known for vigorous growth and large harvests. |
| Orange Fantasia | Vivid pumpkin orange | Crinkly | Adds striking autumn colors to the garden; versatile for baby or mature greens. |
| Perpetual | Green | Smooth, narrow | Resembles spinach; holds up through long seasons without bitter bolting. |
| Rhubarb Chard | Deep crimson | Dark green, glossy | Highly ornamental; prized for its rich, earthy flavor and striking red veins. |
| Silverado | Broad white | Glossy, emerald green | Compact growth habit; exceptionally well-suited for containers and raised beds. |
Expert Insights and Official Perspectives
Industry professionals emphasize that chard occupies a unique intersection between productivity and landscape design.
Kate Schneider, founder and CEO of Ibis Coastal Landscapes in Savannah, Georgia, highlights the structural differences between chard and standard lettuces. “It’s not a lettuce at all—it’s a close relative of the beet without the edible root,” Schneider explains. She notes that the culinary experience is multifaceted: “The stems are mildly sweet with a subtle artichoke-like flavor, while the leaves have a texture somewhere between spinach and kale.”
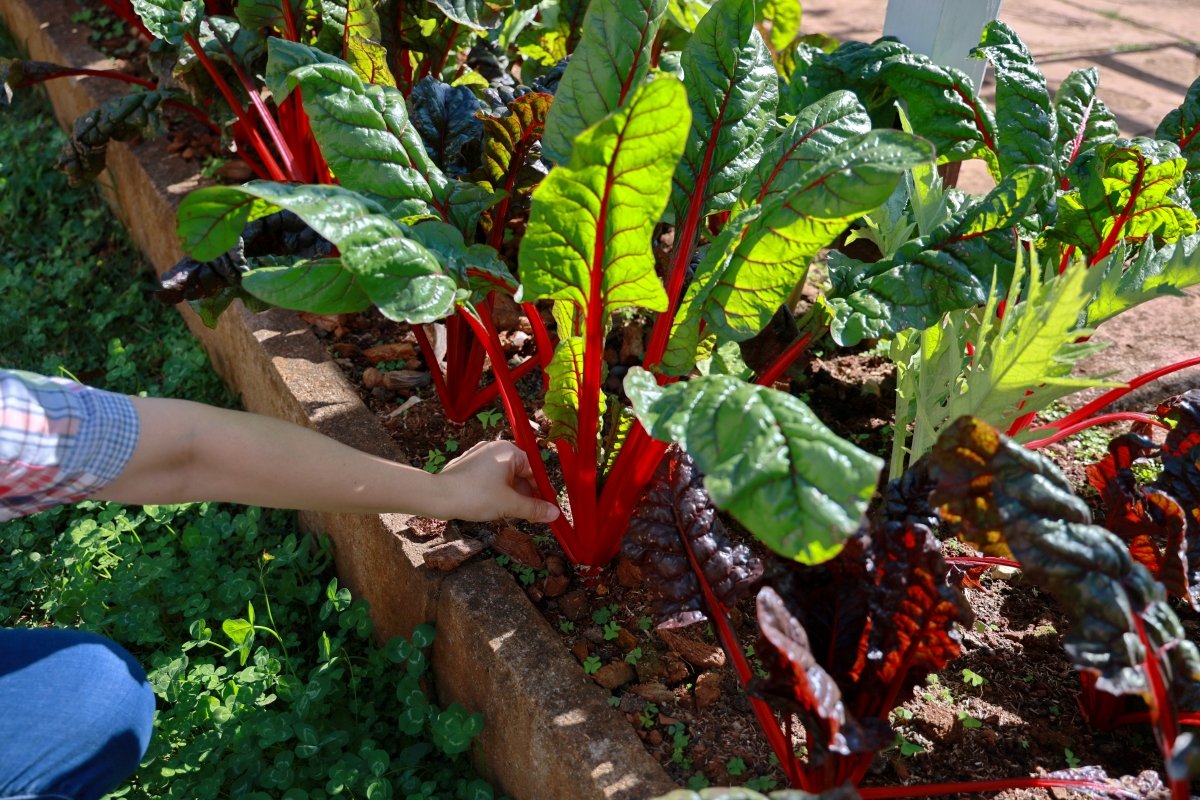
Lindsey Boney, a produce expert at Windmill Farms Market in San Diego, California, points out chard’s visual utility in edible landscaping. “Chard’s leafy greens rise on pink, red, or yellow stems… This works especially well in edible landscapes where gardeners want productive and aesthetic plants.”
Because different varieties share nearly identical flavor profiles, home gardeners have total freedom to select cultivars based purely on visual preference and spatial constraints.
Implications: Growing, Managing, and Troubleshooting Your Crop
Soil, Water, and Light Requirements
- Sunlight: Prefers full sun to partial shade, requiring a minimum of 2 to 6 hours of direct sunlight daily.
- Soil: Thrives in fertile, well-draining soil with an optimal pH range between 6.0 and 7.0. Amending garden beds with rich organic matter eliminates the need for heavy chemical fertilizers.
- Watering: Maintain consistent moisture with 1 to 2 inches of water per week. Potted specimens dry out rapidly and demand frequent, careful monitoring.
Pest and Disease Management
Because Swiss chard grows rapidly, it frequently outpaces major pest pressures. However, gardeners should remain vigilant for specific threats:
- Insects: Aphids on the underside of leaves, flea beetles damaging young seedlings, and slugs chewing ragged holes in foliage. Floating row covers offer effective physical defense.
- Fungal Issues: Cercospora leaf spot and downy mildew can emerge under conditions of poor airflow. Prevent these pathogens by spacing plants 4 to 6 inches apart in rows spaced 18 inches apart, and water strictly at the soil level rather than overhead.
Safety Considerations
While Swiss chard is exceptionally nutritious, individuals incorporating massive quantities into their diets should exercise caution. Chard contains naturally occurring oxalates, which can elevate the risk of kidney stones in susceptible individuals. Furthermore, its high concentration of Vitamin K can interact with blood-thinning medications if consumed in excessive, unregulated amounts.
Harvesting Techniques
Maximize your yield by harvesting outer leaves early in the morning when moisture content is highest, preventing midday wilting. Cut leaves cleanly 2 to 3 inches above the soil line to allow continuous regeneration, ensuring a steady supply of fresh, homegrown greens throughout the growing season.
