

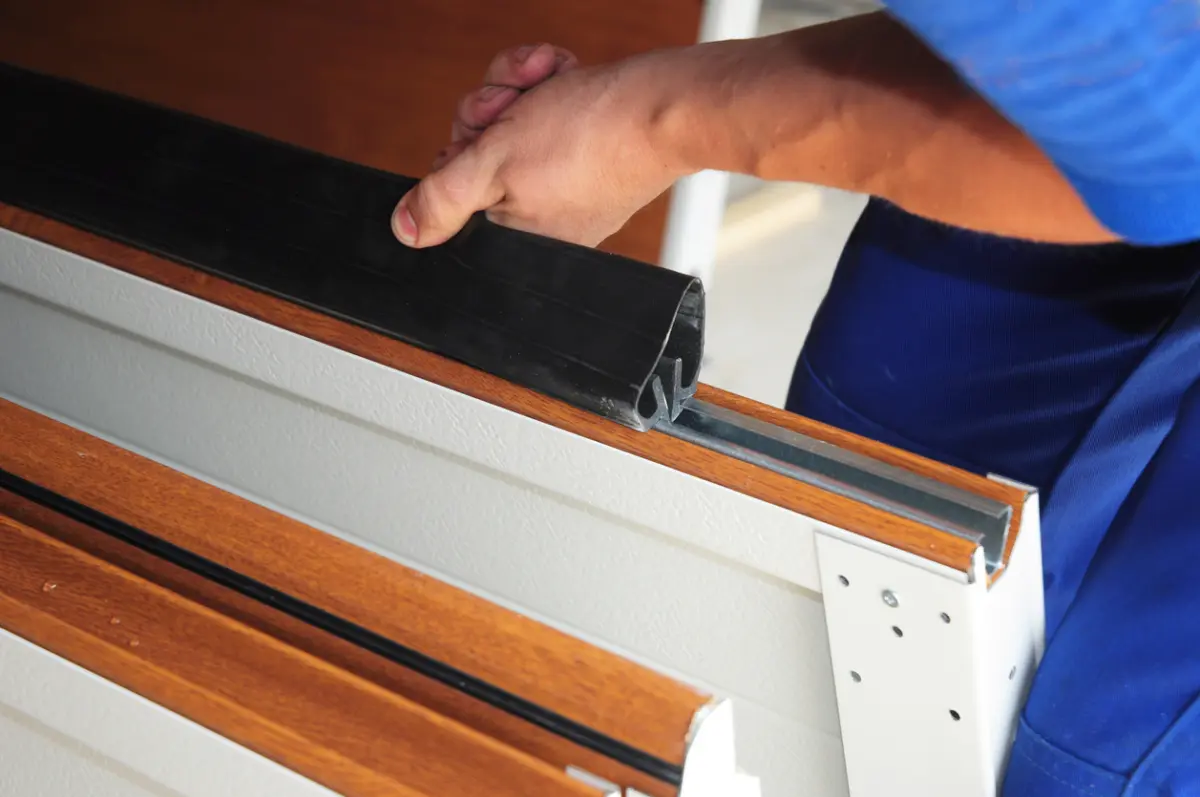
As autumn transitions into the biting chill of winter, homeowners across the country begin turning their attention to seasonal home maintenance. For those who utilize their garages as more than just a storage space for vehicles—transforming them into woodworking shops, mechanics’ bays, or hobbyist studios—managing the indoor climate becomes a top priority. Standard metal garage doors excel at keeping out wind and rain, but they are notoriously poor thermal barriers. When temperatures plunge, uninsulated metal acts as a conduit for the cold, turning a once-comfortable workspace into an unusable icebox.
While replacing an existing door with a factory-insulated model can easily exceed $1,000, there is a far more cost-effective alternative. Retrofitting your current garage door with an aftermarket insulation kit or raw materials is an approachable weekend DIY project. Understanding the mechanics of garage door insulation, the nuances of R-values, and the critical supplementary steps required can drastically improve your home’s energy efficiency and your personal comfort.
The Main Facts: Why Garage Doors Need Thermal Protection
The primary culprit behind a freezing garage is the standard single-layer or double-layer steel garage door. While durable and secure, steel has a very low thermal resistance. It readily absorbs outdoor temperatures and transfers them directly into the interior space.
When you insulate a garage door, you create a thermal break that prevents the rapid transfer of heat and cold. This upgrade yields multiple benefits:
- Temperature Regulation: It keeps the garage noticeably warmer in the winter and cooler during scorching summer months, especially if the garage faces south or west and receives direct sunlight.
- Noise Reduction: Insulated panels absorb vibrations, making the garage door operate much more quietly when opening and closing.
- Enhanced Durability: Adding panels adds structural rigidity to the door itself, helping it withstand high winds and daily wear-and-tear.
- Energy Savings: If your garage shares a wall with your main living space, a well-insulated garage door prevents cold air from bleeding into your home, ultimately lowering heating bills.
For DIYers looking for a straightforward approach, garage door insulation kits generally range from $50 to $150. These kits typically include precut panels, specialized retainer pins, adhesive, and utility knives, making them accessible to novices and seasoned renovators alike.
Chronology of a DIY Garage Door Insulation Project
Successfully insulating a garage door requires careful planning and a step-by-step execution. Rushing through the installation can lead to loose panels, rattling, or materials falling onto parked vehicles.
Phase 1: Preparation and Measurement (Day 1, Morning)
Before purchasing any materials, thoroughly clean the interior surface of the garage door panels. Dust, grease, and grime will prevent adhesives from bonding correctly. Once the surfaces are clean and dry, measure the dimensions of the individual panels (the channels) on the inside of the door. Take note of the depth of these channels, as this dictates the maximum thickness of the insulation you can use.
Phase 2: Material Selection and Cutting (Day 1, Afternoon)
Choose whether you will use rigid foam boards or flexible batts. If using rigid foam boards (such as Expanded Polystyrene or Extruded Polystyrene), use a sharp utility knife or a table saw to cut the boards to fit snugly inside the door’s structural channels. Ensure you purchase foil-faced and fire-rated foam boards; non-faced foam is flammable and violates building codes.
Phase 3: Installation and Anchoring (Day 2, Morning)
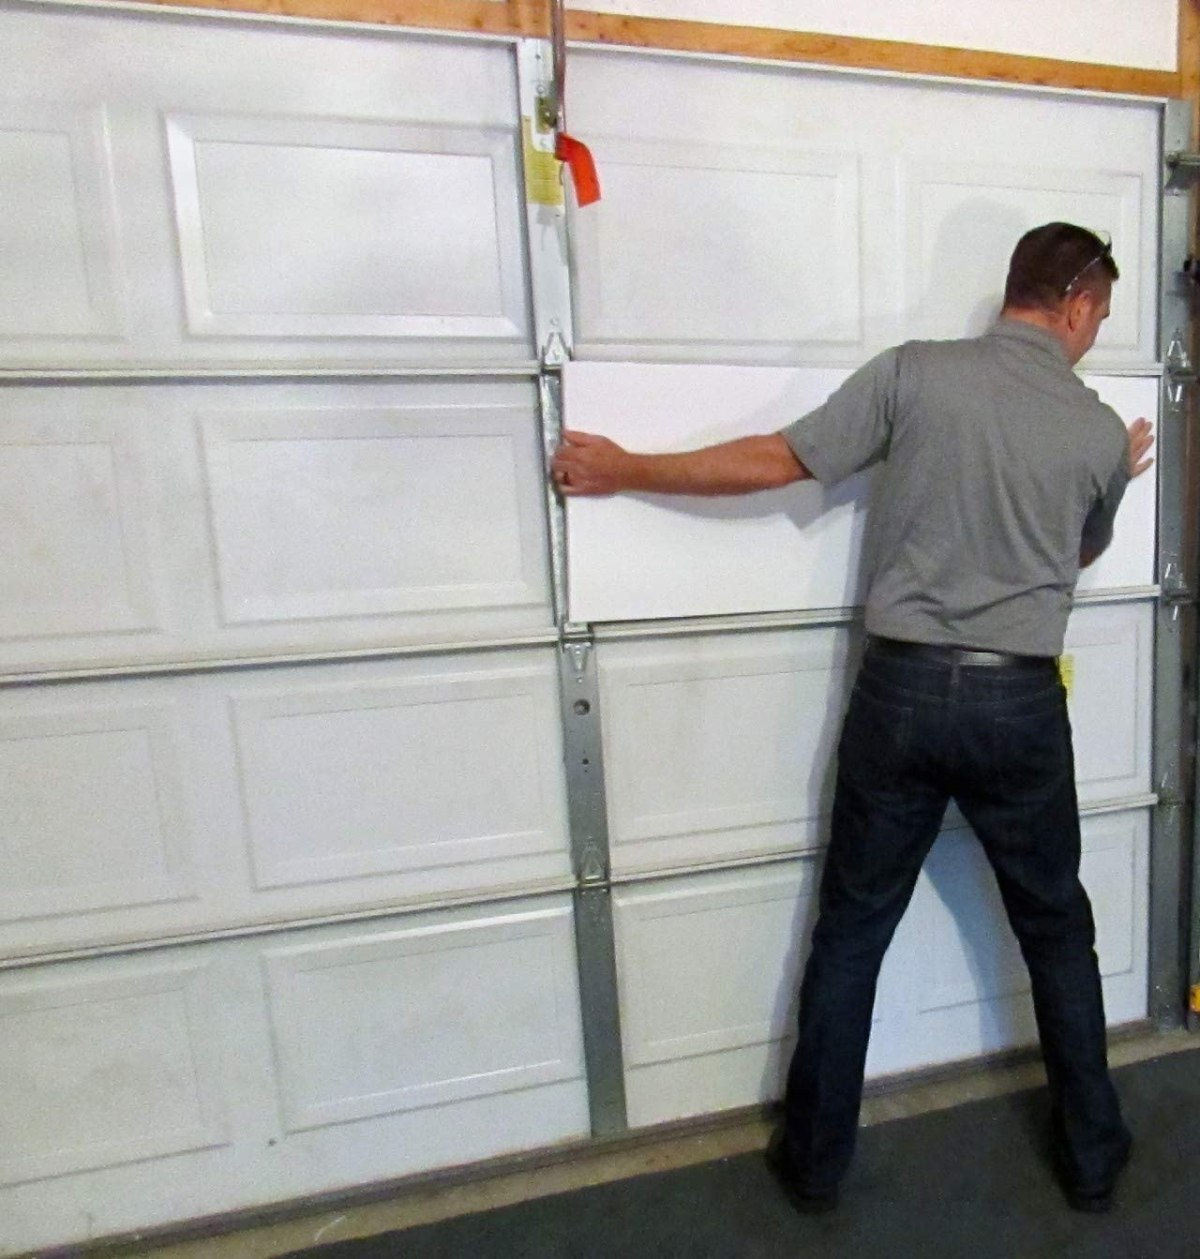
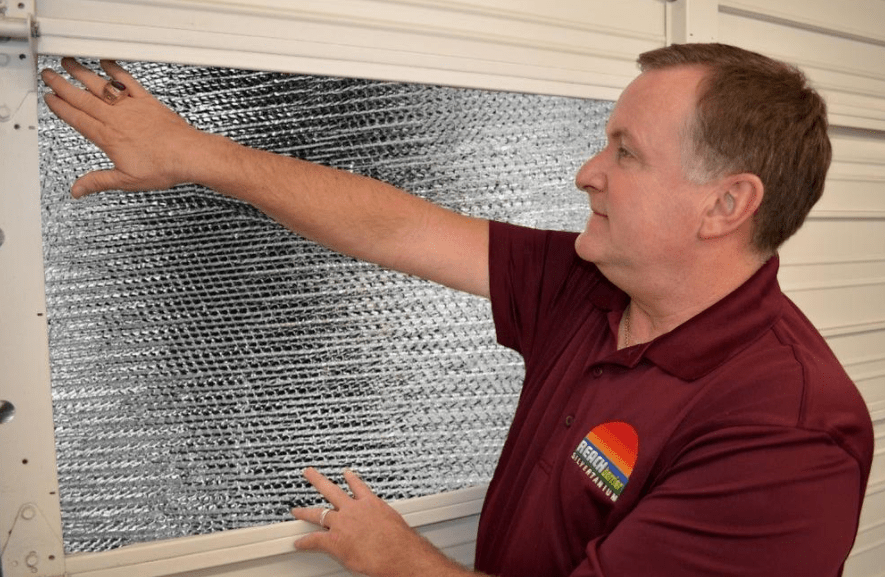
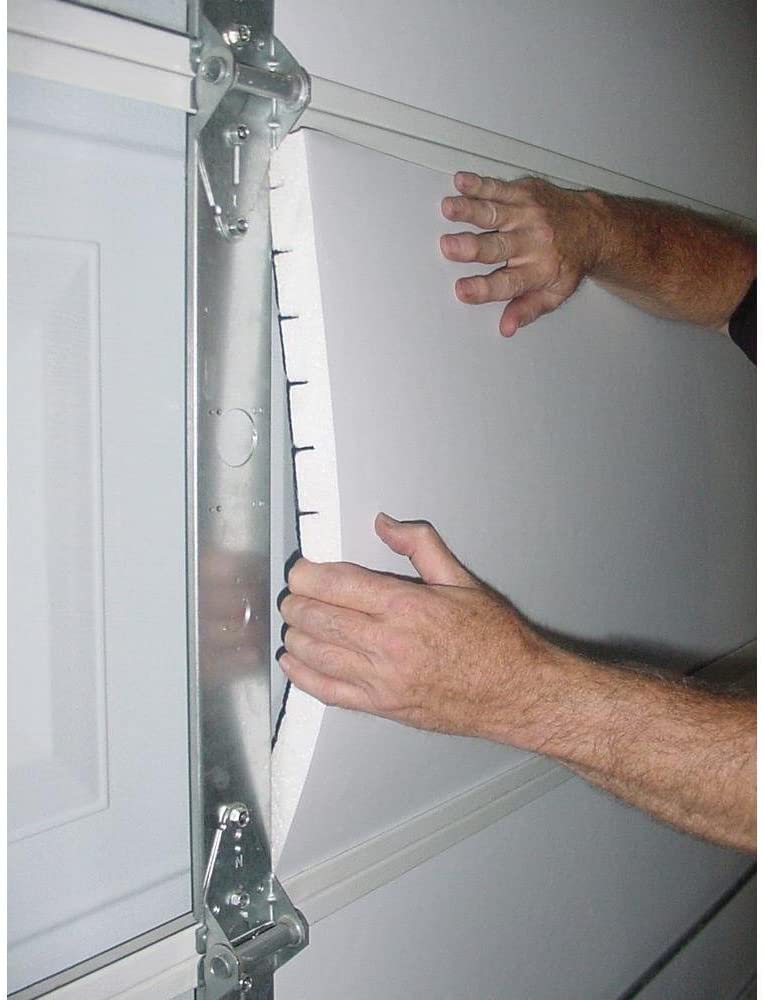
Apply a foam-safe adhesive to the back of the door channels if extra stability is needed. Press the cut insulation panels firmly into the channels. If you are using a commercial kit, utilize the included retainer pins. These lightweight plastic or metal pins feature adhesive plates that stick to the door, locking the insulation securely in place so the panels will not dislodge or fall when the door is opened and closed.
Phase 4: Sealing and Weatherproofing (Day 2, Afternoon)
Once the main panels are secured, address the perimeter. Install fresh weatherstripping along the sides and top of the door frame to block drafts. Finally, replace the rubber sweep (threshold seal) at the very bottom of the door to seal out ground-level airflow and moisture.
Supporting Data: Understanding R-Values and Material Metrics
When evaluating insulation, the most critical metric is the R-value, which measures a material’s capacity to resist heat flow. The higher the R-value, the better the performance. However, higher R-values often require thicker materials, which must be carefully matched to the physical constraints of your garage door.
- Rigid EPS Foam Boards (1 inch thick): Typically offer a thermal resistance value of approximately R-4.5. They are rigid, easy to cut, and provide a clean, finished appearance when foil-faced.
- Rockwool or Fiberglass Batts (1.5 inches thick): Specialized thin batts, such as those used for HVAC duct wrapping, can provide up to R-5.16. Standard home insulation batts (3.5 inches thick) are generally too bulky and should be avoided because compressing them ruins their thermal efficacy.
- Weight Considerations: A common concern among homeowners is whether adding insulation will strain the garage door opener. Fortunately, most insulation materials—especially rigid foam and thin duct batts—add minimal weight (often less than 10 to 15 pounds total across the entire door). Properly balanced garage doors will continue to open and close effortlessly without overworking the motor.
Official Recommendations and Expert Insights
Building professionals and home improvement experts emphasize that insulating the garage door alone is only half the battle. According to leading trade organizations, a holistic approach is required to truly weather-proof a garage space.
Key Expert Recommendations:
- Seal the Entire Envelope: An insulated door will do little good if the surrounding walls, windows, and roof are drafty. Experts recommend combining door insulation with batt insulation in open stud walls and sealing any gaps around windows or side entry doors.
- Code Compliance and Safety: Fire safety officials strictly advise against using exposed, non-rated foam plastic insulation. Because garages often house flammable materials, vehicles, and tools, any exposed foam must be covered with a code-approved thermal barrier or feature a factory-applied fire-rated facing.
- Professional Consultation: For homeowners who lack the time or confidence to tackle the project themselves, consulting a local insulation contractor can provide peace of mind. Professional installers can evaluate the structural integrity of the door and recommend high-performance systems tailored to extreme regional climates.
Implications: Maximizing Comfort and Home Value
The decision to insulate a garage door extends far beyond mere winter comfort; it has broad implications for property functionality, energy efficiency, and home valuation.
For DIY enthusiasts and craftspeople, a temperature-regulated garage transforms a seasonal space into a year-round functional asset. Hobbies that require climate-controlled environments—such as painting, woodworking, or electronics repair—can continue uninterrupted through the dead of winter and the peak of summer.
Furthermore, energy-conscious upgrades contribute to the overall thermal envelope of the home. By curbing thermal loss in attached garages, homeowners reduce the load on their central heating and cooling systems, translating to cumulative energy savings over time. Combined with low upfront costs and straightforward installation procedures, insulating a garage door stands out as one of the highest-return home improvement projects a DIYer can undertake.
