

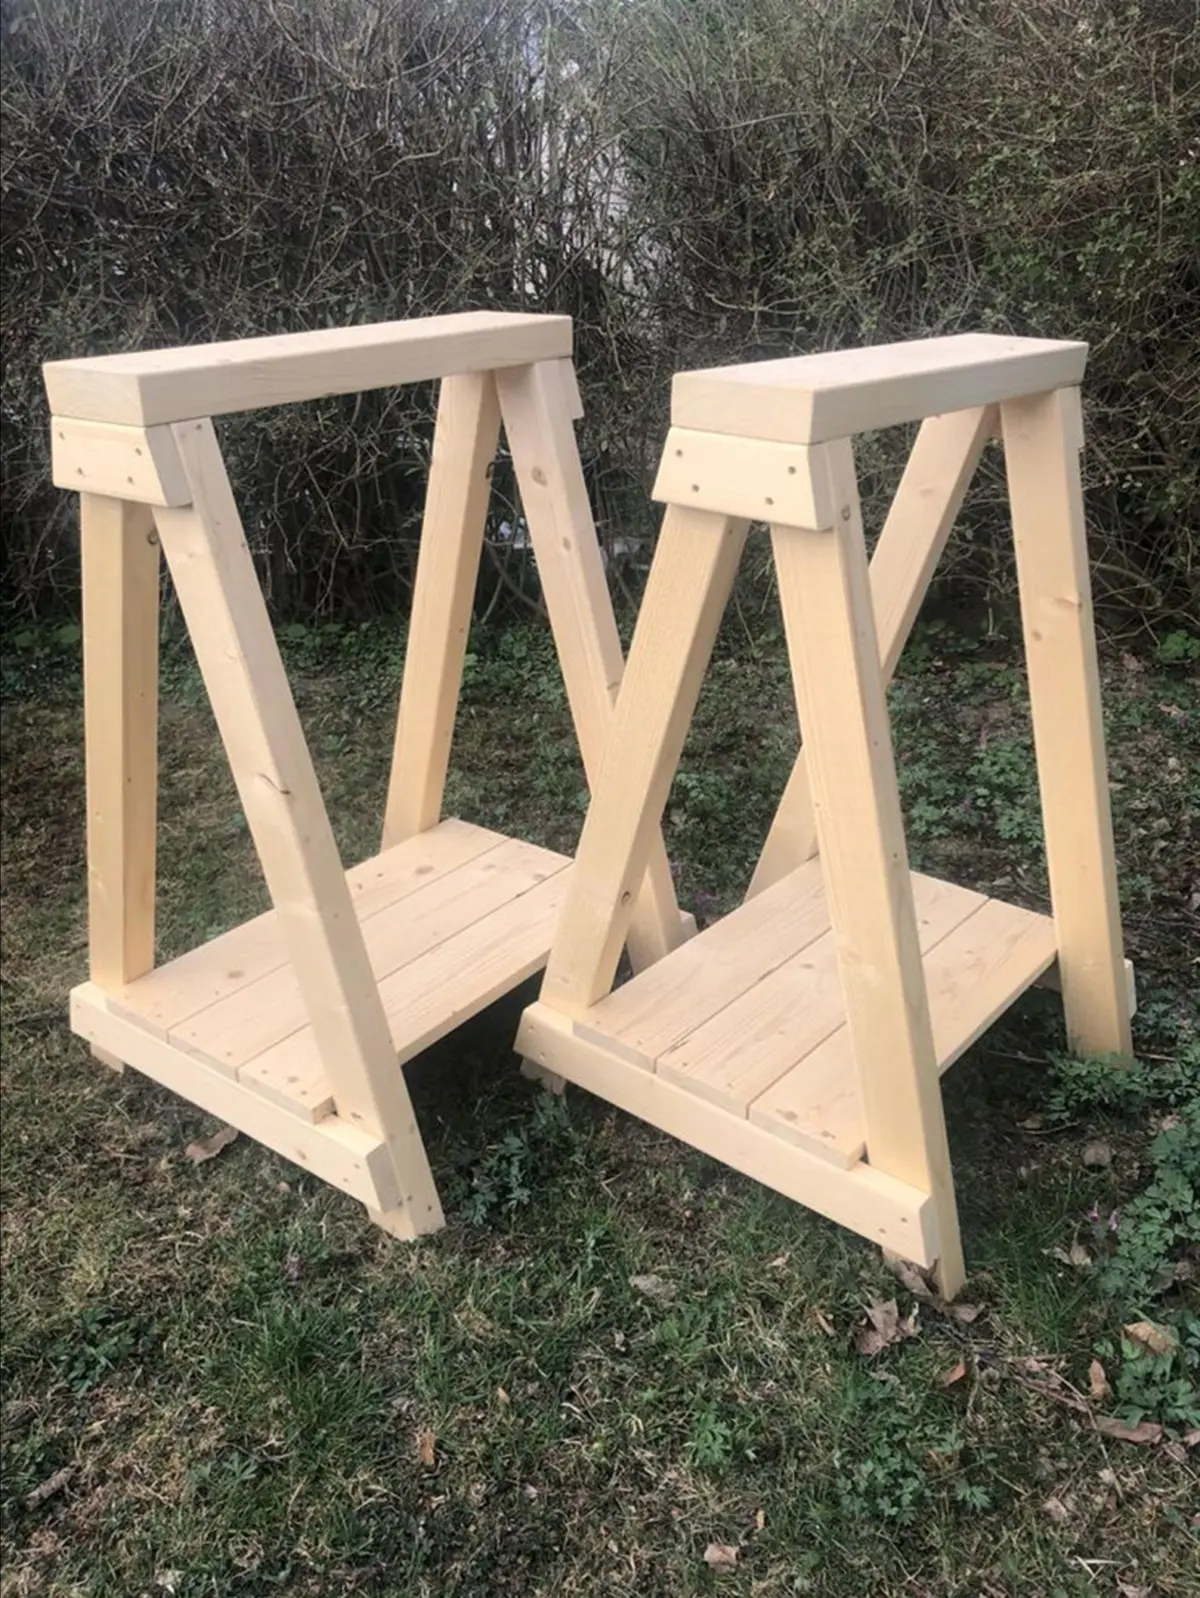
WASHINGTON — In the realm of home workshops, garages, and job sites, few items are as unassuming yet universally indispensable as the sawhorse. Whether it serves as a reliable trestle for supporting long, heavy planks of lumber, an elevated outdoor platform for running a circular saw, or a secure drying rack for freshly painted materials, the sawhorse is a fundamental piece of workshop infrastructure.
Yet, for many DIY enthusiasts and home improvement hobbyists, buying pre-made metal or plastic sawhorses can feel impersonal, expensive, and structurally limited. Fortunately, learning how to build a custom sawhorse doesn’t have to be a daunting architectural endeavor. With a wealth of innovative, downloadable, and adaptable sawhorse plans available online, craftsmen of all skill levels can tailor their workspace equipment to their exact spatial and functional requirements.
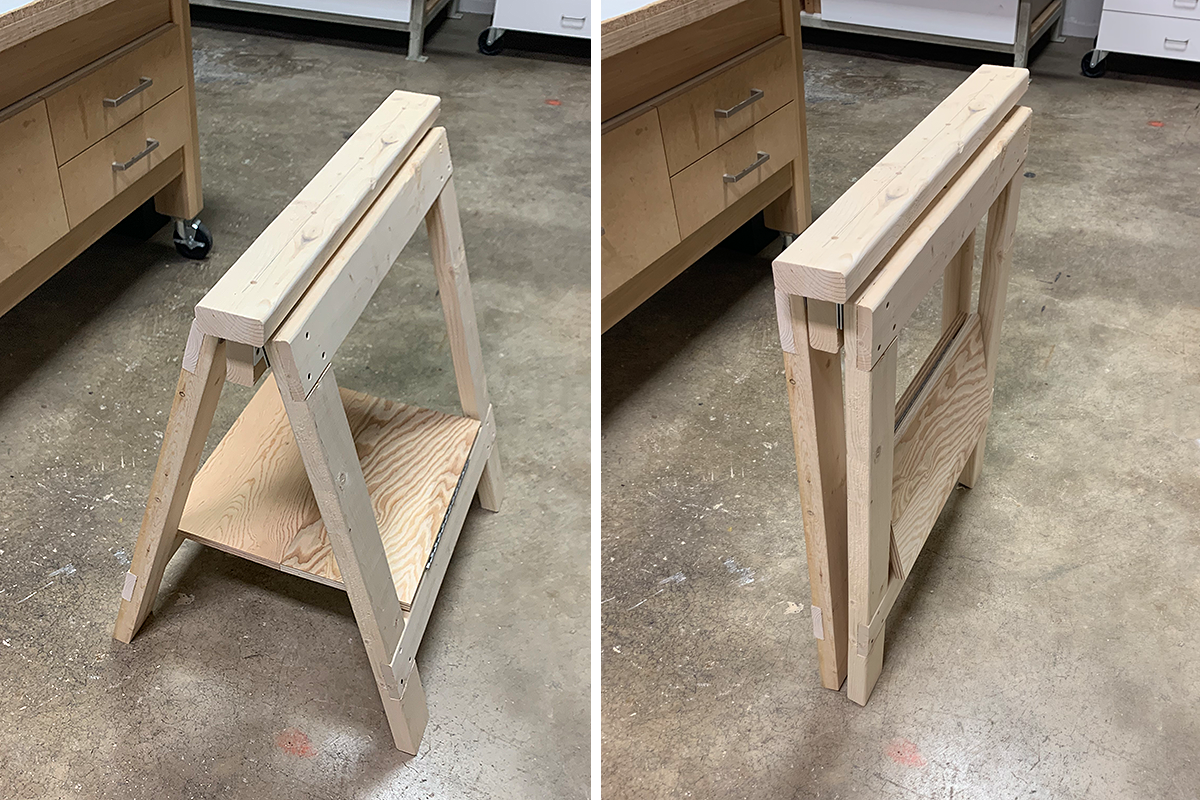
From folding models designed for tight spaces to heavy-duty "sawstallions" capable of withstanding industrial workloads, the following curated collection of DIY sawhorse plans offers an ideal weekend project for every woodworker.
Main Facts: The Anatomy of a Better Sawhorse
For decades, the standard sawhorse was little more than a crude "I-beam" or plastic folding bracket purchased at a big-box hardware store. However, modern woodworking has transformed this humble tool into a modular, multifunctional workstation component.

- Versatility in Design: Modern sawhorse plans cater to specialized needs, including folding designs, stackable units, heavy-duty load-bearing frames, and integrated clamping systems.
- Cost-Effectiveness: Most DIY sawhorses can be constructed using standard dimensional lumber (such as 2x4s) or a single sheet of plywood, keeping material costs well below retail prices.
- Space Optimization: For urban woodworkers or those with cramped two-car garages, features like removable legs, knock-down construction, and vertical stacking capabilities make it possible to maintain a clean, organized shop.
- Enhanced Safety: Advanced designs incorporate features like dovetail grooves, built-in vices, and sacrificial tops that prevent material slippage, significantly reducing the risk of kickback and workplace injuries.
Chronology: The Evolution of the DIY Sawhorse
The evolution of the sawhorse parallels the history of woodworking itself, transitioning from temporary job-site expedients to precision-engineered workshop accessories.
The Era of Expediency (Pre-2000s)
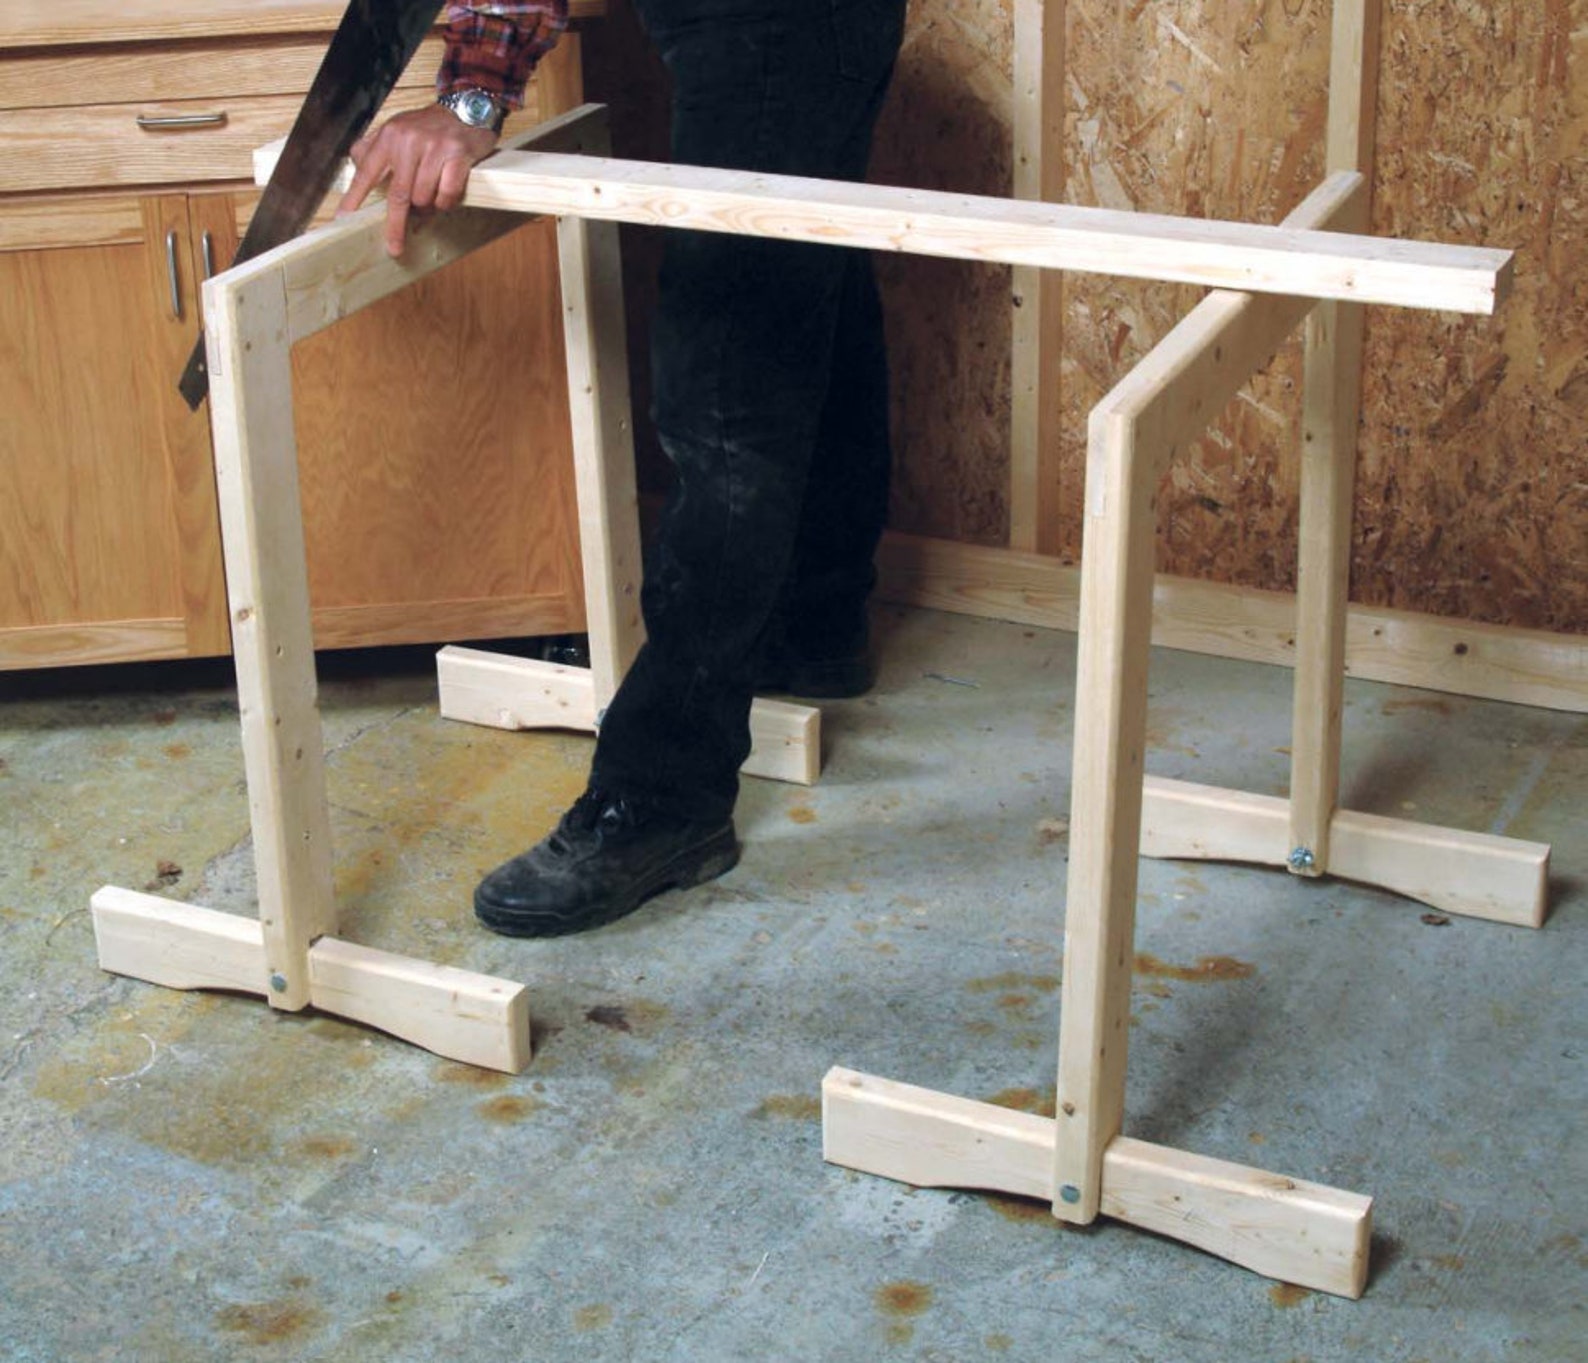
Historically, carpenters built sawhorses out of scrap timber on-site. These were utilitarian, heavy, and typically discarded or abandoned when a project concluded. They relied on basic butt joints and heavy screws, offering little thought to ergonomics, storage, or portability.
The Rise of Modular Plans (2000s–2010s)
As the internet expanded, digital woodworking plans democratized workshop design. Creators began selling specialized PDF blueprints. Innovations such as half-lap joints, knock-down hardware, and integrated storage shelves transformed the sawhorse from a temporary brace into a permanent piece of shop furniture.
The Modern Era of Multifunctionality (Present Day)
Today’s sawhorse plans reflect a deep understanding of spatial constraints and modern tooling. With the advent of track saws, Domino joinery, and matchfit clamping systems, contemporary DIYers expect their sawhorses to double as mobile assembly tables, clamping stations, and multi-tier storage racks.
Supporting Data: Choosing the Right Sawhorse Plan
To help woodworkers navigate the myriad options available, industry experts and master craftsmen have categorized the top DIY sawhorse plans based on skill level, material efficiency, and specialized functionality.
1. Exclusive Folding Sawhorse Plans
- Best For: Woodworkers seeking professional-grade joinery and portability.
- Key Features: These plans utilize sturdy half-lap joints—a fundamental woodworking technique—alongside a convenient lower storage shelf and an easily replaceable sacrificial top (meaning if you accidentally cut into your sawhorse with a saw blade, you can swap out the top piece without rebuilding the entire unit).
- Cost & Materials: Can be built for under $100 in materials using comprehensive digital, printable plans that include step-by-step photos, detailed cut lists, and visual illustrations.
2. Inexpensive Modular Sawhorse Plans
- Best For: Budget-conscious beginners.
- Key Features: Featuring a short materials list, these plans emphasize affordability and simplicity. Their standout feature is a set of detachable legs. When unfastened, the legs can be secured directly to the sides of the sawhorse body, allowing the entire unit to fold completely flat and hang neatly on a garage wall.
3. Beginner-Friendly Rigid Sawhorse Plans
- Best For: Novice woodworkers looking for a straightforward, highly stable build.
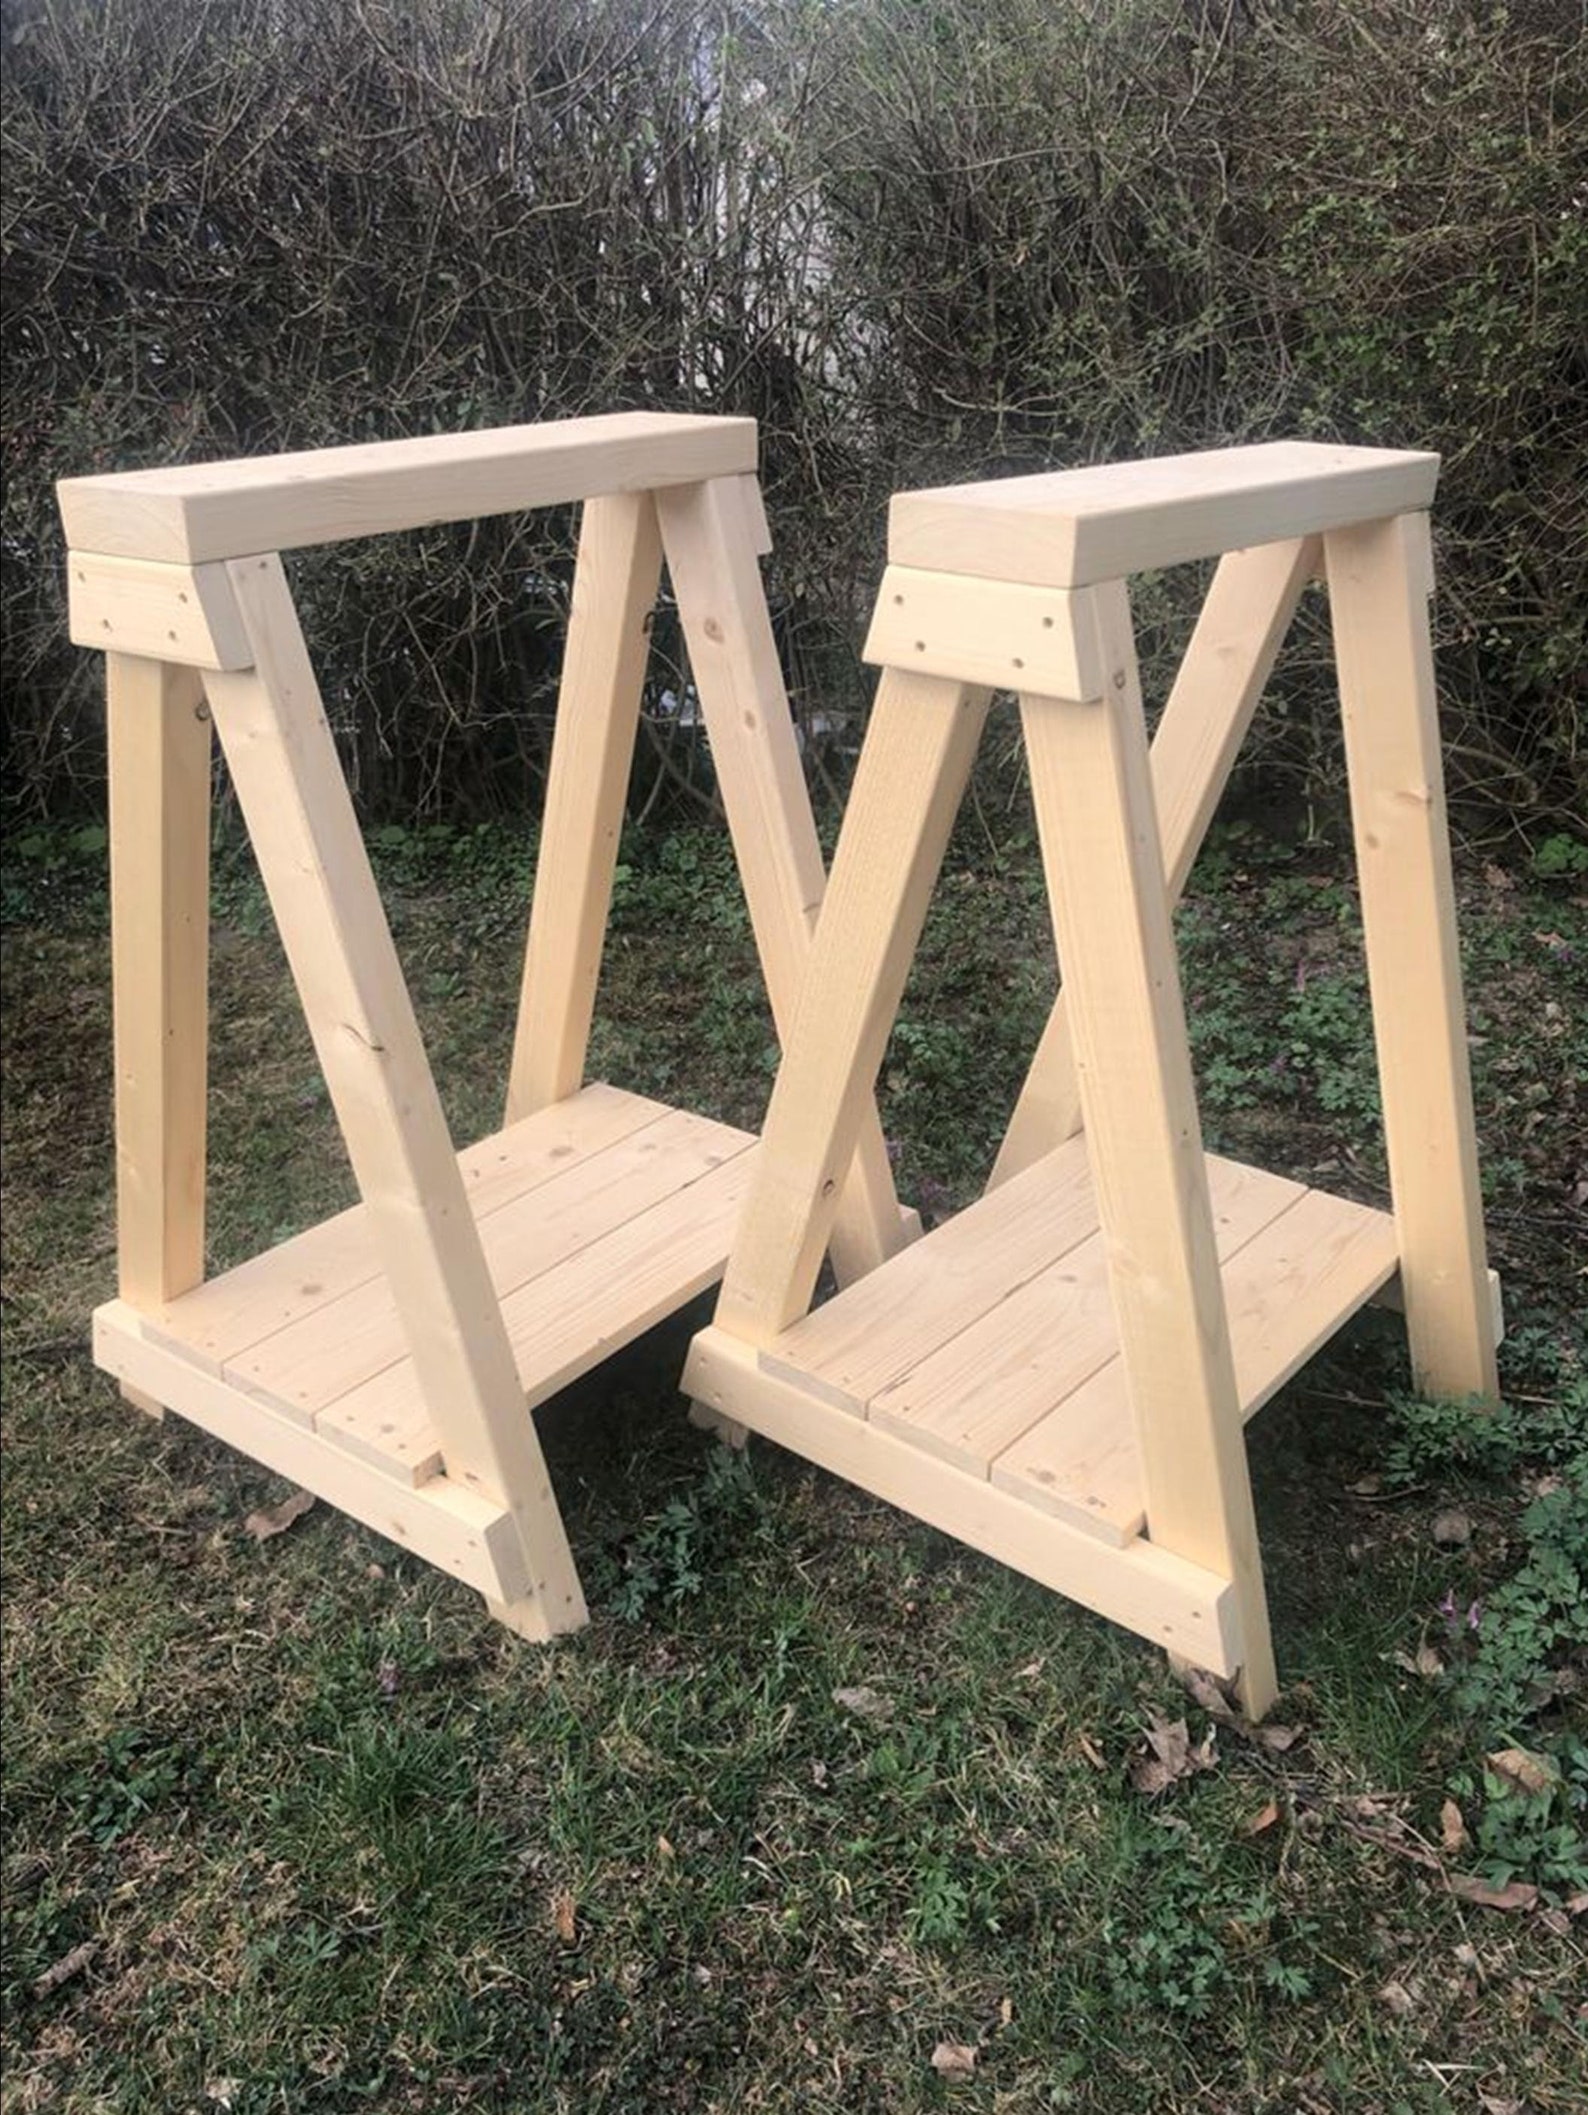
- Key Features: Created by design studios specializing in entry-level projects, these non-folding sawhorses boast a rigid, immovable structure capable of supporting exceptionally heavy loads. Each unit includes an integrated bottom shelf that serves double duty as structural bracing and bonus shop storage.
4. Knock-Down Plywood Sawhorse Plans
- Best For: Intermediate to advanced woodworkers optimizing material yield.
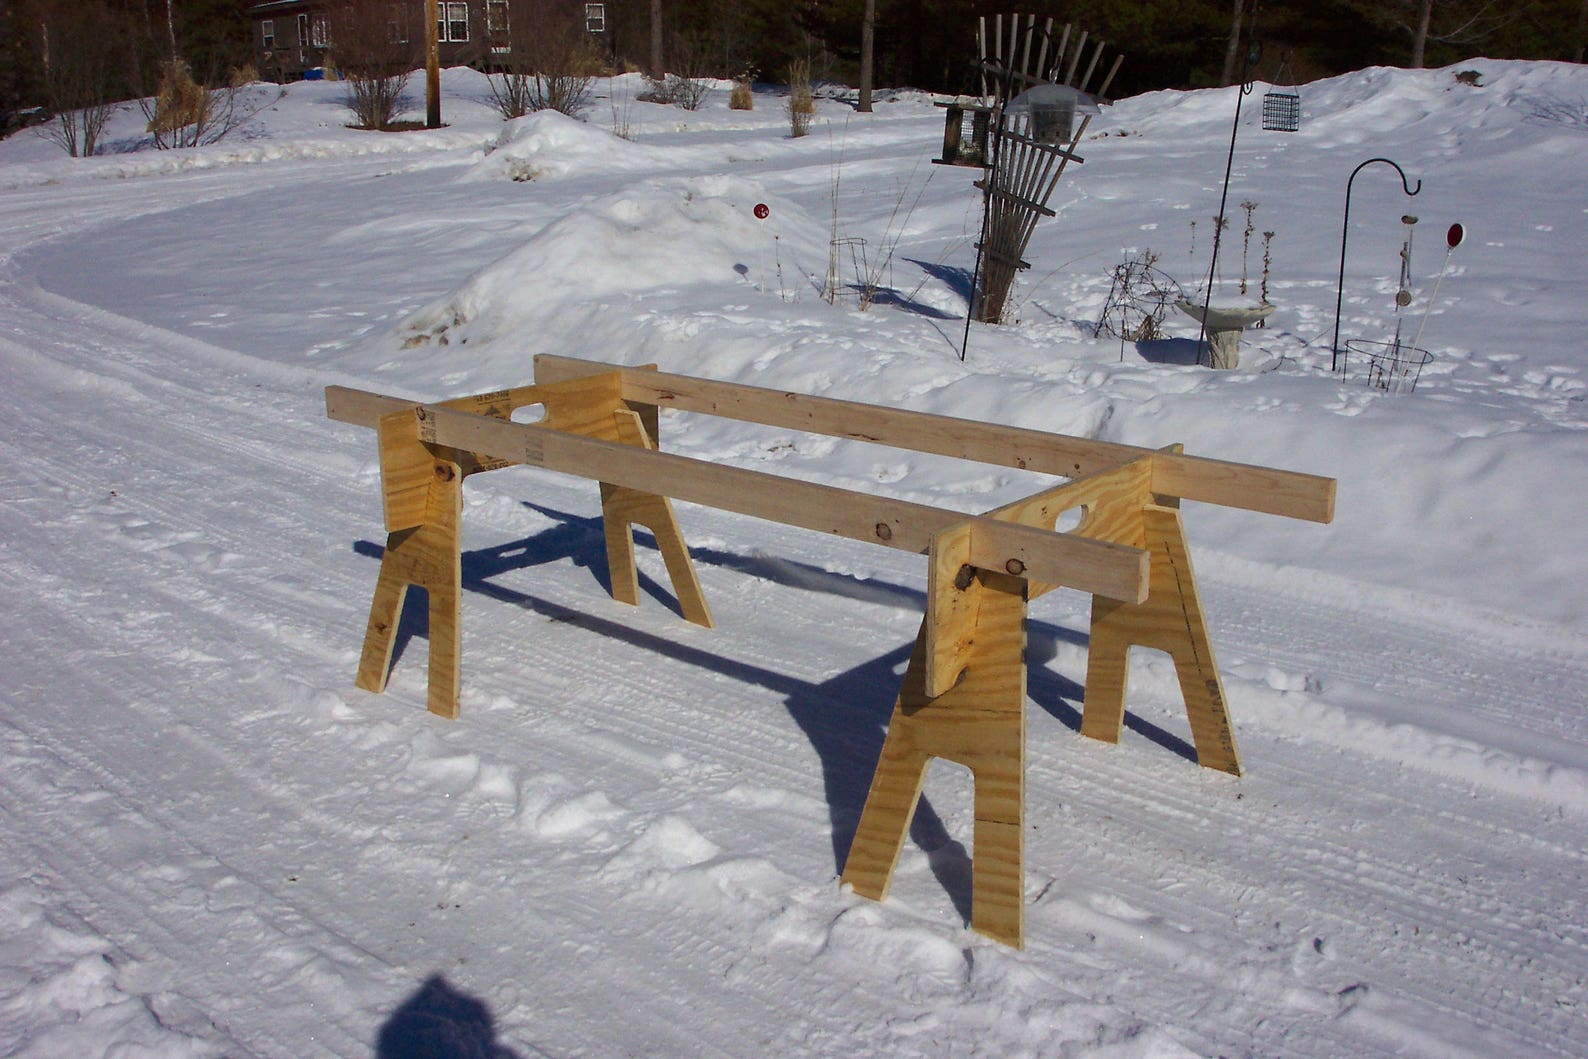
- Key Features: These innovative plans yield two relatively lightweight sawhorses from just one standard sheet of plywood. The top edges feature custom notches designed to accept long 2×4 stringers. By spanning these sawhorses with a secondary sheet of plywood, craftsmen can instantly deploy a sturdy temporary worktable. (Note: These plans typically rely on structural schematics rather than exhaustive step-by-step text, making them better suited for those with some prior building experience.)
5. Heavy-Duty "Sawstallion" Plans
- Best For: Heavy construction, timber framing, and professional shops.
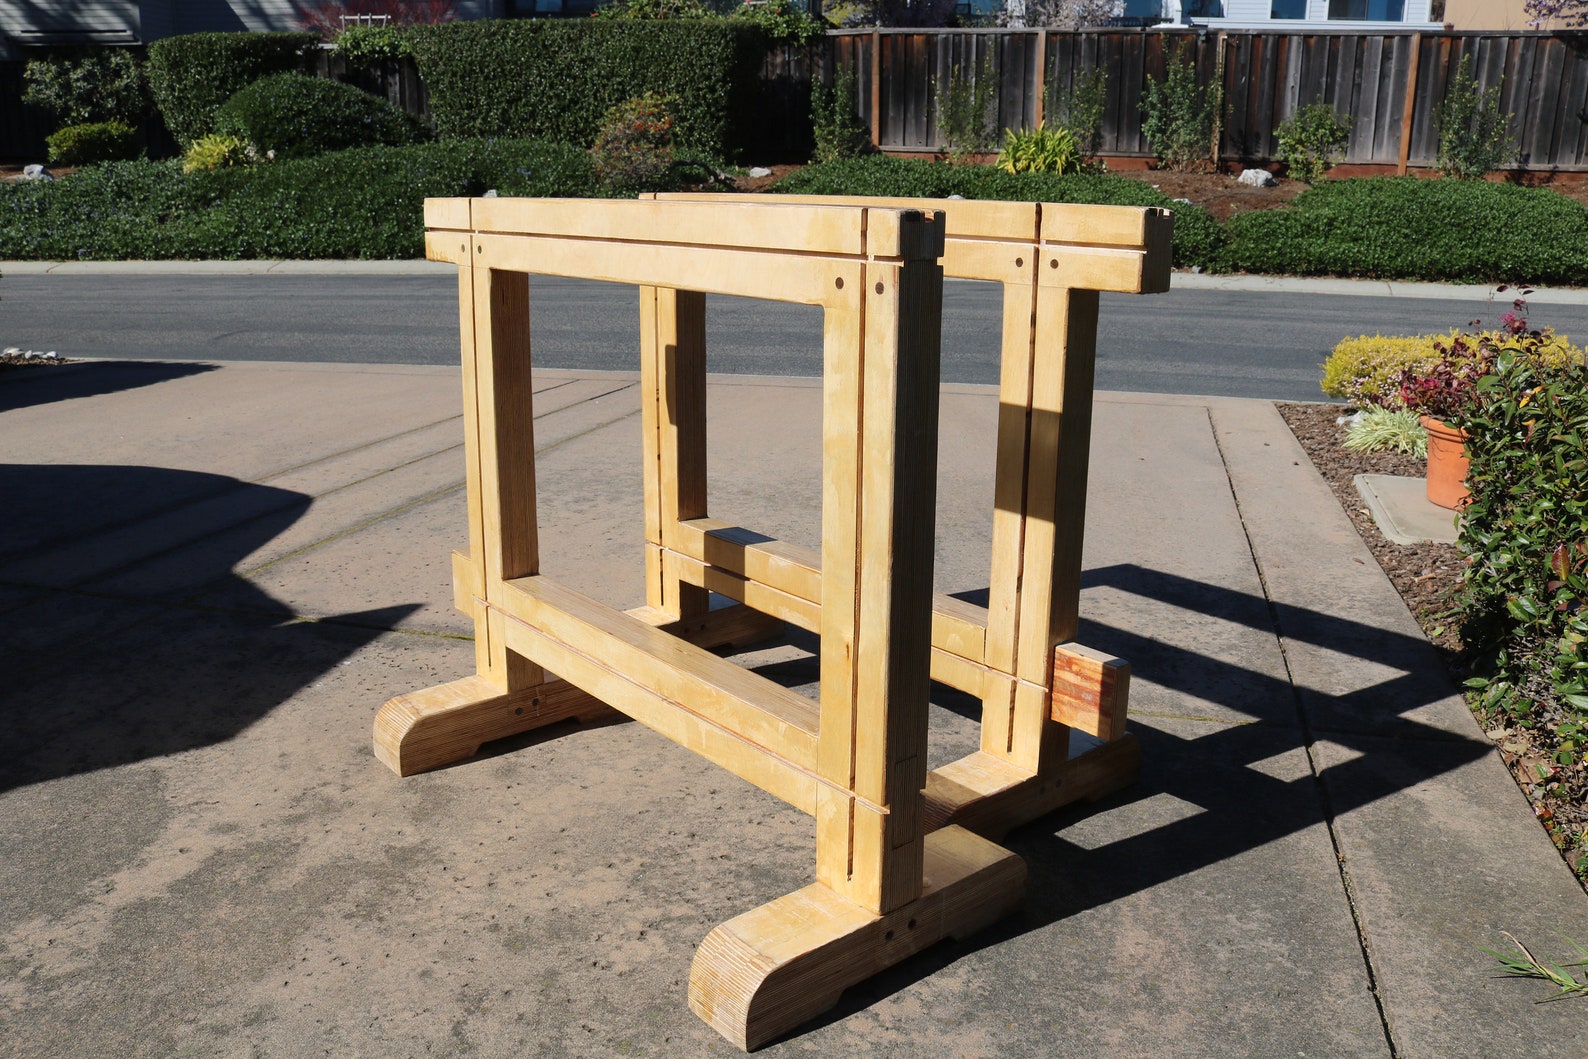
- Key Features: Built to handle punishing workloads, these thick, robust sawhorses feature matchfit dovetail grooves routed along the top and sides. These grooves allow users to slide specialized clamps directly into the sawhorse frame to lock materials in place, entirely eliminating workpiece shifting. Plans include layouts, cut lists, and companion instructional videos.
6. Stackable Plywood Sawhorse Plans
- Best For: Small-space workshops and mobile contractors.
- Key Features: Designed as a set of six, these lightweight plywood sawhorses feature a geometry that allows all six units to nest directly on top of one another. When stacked, the entire set occupies the exact floor footprint of a single sawhorse. They are exceptionally easy to load into the bed of a truck for mobile job-site duty.
7. Dual-Vice Sawhorse Plans
- Best For: Precision cutting and detail work.
- Key Features: While standard sawhorses only support downward weight, this design incorporates two integrated mechanical vices into the frame. Woodworkers can tightly clamp timber, metal stock, or sheet goods vertically or horizontally. This drastically improves cut accuracy and establishes a significantly safer operating environment.
8. 2-in-1 Workbench and Sawhorse Plans
- Best For: Multi-use garages where space is at an absolute premium.
- Key Features: This design transitions seamlessly between a pair of sawhorses and a fully functional low-profile workbench simply by adding or removing a drop-in tabletop. Eschewing metal screws in favor of traditional wooden dowel joinery, these plans deliver a joint structure that is significantly stronger and more durable over decades of heavy use.
9. Heavy-Duty Sawbuck Plans
- Best For: Firewood processing and log cutting.
- Key Features: While flat-topped sawhorses excel at supporting dimensional lumber, cutting raw logs requires a V-shaped "sawbuck." This plan yields a six-legged, wedge-configured sawbuck that cradles rolling logs securely in place. Despite its heavy-duty support capacity, the entire assembly folds flat for compact seasonal storage.
Official Responses and Expert Insights
Industry professionals and veteran woodworkers emphasize that investing time into building your own workshop infrastructure yields dividends in both skill development and project efficiency.
"Building your own sawhorses is the quintessential rite of passage for any woodworker," notes master carpenter and workshop designer Marcus Vance. "Not only do you save money compared to commercial alternatives, but you also gain intimate familiarity with joinery, cutting accuracy, and material management. More importantly, a sawhorse you built yourself is tailored specifically to your working height and physical needs."
Safety advocates also point out that customized workshop furniture dramatically reduces accident rates. According to occupational workshop safety data, more than 35% of minor shop injuries stem from improperly secured workpieces or unstable support tables. Integrating features like dovetail clamping grooves or dual vices directly into sawhorse architecture provides a stable baseline that protects operators from sudden slip-ups.
Implications: The Future of the DIY Workspace
As urban housing densities increase and garage workshops shrink, the demand for modular, multi-use, and storable shop equipment will only accelerate. The proliferation of downloadable digital woodworking plans represents a shift away from disposable consumer goods and toward a sustainable, maker-driven economy.
By leveraging precise digital blueprints, modern DIYers are no longer constrained by the limited offerings of mass-market retailers. Instead, they can curate a bespoke workshop environment where every tool—down to the humble sawhorse—is optimized for maximum safety, efficiency, and spatial economy. Whether tackling a weekend firewood project or crafting fine furniture, the modern DIY sawhorse proves that utility and craftsmanship can go hand in hand.
