

By the Home Efficiency Editorial Desk
As winter approaches and temperatures drop, millions of homeowners face the familiar, frustrating ritual of cranking up their thermostats, only to watch their heating bills skyrocket while their living spaces remain stubbornly drafty. While drafty windows and aging doors are the most obvious culprits, they are rarely the only reasons a house struggles to stay warm.
According to heating, ventilation, and air conditioning (HVAC) professionals, a massive percentage of residential heat loss occurs invisibly through unsealed attics, poorly insulated wall cavities, overlooked gaps around plumbing, and micro-cracks in building envelopes. For owners of older homes in particular, unaddressed thermal inefficiencies can lead to energy waste costing hundreds—if not thousands—of dollars every season.
Rather than relying on guesswork or trial-and-error home improvements, industry experts recommend a systematic diagnostic approach. By utilizing five distinct tests and tools ranging from free low-tech methods to advanced thermal imaging, homeowners can precisely pinpoint where their hard-earned heat is escaping and take targeted steps to ensure both comfort and significant financial savings.
The Anatomy of Residential Heat Loss: Main Facts
Before diving into diagnostic tests, it helps to understand how and why heat leaves a building. Heat naturally flows from warmer areas to colder areas through three primary mechanisms: conduction, convection, and radiation. In a home during winter, this translates to heated indoor air finding every possible pathway to migrate outside, while cold outdoor air infiltrates the living space.
Key areas susceptible to heat loss include:
- The Attic: Warm air naturally rises (the stack effect). If attic insulation is degraded, thin, or improperly installed with the wrong R-value, heat rushes straight through the roof deck.
- The Envelope Perimeter: Windows, exterior doors, baseboards, and rim joists frequently harbor tiny gaps where framing materials have shifted or caulking has deteriorated.
- Penetrations: Electrical outlets on exterior walls, recessed lighting fixtures (pot lights), ceiling fans, and plumbing stack chases act as hidden chimneys for warm air.
- Aging Building Materials: Wooden frames around windows and doors are vulnerable to rot and softening over time, creating pathways for air leakage.
A Step-by-Step Diagnostic Chronology
Pinpointing thermal inefficiencies does not require calling in an expensive contractor right away. Experts suggest following a logical chronology of diagnostic steps, moving from the simplest, zero-cost visual checks to more advanced scientific methods.
Phase 1: The Visual Inspection
One of the cheapest and simplest methods to locate potential heat loss is a thorough visual walk-through, advises James Medina, an HVACR instructor at Universal Technical Institute.
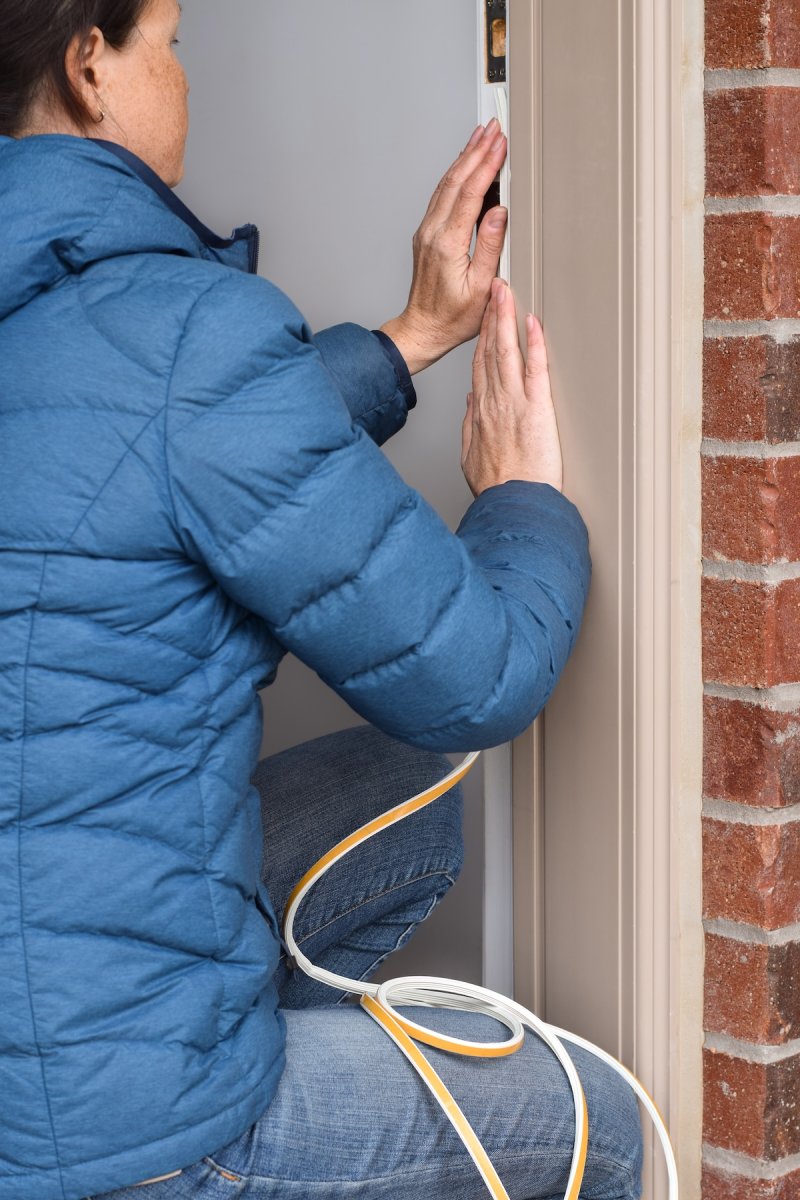
“Simply check around doors and windows for any openings where the air and heat would be able to escape,” Medina advises. Wooden frames demand close scrutiny, as they are particularly susceptible to decay, softening, and warping over time.
Homeowners should systematically look for:
- Deteriorated or compressed weatherstripping around doors and operable windows.
- Cracked, missing, or brittle caulking along exterior trim and siding joints.
- Gaps around utility penetrations, including pipes, electrical conduits, and gas lines.
- Gaps and unsealed spaces surrounding electrical outlets, light switches, ceiling fixture boxes, and baseboards.
Phase 2: The Touch Test
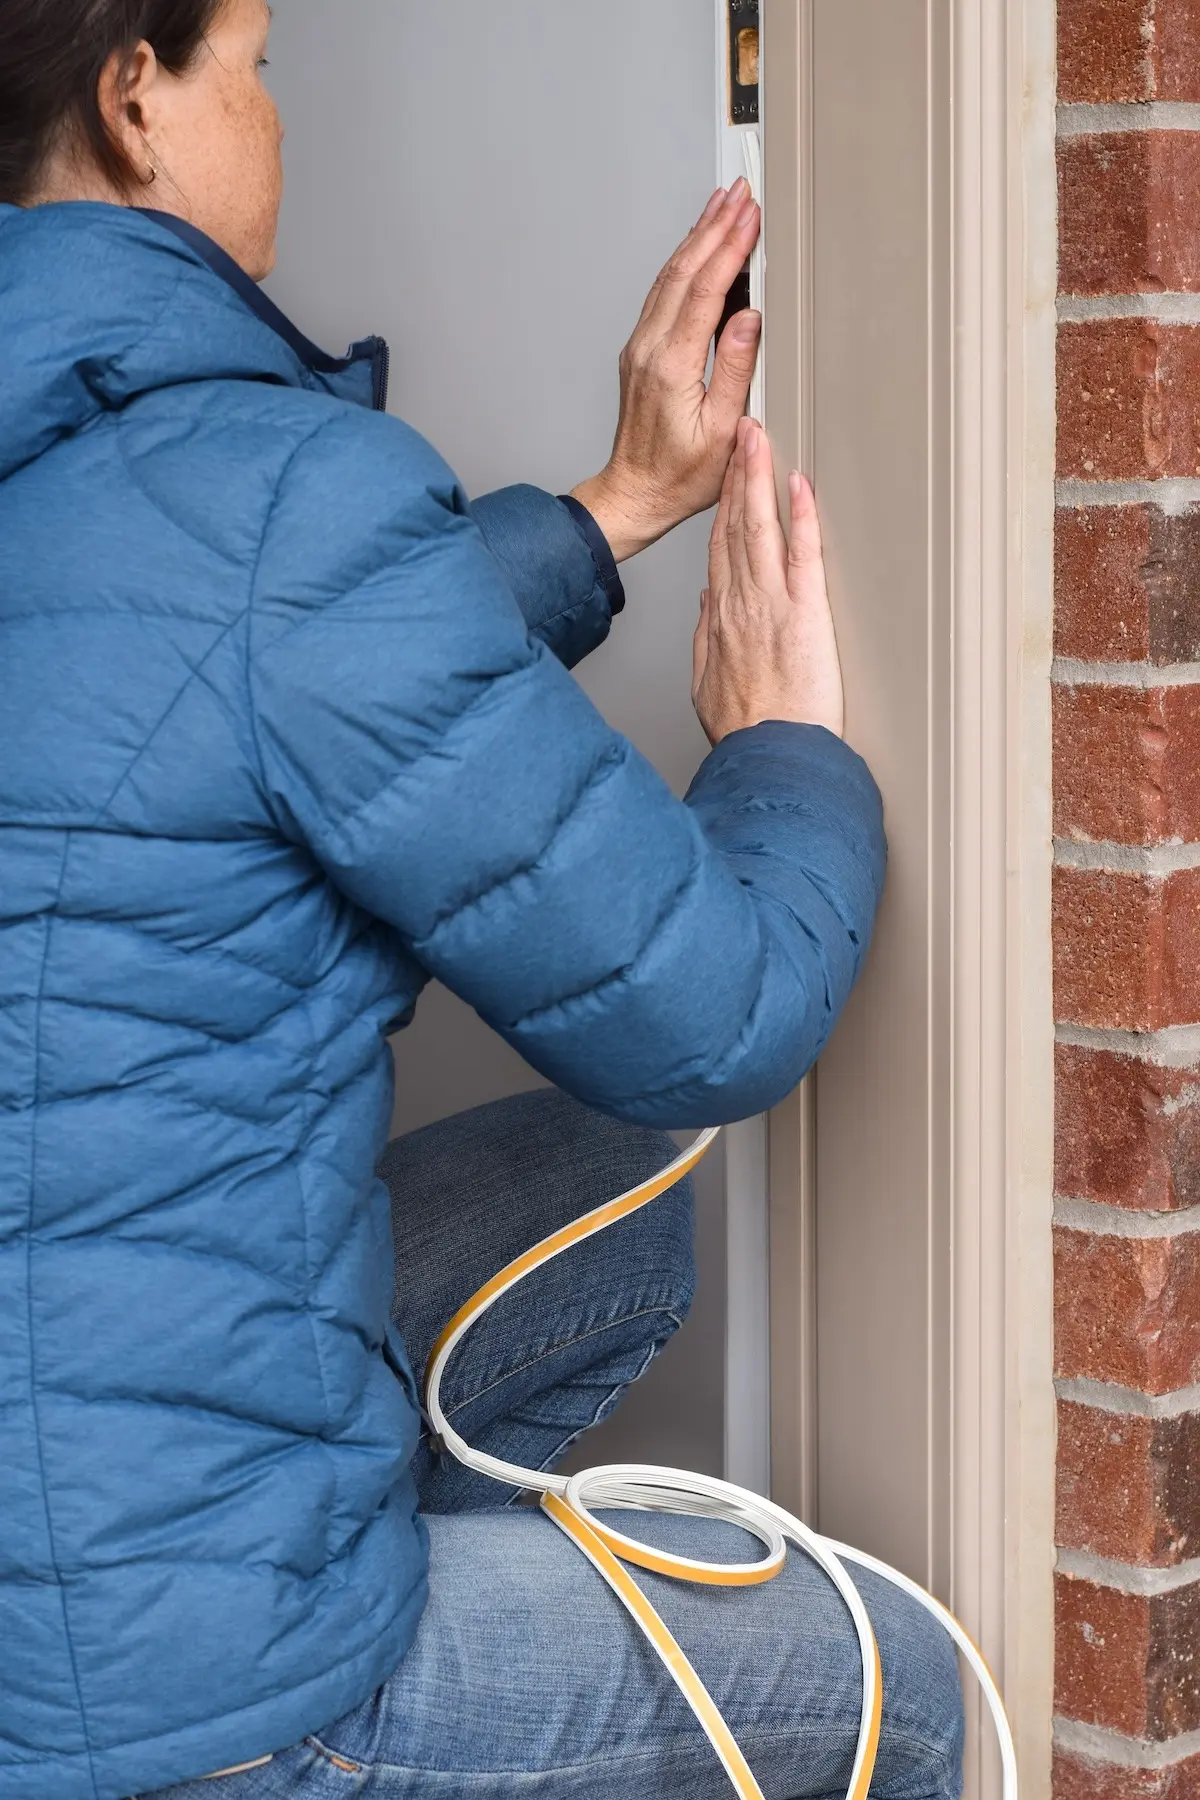
Once a visual survey is complete, homeowners can engage their sense of touch. On a bitter winter day, turn on the heating system and conduct a tactile sweep of the home’s perimeter.
“Walk around the exterior of your home, feeling for any heat that may be escaping through door or window frames,” Medina suggests. Conversely, checking interior walls adjacent to unconditioned spaces—such as an attached garage or an unheated crawlspace—will often reveal cold spots. “As the heat escapes, it will feel cold to the touch,” he explains. Pay explicit attention to temperature shifts around baseboards, electrical receptacles on exterior walls, and recessed lighting cans.
Phase 3: The Smoke Test
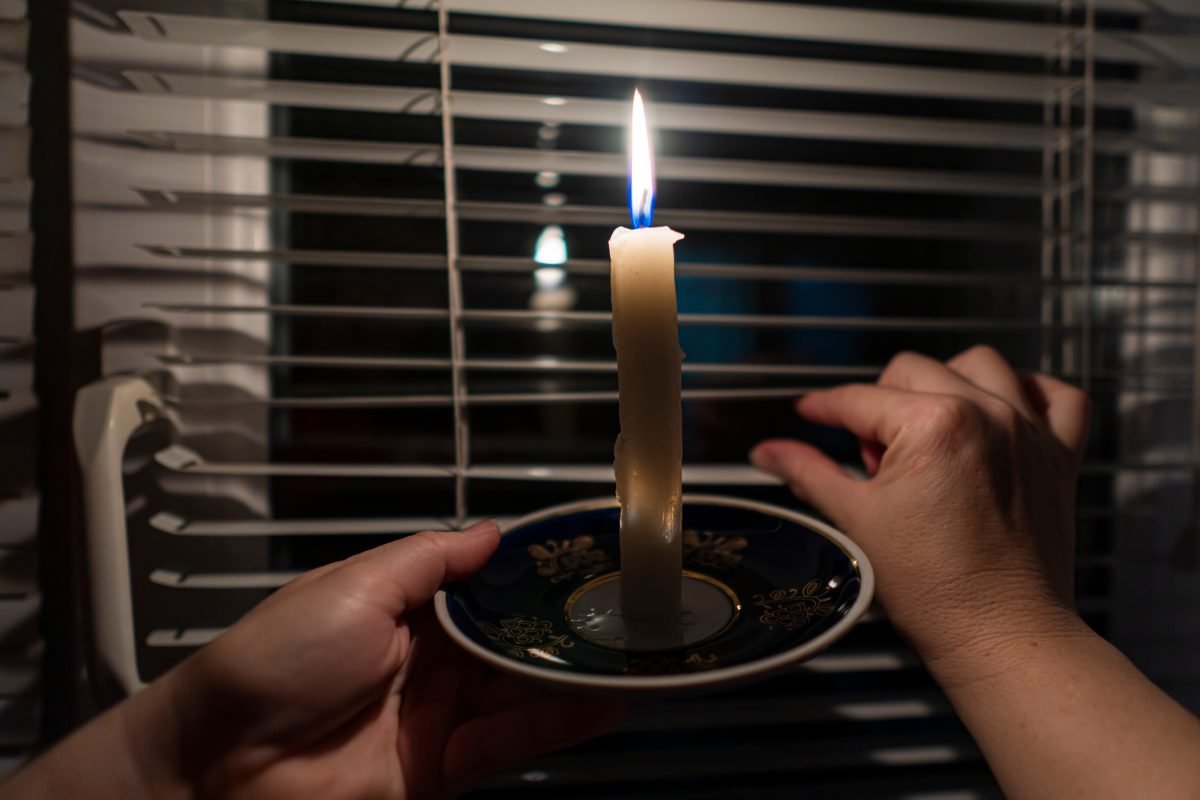
For a more precise visual indicator of air currents, homeowners can perform a classic smoke test using a lit stick of incense or a controlled candle.
“Walk around the interior of the residence that borders an unconditioned space, such as the outside or the garage, and watch for places the smoke pulls toward cracks or penetrations,” Medina explains. If the smoke plume bends, wafts erratically, or gets sucked directly toward a seam, it is a definitive indication that conditioned indoor air is rushing outward, carrying valuable heat with it.
Phase 4: The Snow Test
Taking the diagnostic process outside provides a macro-level view of home energy performance. Kevin Bohnet, HVAC program director at Fortis College, recommends observing the roof of your home relative to your neighbors’ roofs after a light snowfall or a heavy frost.
“Check whether you have less frost or light snow on your roof compared to your neighbors,” Bohnet says. “If your attic is not insulated well, heat will penetrate through and warm the inside of the attic, causing the frost or light snow to melt prematurely, which is a definite sign of losing heat.”
Phase 5: The Thermal Camera Evaluation
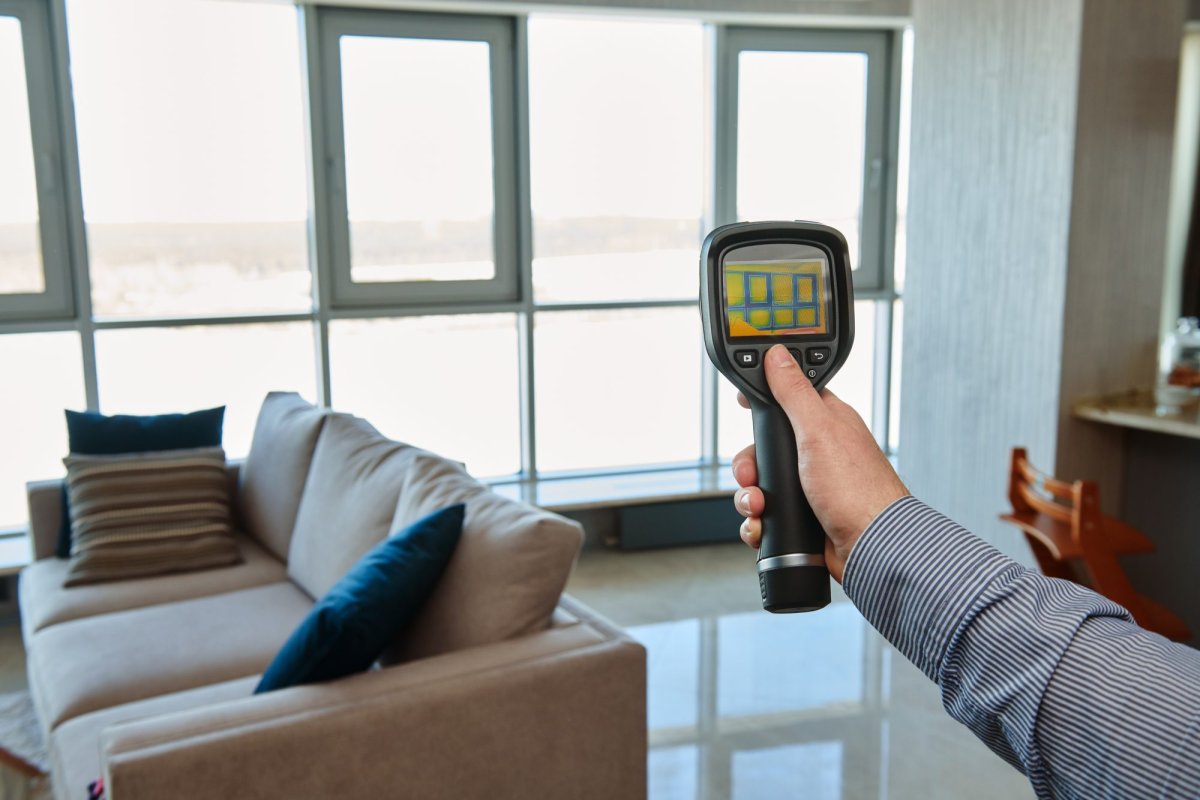
For homeowners seeking definitive, data-backed results, the most technological approach is to invest in or rent a thermal imaging camera. This vital diagnostic instrument scans walls, floors, ceilings, windows, and doors, instantly visualizing temperature differentials.
Thermal cameras operate by detecting infrared energy (heat signatures) emitted or reflected by objects, converting that invisible data into a vibrant electronic image mapped to a temperature scale. To maximize accuracy, experts recommend conducting this test on a cold day and temporarily elevating the indoor thermostat setting to create a stark thermal contrast between the interior and exterior environments.
For those looking to purchase equipment, market options range from professional-grade handheld units to smartphone attachments. Industry testing teams frequently rate devices like the TopDon TC005 Thermal Camera—capable of measuring extremes from -4 degrees to 1,022 degrees Fahrenheit—among the best overall tools for DIY energy auditing.
Supporting Data and Energy Efficiency Statistics
The financial impact of hidden heat loss is staggering. According to the U.S. Department of Energy (DOE), heating and cooling account for roughly 50 percent of the energy use in a typical American home, making it the largest energy expense for most households.
Furthermore, data compiled by building science organizations indicates that air leaks and poorly insulated attics account for up to 30 percent of a home’s total heating and cooling energy loss. Sealing these hidden vulnerabilities and upgrading attic insulation to recommended regional R-values can reduce annual heating and cooling bills by an average of 15 percent, translating to hundreds of dollars in direct annual savings while simultaneously cutting household carbon emissions.
Professional Insights and Official Industry Responses
Energy auditors and building contractors emphasize that modern construction standards place heavy emphasis on airtightness, but older housing stock remains a major energy sink.
“It is common for homes to experience some level of heat loss,” Medina notes. “What you can do is try to mitigate this as much as possible by making sure your home is properly insulated and sealed.”
According to building code authorities, most residential heat exfiltration problems can be resolved through straightforward remediation efforts. Simple applications of professional-grade caulk, expanding foam, and fresh weatherstripping can eliminate localized drafts. However, the single most effective structural upgrade remains addressing the attic.
“One of the best and most inexpensive ways to prevent heat from escaping your home is to have your attic insulated with the proper R-value,” Medina explains, defining R-value as the measurement of insulation’s capacity to resist heat flow.
When DIY measures fall short, building experts advise consulting a certified home energy rating system (HERS) rater or a reputable energy auditing company. These professionals use blower door tests—which pressurize a home to quantify overall air leakage rates—to deliver a comprehensive roadmap for thermal improvement.
Implications for Homeowners and the Housing Market
Addressing residential heat loss carries broad implications that extend well beyond individual utility bill savings.
- Macroeconomic Impact: On a national scale, retrofitting millions of drafty residential structures significantly reduces peak demand on electrical grids and natural gas pipelines during severe winter weather events, stabilizing energy markets and reducing infrastructure strain.
- Indoor Air Quality and Structural Health: Uncontrolled air movement often brings moisture into wall cavities, leading to condensation, mold growth, wood rot, and premature structural degradation. Sealing a home preserves its long-term structural integrity.
- Real Estate Value: Energy efficiency is increasingly becoming a major selling point in real estate. Homes verified to have low energy loss and updated insulation command higher resale values and appeal to environmentally conscious buyers.
- Occupant Comfort: Beyond finances, eliminating drafts and cold spots dramatically improves indoor thermal comfort, eradicating uneven room temperatures and cold drafts that plague older homes.
By utilizing diagnostic tools ranging from a simple stick of incense to advanced thermal cameras, homeowners can transform winter energy management from a guessing game into a precise, cost-saving science.
