

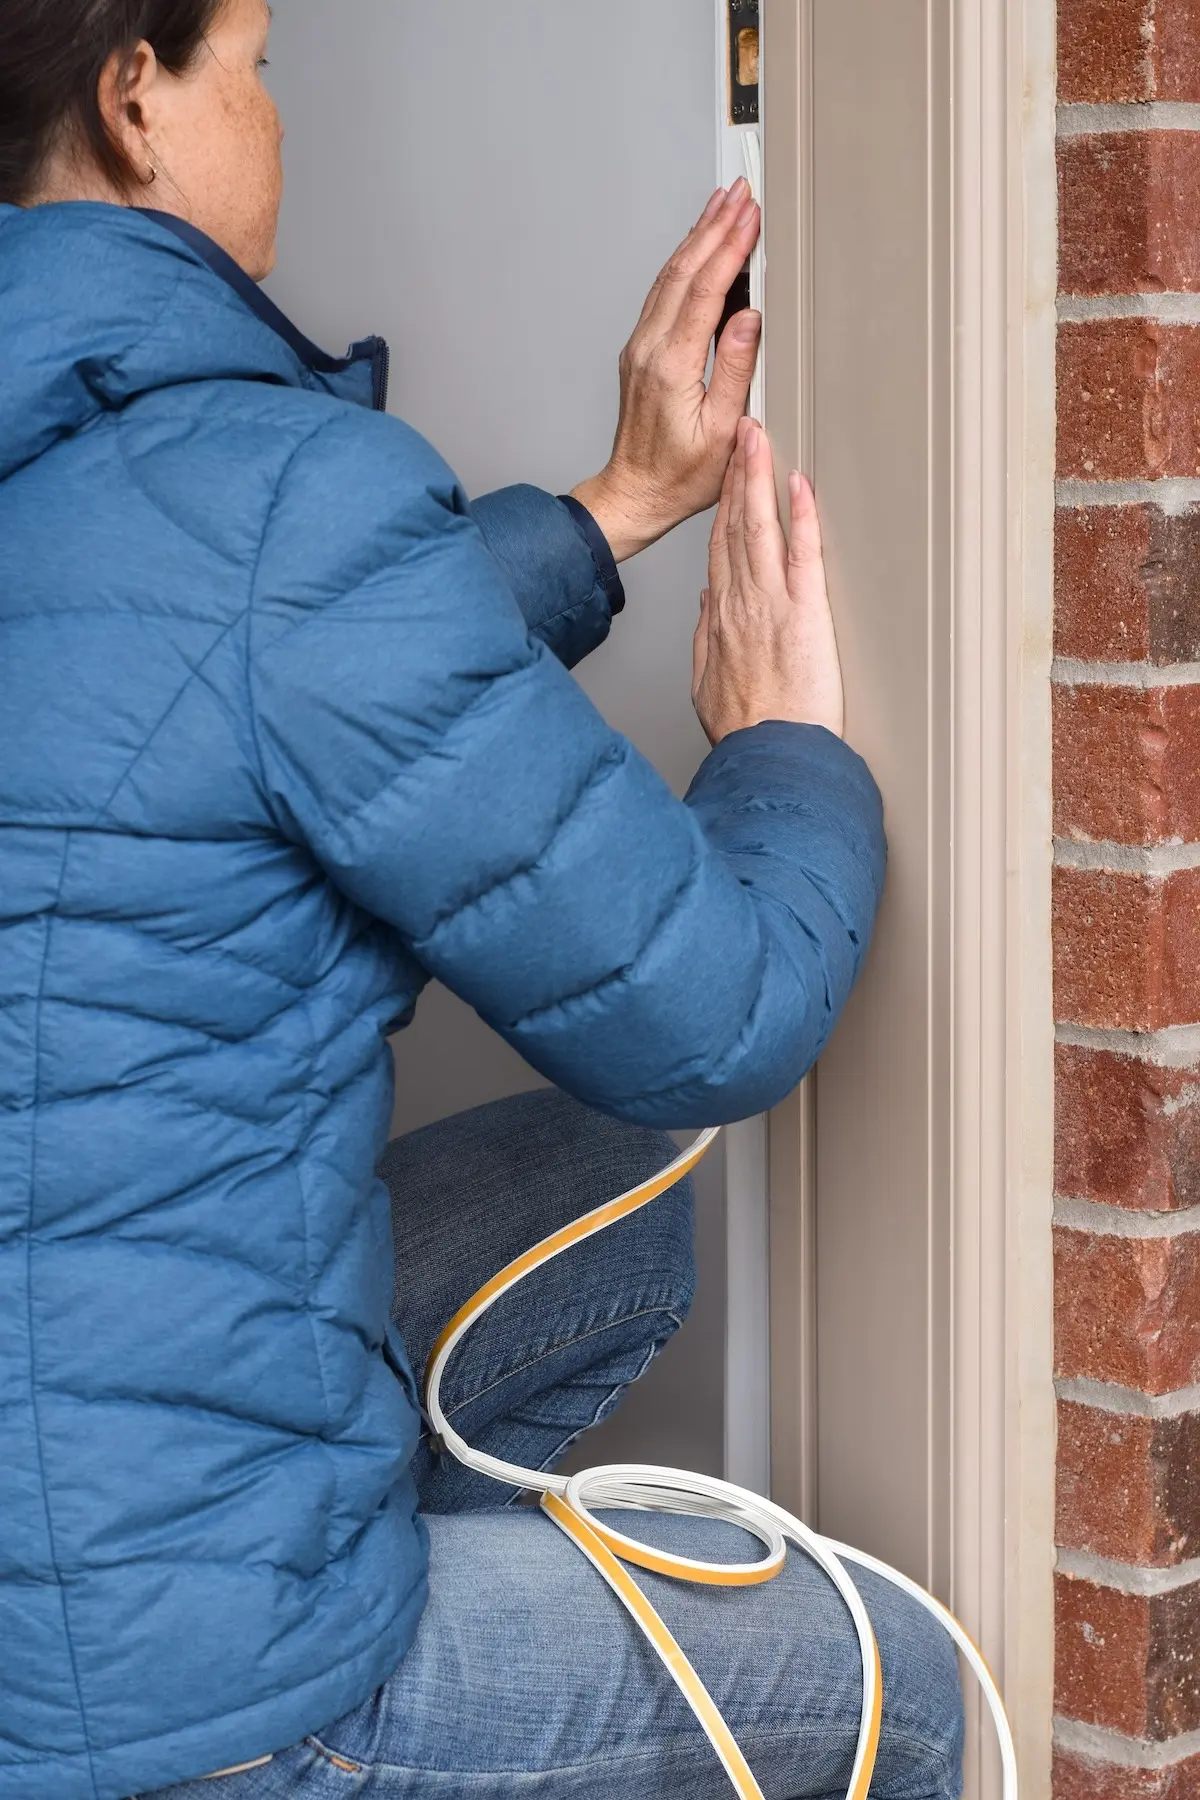
As winter weather settles in and temperatures plummet, homeowners across the country face the inevitable shock of skyrocketing energy bills. While drafty windows and aging thermostats frequently take the blame for soaring heating costs, the true culprit is often entirely invisible. Hidden thermal leaks—such as unsealed attics, poorly insulated wall cavities, and microscopic gaps around electrical fixtures—can silently bleed conditioned air from your living space, forcing your heating system to work overtime.
Rather than relying on guesswork or unnecessarily cranking up the thermostat, building science and HVAC professionals recommend a systematic approach to home energy audits. By utilizing five distinct diagnostic tests ranging from simple DIY visual inspections to high-tech thermal imaging, homeowners can pinpoint exact areas of heat loss and implement targeted solutions to maximize both indoor comfort and winter savings.
The Economics of Home Energy Inefficiency
To understand why detecting heat loss matters, one must first look at the financial and structural impact of unconditioned air exchange. According to the U.S. Department of Energy, heating and cooling account for more than 50 percent of the average home’s energy consumption. When warm air escapes through structural cracks, gaps, and poorly insulated thermal envelopes, households essentially pay to heat the outdoors.
Older homes are particularly vulnerable. Over decades, settling foundations, wood decay, and degraded building materials create pathways for conditioned air to migrate outward via exfiltration, while cold, unconditioned air infiltrates from the outside.
"If you live in an older home and haven’t updated the insulation, there’s a good chance that new insulation could make your house significantly more comfortable and energy-efficient," notes James Medina, an HVACR instructor at Universal Technical Institute. "While drafty windows are often blamed when you have to keep raising the thermostat, heat loss is frequently the result of unknown gaps, unsealed attics, and poorly insulated wall cavities."
To combat these silent utility-bill killers, experts recommend deploying five proven diagnostic strategies to map out where your home is bleeding heat.
1. The Visual Inspection: Spotting Structural Vulnerabilities
The most cost-effective place to begin your energy audit is with a thorough, methodical visual walk-through of both the interior and exterior of your home. This foundational step requires no specialized tools—just a keen eye and a flashlight.
Exterior and Window Frames
Begin by inspecting the exterior perimeter of the house. Pay close attention to wooden window and door frames, which are highly susceptible to moisture damage, rot, and structural shifting over time. Soft or spongy wood compromises the tight seal required to keep conditioned air inside.
Interior Penetrations
Inside the home, look beyond obvious draft zones. Inspect baseboards, crown molding, and the junctures where walls meet ceilings and floors. Crucially, examine areas where utilities penetrate the building envelope, including:
- Electrical outlets and wall switches
- Light fixtures and ceiling fan mountings
- Plumbing pipes entering under sinks or behind toilets
- Dryer vents and exhaust fan ducts
Look for cracked or missing caulking, deteriorated weatherstripping around doors, and gaps in insulation visible from unfinished basements or crawlspaces.
2. The Touch Test: Feeling the Thermal Bridge
When outdoor temperatures drop significantly, human touch becomes a remarkably sensitive instrument for detecting temperature differentials caused by air movement.
On a cold winter day, with your heating system actively running, conduct a tactile survey of your home.
- Exterior Walls and Windows: Walk the perimeter of your living spaces, running your hand slowly along window frames, baseboards, and exterior-facing walls. Escaping warm air or infiltrating cold air creates noticeable temperature variances.
- The Interior Check: As warm air leaks outward through building cracks, it draws in cold outside air elsewhere, causing specific indoor surfaces to feel noticeably cold to the touch. Pay special attention to electrical receptacles on exterior walls; uninsulated outlet boxes are notorious pathways for cold drafts.
3. The Smoke Test: Tracing Air Currents
Air leaks are often invisible to the naked eye, but smoke can make them instantly apparent by visualizing the movement of air currents.
How to Conduct the Test
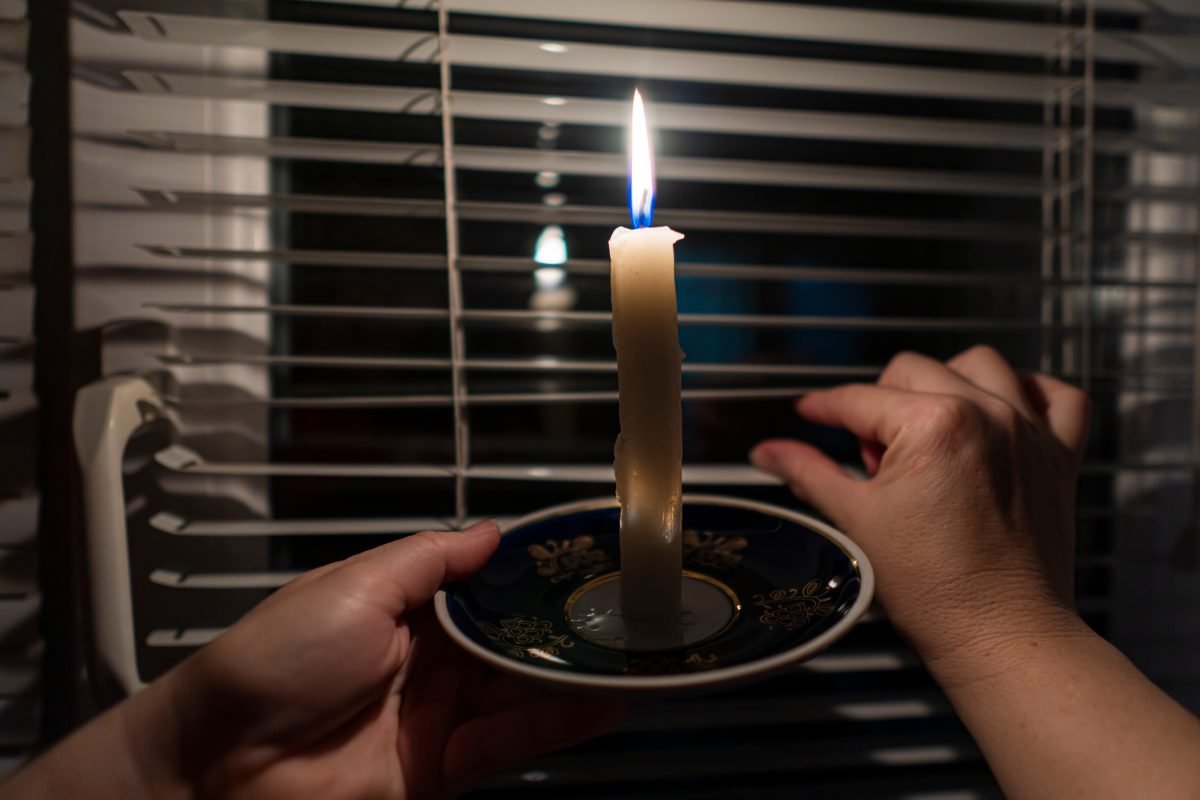
- Turn on all exhaust fans in the house (such as bathroom and kitchen range hoods) to depressurize the building slightly. This pulls outdoor air inward through existing cracks, making leaks easier to track.
- Light an incense stick or a candle.
- Slowly walk the interior perimeter of rooms that border unconditioned spaces, such as garages, attics, or the outdoors.
- Hold the smoke source near windows, doors, baseboards, and electrical penetrations.
"Watch for places where the smoke pulls toward cracks or penetrations," explains Medina. "This is an indication that air is leaving the conditioned space—or being pulled inward from outside—carrying heat out with it."
4. The Snow Test: Reading Your Roof’s Thermal Signature
While indoor tests focus on living spaces, an exterior observation after a winter snowstorm can reveal critical information about your home’s attic insulation.
Analyzing the Roof Patterns
Step outside after a light snow or frost and compare your roof to those of your neighbors.
"Check whether you have less frost or light snow on your roof compared to your neighbors," advises Kevin Bohnet, HVAC program director at Fortis College. "If your attic is not insulated well, heat will penetrate through and warm the inside of the attic, causing the frost or light snow to melt prematurely. That is a definite sign of losing heat."
A uniformly snowy roof indicates that attic insulation is effectively trapping heat inside the living space, whereas patchy, melted snow patterns suggest severe thermal bridging and energy loss.
5. The High-Tech Approach: Thermal Imaging Cameras
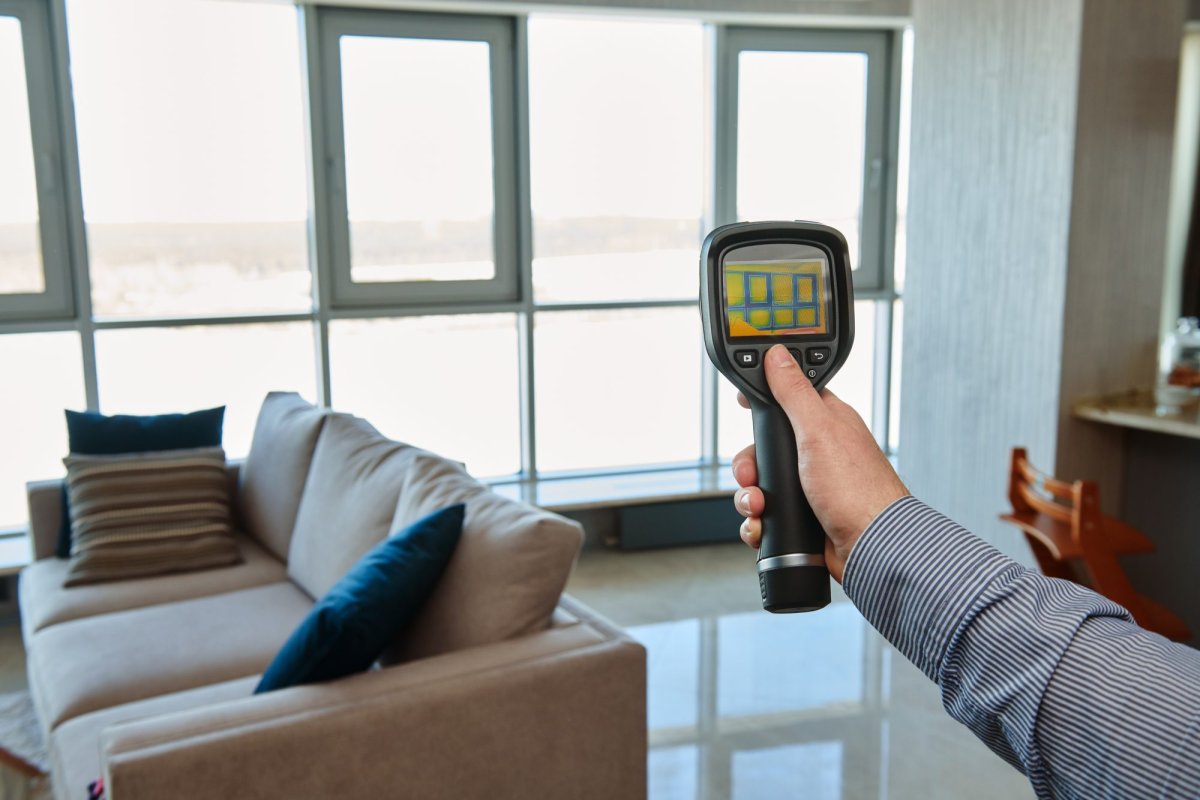
For homeowners seeking absolute precision, thermal imaging represents the gold standard of modern diagnostic tools. Portable infrared (IR) cameras convert invisible heat signatures into vibrant, easy-to-read electronic images that display exact surface temperatures.
Maximizing Thermal Accuracy
To get the most accurate results from a thermal camera:
- Conduct the test on a cold day.
- Turn your indoor heating up higher than normal to create a stark thermal contrast between the interior and exterior environments.
- Scan walls, floors, ceilings, and windows from the interior.
Areas of heat loss or missing insulation will show up as distinct color variations on the camera’s display screen, allowing homeowners to pinpoint exact structural flaws down to the square inch. For those looking to invest in diagnostic equipment, market options like the TopDon TC005 Thermal Camera—capable of measuring extreme temperatures ranging from -4°F to +1,022°F—offer professional-grade insights for DIYers.
Action Plan: Next Steps to Seal and Save
Identifying thermal leaks is only half the battle; mitigating them requires targeted repairs and strategic home improvements. Fortunately, most heat exfiltration problems can be resolved with basic DIY materials and professional maintenance.
1. Seal Cracks and Gaps
For minor gaps around windows, baseboards, and utility penetrations, standard acrylic latex or silicone caulk provides an immediate, inexpensive barrier. For larger gaps around plumbing lines and ductwork, expanding foam insulation offers durable air-sealing protection.
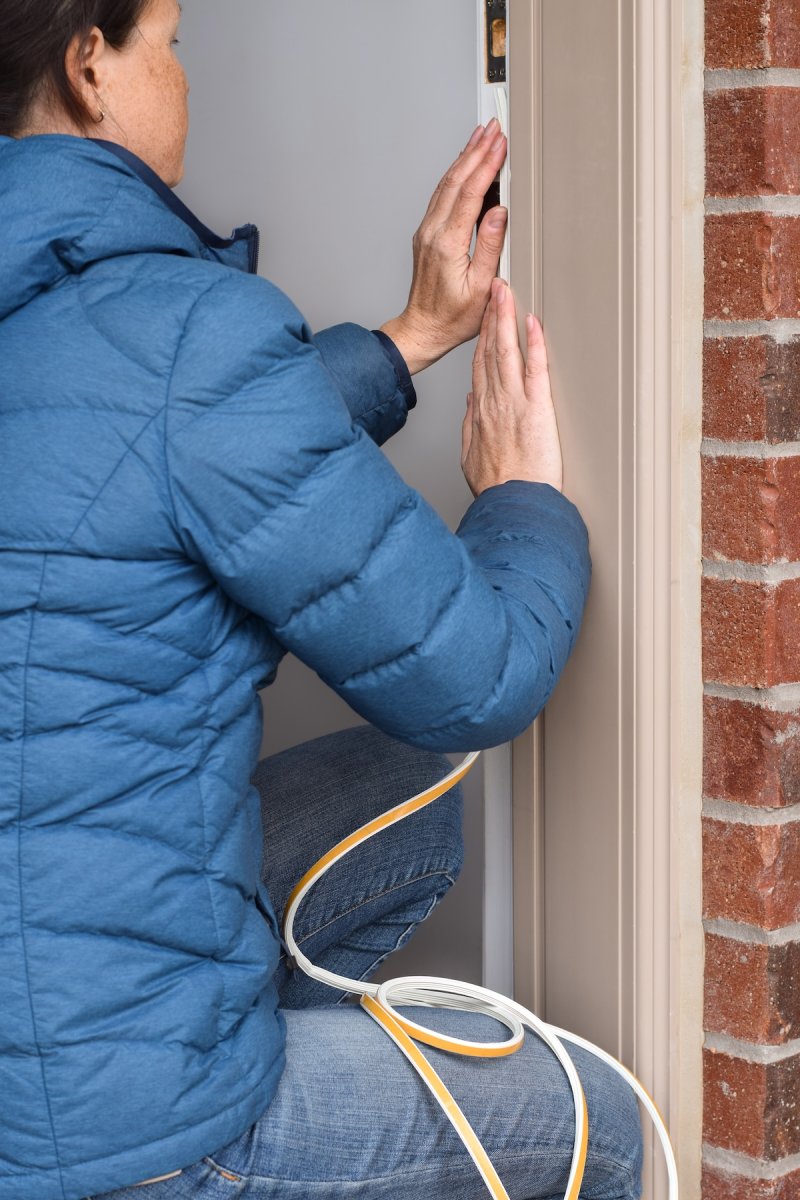
2. Upgrade Weatherstripping
Worn-out weatherstripping around exterior doors and operable windows is a primary driver of drafts. Replacing compressed or torn foam, rubber, or felt seals takes minutes and drastically reduces air exchange.
3. Insulate the Attic
"One of the best and most inexpensive ways to prevent heat from escaping your home is to have your attic insulated with the proper R-value," notes Medina, referencing the metric that measures how effectively insulation resists heat flow. Ensuring your attic meets regional Department of Energy R-value recommendations keeps rising heat right where it belongs: inside your living quarters.
4. Consult a Professional Energy Auditor
If DIY inspections fail to resolve chronic comfort issues, or if your heating bills remain stubbornly high, consider hiring a certified energy auditing company. Professionals can perform comprehensive blower door tests and thermal scans to deliver a customized roadmap for holistic home efficiency improvements, which may ultimately include replacing severely degraded window assemblies or rotting exterior doors.
By taking a proactive, evidence-based approach to home energy conservation this winter, homeowners can transform drafty, expensive houses into cozy, energy-efficient sanctuaries while keeping hard-earned money safely in their pockets.
