

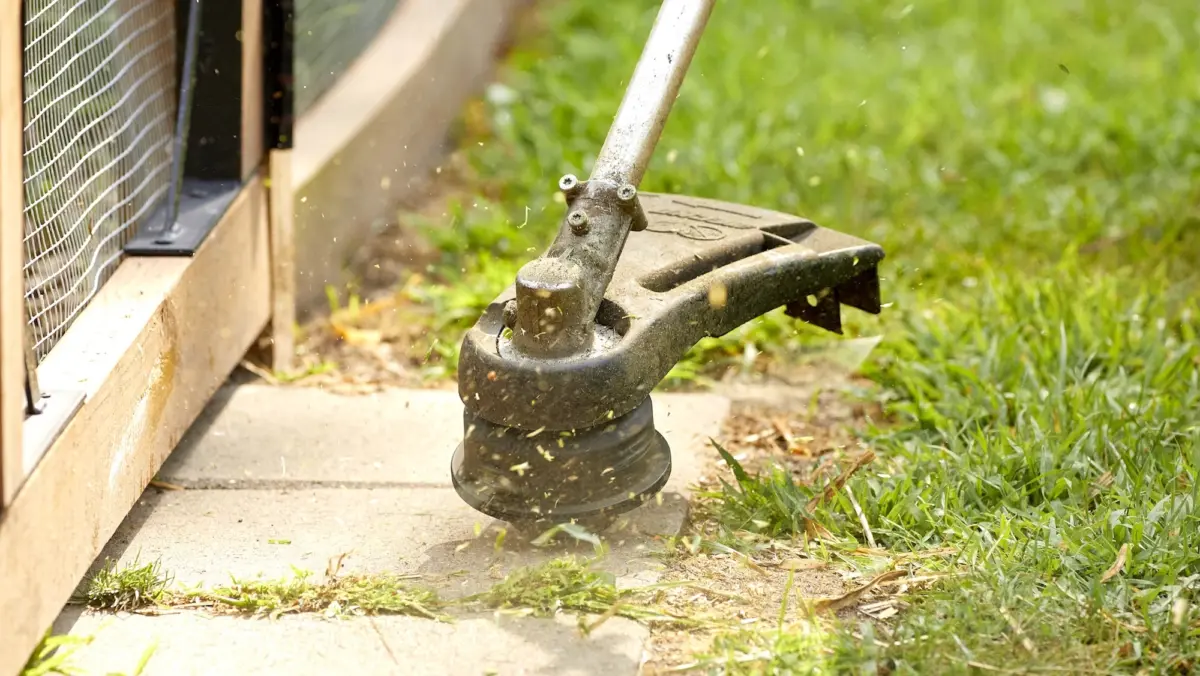
When it comes to achieving a pristine, professionally manicured yard, a trusty lawn mower can only take you so far. While mowers excel at covering vast expanses of open turf, they are inherently limited by their bulky decks and rigid blades. They cannot navigate flush against the exterior walls of a home, squeeze tightly between decorative garden fencing, or clip overgrown grass hugging stone pathways and mailbox posts. For these precision tasks, homeowners rely on the indispensable weed eater—more formally known as the string trimmer.
Yet, any seasoned landscaper will tell you that the very utility of a string trimmer brings a frequent maintenance chore: replacing the trimmer line. Over the course of a demanding lawn care season, the high-velocity nylon string wears down against concrete, snaps against stubborn stalks, or simply depletes. For the uninitiated, restringing a weed eater can notoriously transform from a quick five-minute fix into a frustrating, tangle-filled ordeal.
To help homeowners conquer this seasonal hurdle, landscaping professionals and tool review experts have pooled their knowledge to provide a definitive, foolproof blueprint for replacing trimmer line efficiently, safely, and correctly.
Main Facts: Understanding the Basics of Trimmer Maintenance
Before diving into the mechanical steps of restringing a weed eater, it is critical to grasp the core components of the machinery and the physics of the cutting line itself. A string trimmer operates by spinning a durable nylon filament at blistering speeds, utilizing centrifugal force to slice through grass and soft weeds via pure kinetic energy.
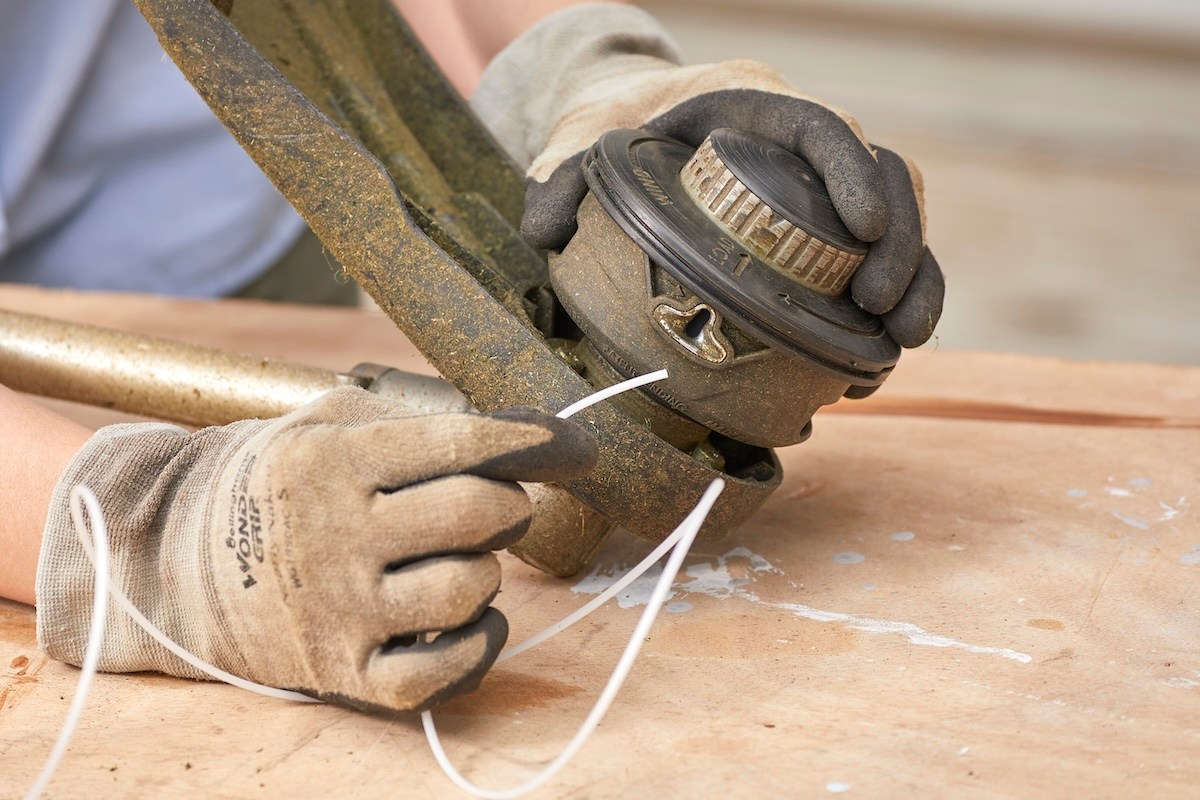
However, because this line is constantly subjected to abrasive surfaces, high friction, and tough vegetation, it has a finite lifespan. When a user notices their trimmer failing to cleanly cut vegetation, repeatedly jamming, or running entirely empty, a replacement is mandatory.
The maintenance process requires adherence to strict safety protocols:
- Power Down Completely: Whether operating a gas-powered model, a cordless battery unit, or a corded electric trimmer, the machine must be entirely deactivated. For gas trimmers, shut off the engine; for cordless models, remove the battery pack; for corded variants, unplug the unit from the electrical outlet.
- Select the Right Gauge: Trimmer lines are not universally interchangeable. They vary in thickness, ranging from light-duty 0.065-inch lines suitable for residential lawns to heavy-duty 0.11-inch lines built for rugged, commercial-grade property maintenance. Using an incompatible size can cause the feed mechanism to jam or fail entirely.
Chronology: A Step-by-Step Guide to Restringing Your Weed Eater
Successfully changing a string trimmer line is a methodical process. By following a clear, chronological sequence, homeowners can avoid common pitfalls such as overwinding, tangled lines, or incorrectly seated spools.
Step 1: Procuring the Correct Trimmer Line
Never guess when it comes to line thickness. Consult your tool’s owner manual to find the manufacturer-recommended diameter. For upgraded performance against dense, woody weeds, experts recommend looking into specialized profiles.
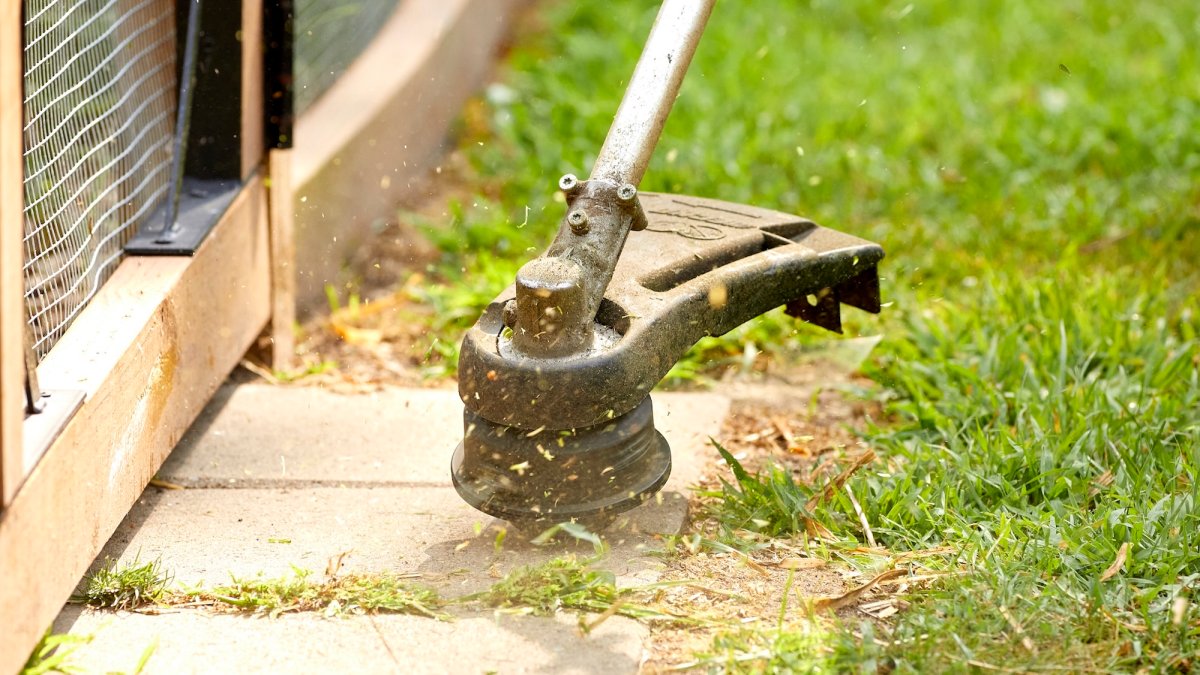
"For thicker weeds, consider using a heavier gauge line or a twisted line, which are more durable and can handle tougher conditions without wearing out as quickly," advises Michael Clarke, founder of the home and garden site Yardwork.
Step 2: Accessing the Cutting Head and Spool
Place your string trimmer upside down on a flat, stable surface so that the cutting head points upward toward you. Depending on your model, remove the protective cap either by pinching its dual side-release tabs or by unscrewing it counter-clockwise. Once the cap is removed, lift out the internal spool and discard any remaining, frayed scraps of old line.
Pro Tip from Jeremy Yamaguchi, owner of Lawn Love: "A mistake a lot of people make is taking out the spool and then taking out the last bit of string without looking at it, and then when they go to attach the new string, they realize they aren’t exactly sure where things go. If you just take a few moments to assess how and where the old string is attached—or better yet, take a picture on your phone—that will make installing the new string way easier."
Step 3: Measuring the Appropriate Length of Line
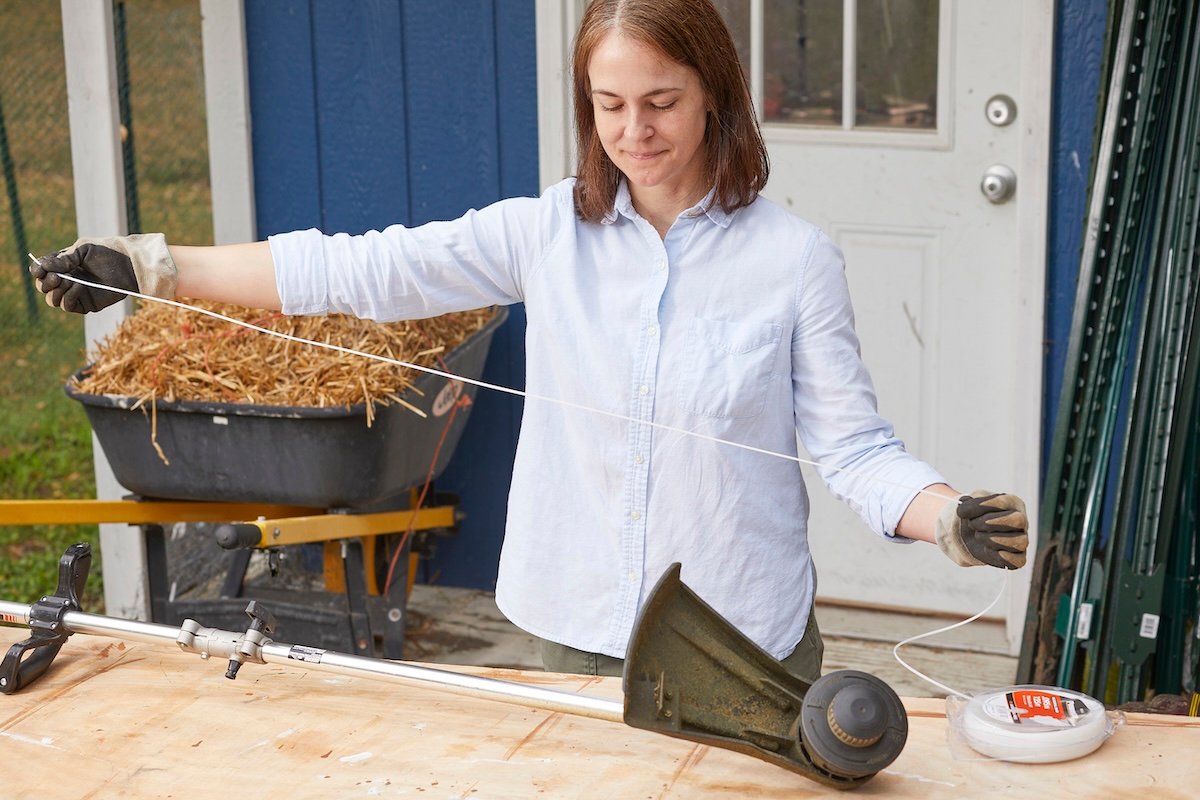
To avoid cutting too much or too little string, utilize a reliable physical benchmark. Mark Clement, a licensed contractor and home tool reviewer with MyFixitUpLife, recommends using your own arm span as a measuring tape. Extend your arm fully to the side and make three successive pulls of the line. While individual arm lengths vary, this technique reliably yields enough footage to adequately fill a standard spool.
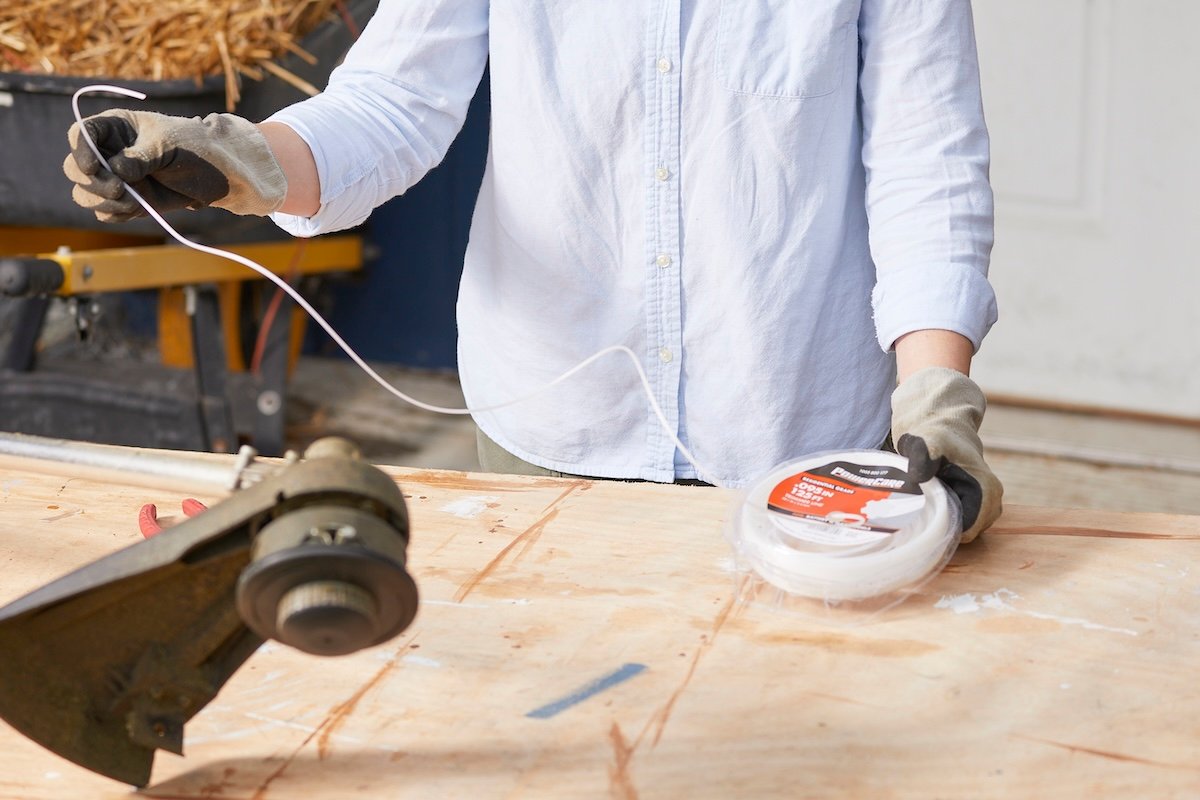
Step 4: Winding the Replacement Line
Inspect the spool for the small anchor hole(s) designed to secure the starting end of the line. If your trimmer utilizes a dual-line system, the spool will feature two distinct anchoring channels and separate holes.
Insert the clean end of your measured line into the anchor hole and look for directional arrows imprinted on the plastic indicating the proper winding path.
"When winding the trimmer line in the spool, keep it tight but not too tight, since a loose line can cause it to get caught or stuck when in use, and a tight line can force the line to stick together," Clarke cautions, adding that overfilling the spool must be strictly avoided to prevent mechanical jams.
Step 5: Reinstalling the Spool (Standard vs. Speed-Feed Heads)
Once wound, carefully maintain tension on the line so it does not uncoil.
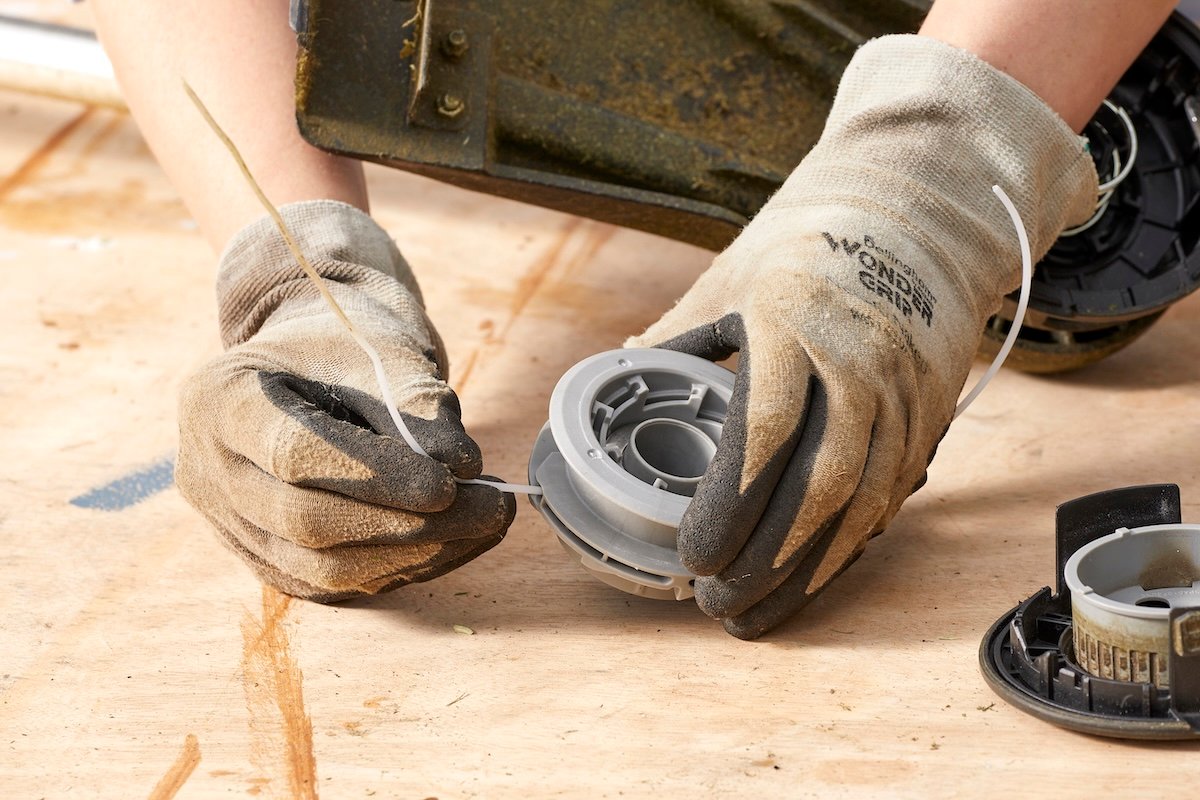
- Standard Trimmers: Feed each loose end of the line through the corresponding eyelets on the outer spool housing. Push the loaded spool firmly back into the housing, ensuring the lines remain captured in their holding notches, and snap the retaining cap back into place.
- Speed-Feed Trimmers: Modern speed-feed heads eliminate the need to dismantle the cutting head entirely. Align the exterior hash marks on the head, thread a single continuous length of line straight through one eyelet, push it through the interior channel, and pull it out through the opposite eyelet until both sides are even. Twist the base of the head to automatically wind the internal spool.
Pro Tip: Because coiled nylon has a natural "memory" curve, pushing it through a straight path can prove difficult. Clement suggests flexing the curve out of the first 12 inches of line by straightening it by hand prior to feeding. If exterior hash marks have worn away from months of abrasive use, manually rotate the internal spindle by pressing down repeatedly on the bump head until opposing eyelets line up clearly.
Step 6: Setting the Final Line Length
With the spool safely secured, test the feed mechanism. Tap the trimmer head firmly against the ground while pulling gently on the exposed ends of the line. You should be able to draw out a few inches of fresh filament with each tap. If the line refuses to feed, it indicates an improper installation that requires disassembling and reloading the spool. Ensure the extended line does not exceed the reach of your protective cutting shield.
Supporting Data & Industry Insights
Lawn care maintenance represents a multi-billion-dollar consumer market, with millions of households investing annually in outdoor power equipment. According to recent home improvement data:
- Over 65% of suburban and rural homeowners list string trimmers among their top three most frequently used lawn maintenance devices, trailing only lawn mowers and leaf blowers.
- Industry surveys indicate that roughly 40% of DIY equipment returns or repair shop visits for string trimmers stem not from engine or motor failures, but from user error during line reloading and spool jams.
- Market analysts note a surging consumer preference toward cordless battery-operated trimmers and simplified "speed-feed" cutting heads, as manufacturers race to minimize the technical frustrations associated with traditional gas-powered, split-spool maintenance.
Official Recommendations and Expert Best Practices
Industry authorities emphasize that preventative care can drastically reduce the frequency of frustrating restringing sessions. Beyond basic mechanical execution, professionals recommend two prominent techniques to optimize trimmer line performance:
- Hydration and Malleability: Nylon trimmer lines are susceptible to drying out, becoming brittle, and snapping prematurely under high stress. Experts suggest soaking your coiled trimmer line in a bucket of water for 24 hours prior to installation. Because nylon naturally absorbs moisture, this simple hydration process increases the line’s elasticity and overall impact resistance.
- Matching Vegetation Density: Selecting the right line profile for specific landscaping tasks minimizes wear and tear. Standard round lines offer clean cuts for basic turf, while twisted or serrated star-shaped lines slice through dense, woody brush with greater aerodynamic efficiency and reduced drag.
Implications: Saving Time and Preserving Lawn Aesthetics
Mastering the art of string trimmer maintenance carries significant implications for homeowners. Beyond the obvious financial savings of avoiding professional landscaping fees or repeated repair shop consultations, knowing how to quickly restring a weed eater eliminates tedious downtime on weekends.
Yard work is inherently a battle against natural momentum; grass and weeds grow relentlessly throughout the spring and summer months. When a tool failure stalls yard maintenance, overgrowth can quickly overtake crisp turf borders, flower beds, and architectural hardscapes. By streamlining the restringing process through proven methodologies, proper line selection, and modern feed-head technology, homeowners can reclaim their weekends, maintain equipment longevity, and ensure their property retains a sharp, professional finish all season long.
