

When homeowners consider upgrading their home’s thermal envelope, attention almost invariably shifts to exterior walls, windows, and doors. However, building science experts point out that the attic is frequently the largest single source of conditioned air loss in a residential property. While modern construction standards prioritize comprehensive roof and ceiling insulation, older homes often feature under-insulated attic floors, leading to severe thermal bleeding, compromised indoor comfort, and bloated utility bills throughout the changing seasons.
Adding or upgrading attic insulation is one of the most cost-effective capital improvements a homeowner can undertake. With proper planning, safety measures, and execution, this project can bridge the gap between energy waste and long-term financial savings.
Main Facts: Understanding the Attic Thermal Barrier
The primary function of attic insulation is to slow the transfer of heat between a home’s living space and the outdoor environment. During scorching summer months, solar radiation heats roofing materials, causing attic temperatures to soar well past 130°F. Without adequate insulation, this intense heat radiates down into the living areas, forcing air conditioning systems to run continuously. Conversely, during freezing winter conditions, warm air naturally rises through the house via the "stack effect." If the attic floor lacks sufficient thermal resistance, that expensive, heated air escapes directly through the roof, resulting in massive energy loss and the potential formation of damaging ice dams.
According to industry professionals, insulation performance is measured by its R-value—a metric indicating a material’s resistance to conductive heat flow. A higher R-value denotes superior insulating capabilities. The required R-value varies significantly depending on geographic climate zones. While warmer regions in the Deep South may require an R-30 rating, colder northern climates and New England states often mandate R-60 or higher to maintain peak efficiency.
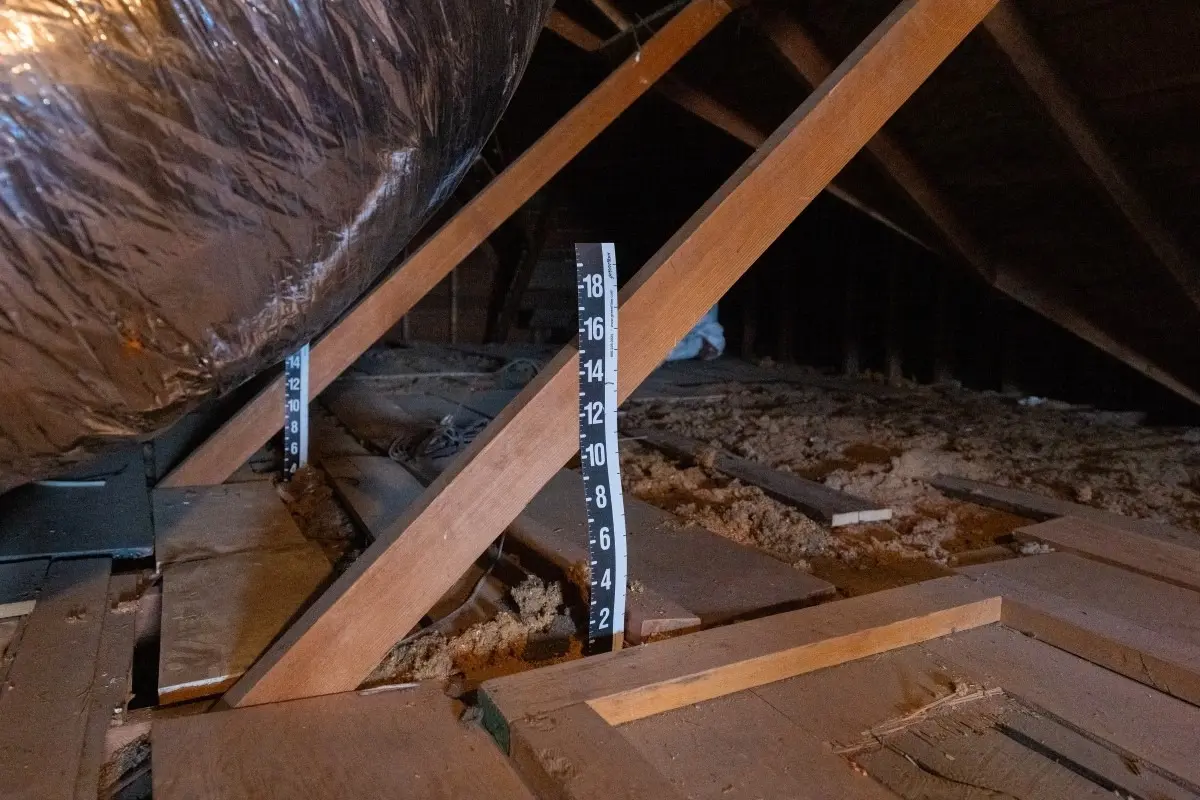
To determine whether an attic requires attention, homeowners can inspect the depth of existing materials. If current insulation sits flush with or below the ceiling joists (which are typically 6 to 8 inches deep), the home falls short of modern energy codes. Loose-fill insulation should ideally bury the joists by several inches, depending on regional requirements.
Chronology of an Attic Insulation Upgrade Project
Executing a successful attic insulation retrofit requires a methodical, step-by-step approach. Industry experts, including Nichlas Riley of Texas-based Driftwood Builders Roofing, emphasize that rushing the process or skipping foundational steps can severely compromise the final result.
Phase 1: Preparation and Personal Safety
Before stepping foot into an attic, homeowners must don appropriate personal protective equipment (PPE). Insulation materials—particularly fiberglass and mineral wool—release microscopic fibers and particulate dust that can severely irritate the skin, eyes, and respiratory tract.
- Required Gear: Safety glasses, heavy-duty work gloves, long-sleeved shirts, long trousers, and an N95 (or higher-rated) respirator mask.
Phase 2: Air Sealing the Attic Floor (Step 1)
Laying down insulation without first stopping air leaks is akin to putting on a winter coat with the zipper wide open. Air sealing targets the gaps and cracks connecting the conditioned living space to the unconditioned attic.
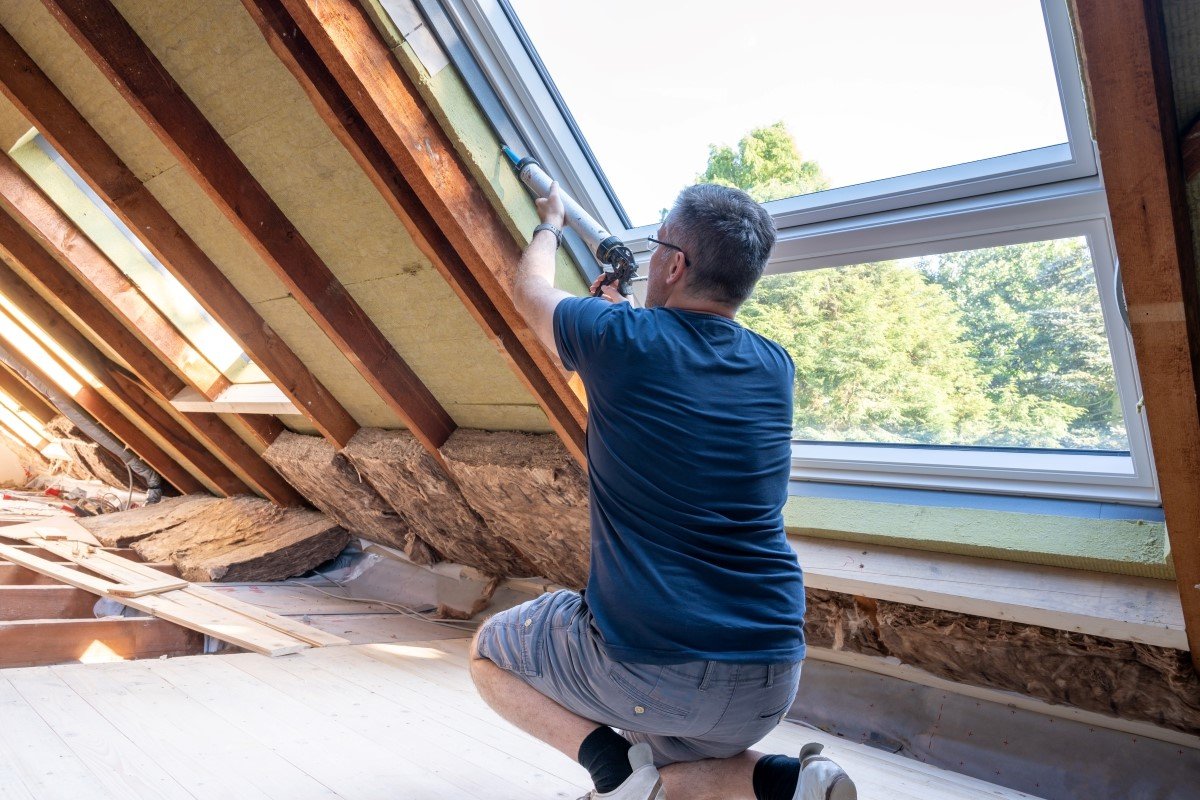
- Key Leakage Points: Common culprits include plumbing and electrical penetrations, recessed light fixtures, top plates of interior walls, and the attic access hatch.
- Execution: Technicians and DIYers use expanding foam caulk to seal gaps around wiring and pipes. Weather stripping must also be applied tightly around the attic hatch or pull-down stair frame to stop the convective loop of air movement.
Phase 3: Material Selection (Step 2)
Homeowners must evaluate three primary forms of insulation, weighing structural compatibility, budget, and labor requirements:
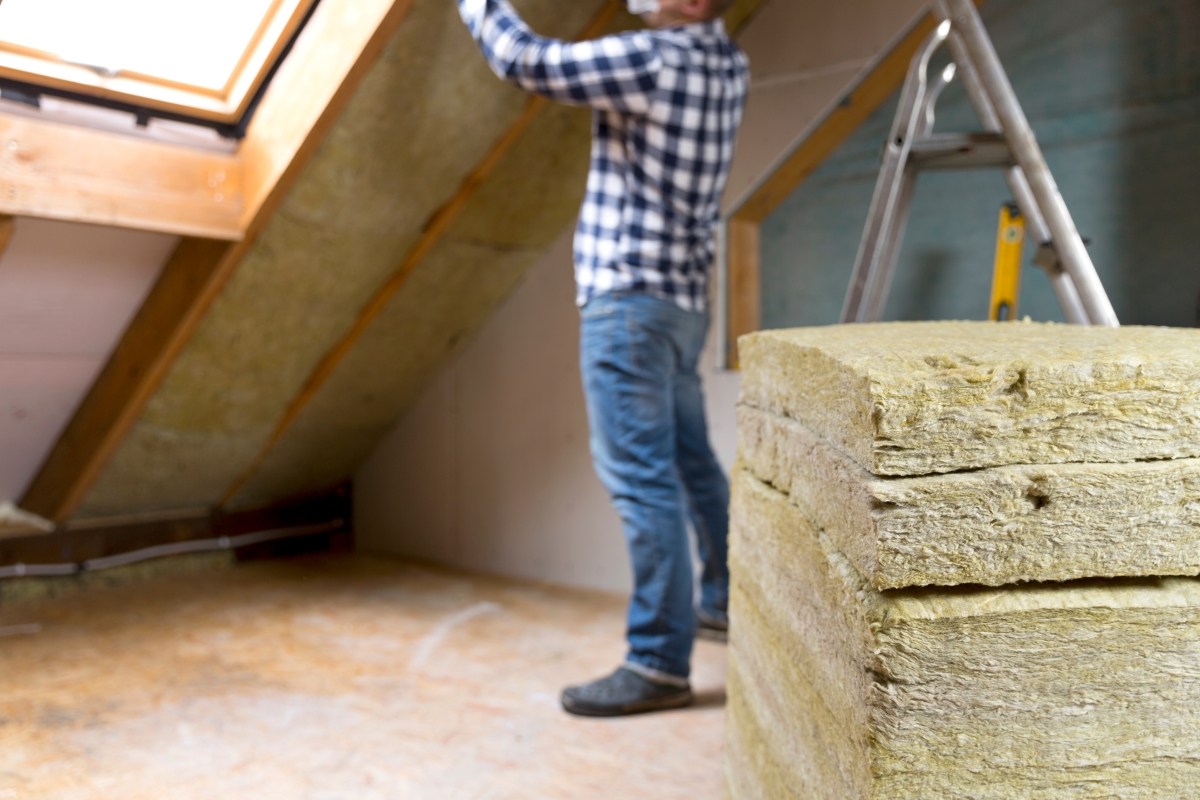
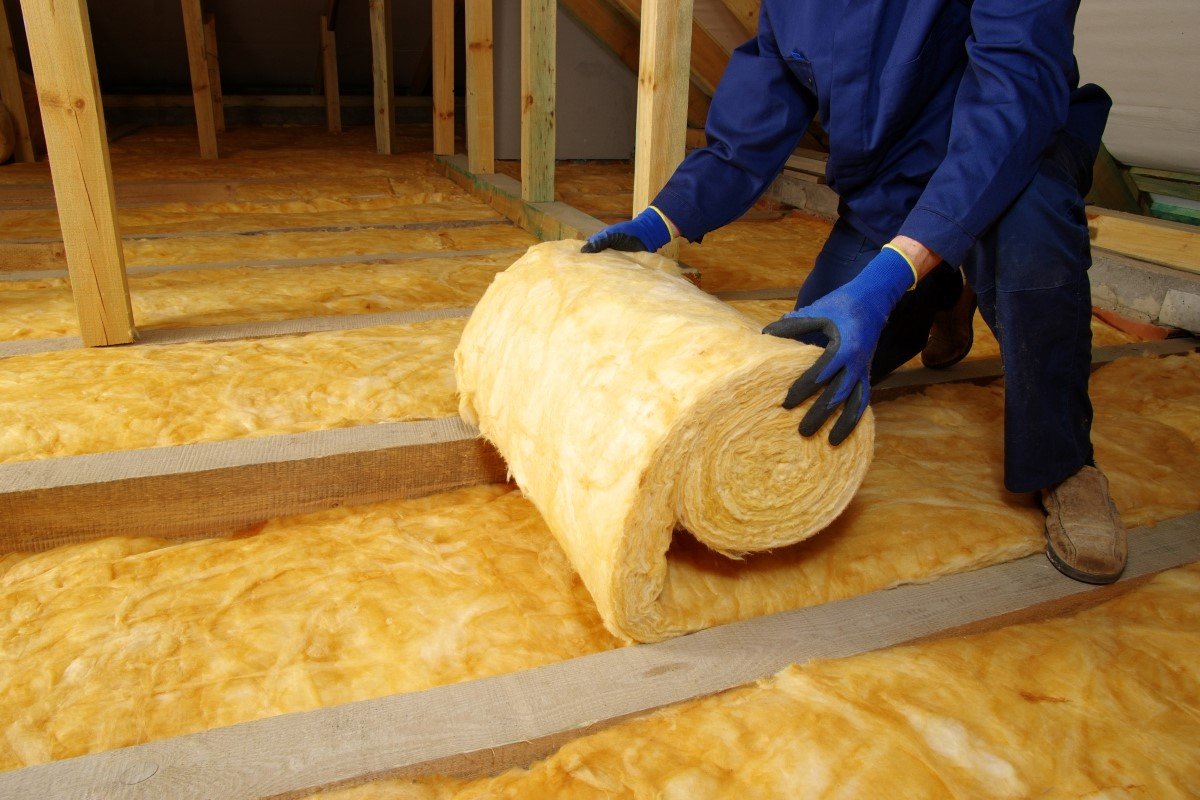
- Batt and Roll Insulation: Manufactured from fiberglass or mineral wool, these pre-cut batts fit snugly between standard floor joists. They are inexpensive and straightforward to install in open, unobstructed bays, but they lose thermal efficiency if compressed or improperly fitted around irregular framing.
- Blown-In Insulation: Consisting of loose cellulose or fiberglass particles, this material is applied using a specialized pneumatic blower machine. It is ideal for attics with complex framing, wires, and pipes, as it settles evenly into every crevice without leaving thermal gaps.
- Spray Foam Insulation: Polyurethane foam is sprayed directly onto the attic floor (or underside of the roof deck), providing simultaneous air-sealing and high-density insulation. Because it involves complex chemical reactions and stringent safety protocols, whole-attic spray foam is universally recommended for professional contractors.
Phase 4: Vent and Baffle Installation (Step 3)
Maintaining balanced attic ventilation is critical to prevent moisture accumulation and roof damage. When adding deep layers of insulation, installers must prevent materials from spilling into the eaves and blocking soffit vents.
- The Solution: Installing polystyrene or plastic ventilation baffles (chutes) maintains a clear channel for outside air to travel from the soffits up toward the ridge vents.
- Thermal Dams: Installers must also construct fire-resistant dams around heat sources such as non-IC recessed light fixtures, chimneys, and furnace flues to mitigate fire risks.
Phase 5: Final Installation (Step 4)
With air sealing, material selection, and ventilation management complete, the primary insulation layer is applied.
- For Batts: Carefully measure and cut pieces to fit tightly between joists without buckling. Lay a second perpendicular layer (if upgrading R-value) to cover the wooden joists entirely and eliminate thermal bridging.
- For Blown-In Material: Set up depth markers throughout the attic floor to ensure uniform thickness. Operate the blower machine systematically, starting at the furthest corners and working backward toward the attic access point.
Supporting Data and Financial Metrics
Investing in attic insulation yields measurable financial and environmental dividends. National cost analyses indicate that DIY material expenses for batt or cellulose insulation generally range from $500 to $1,500, translating to roughly $0.35 to $1.50 per square foot, depending on the total square footage and target R-value. While material costs for batts and loose-fill cellulose are comparable, blown-in projects typically incur an additional equipment rental fee for the pneumatic blowing machine.
According to the U.S. Environmental Protection Agency (EPA) and various energy efficiency studies, upgrading inadequate attic insulation can save homeowners an average of 15% on heating and cooling costs (or up to 10% on total annual energy expenditure). Furthermore, localized data highlights extreme variances; in southern climates like Austin, Texas—where summer attic temperatures routinely breach 130°F—robust attic insulation systems (targeting R-38 to R-60) act as the primary defense against catastrophic cooling loads.
Official Responses and Expert Insights
Building professionals and building-code authorities continue to stress the critical link between ventilation and insulation. Nichlas Riley of Driftwood Builders Roofing warns against a common oversight observed during residential inspections:
"One mistake we often see during roof and attic inspections is homeowners having plenty of insulation but poor airflow because the insulation has been pushed too tightly against the soffits," Riley notes.
When insulation chokes soffit ventilation, attic temperatures spike during summer months, accelerating roof shingle deterioration and creating humid microclimates ideal for mold proliferation. In winter, blocked ventilation traps moisture and warm interior air against the cold underside of the roof deck, creating the conditions necessary for destructive ice dams to form along the eaves.
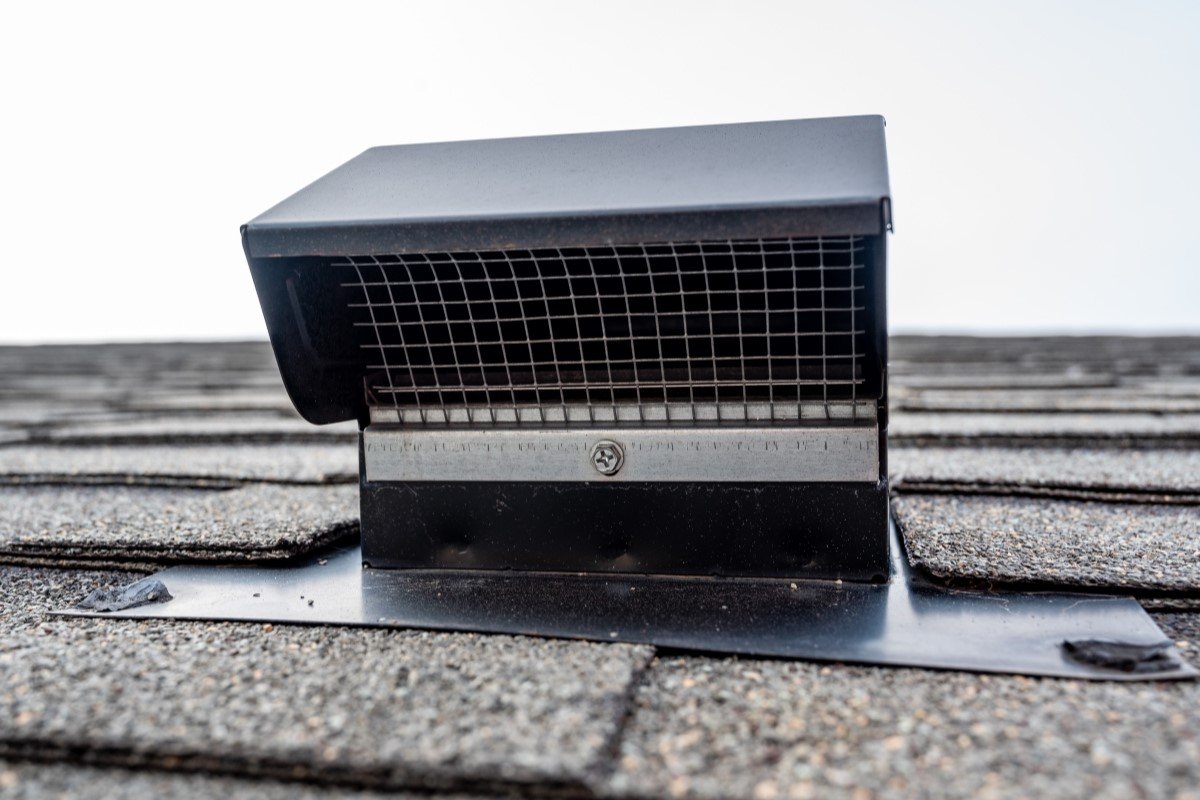
Government and utility entities increasingly recognize these structural vulnerabilities, offering rebates, tax credits, and energy audits through initiatives such as the federal Energy Efficient Home Improvement Credit to encourage homeowners to bring substandard attics up to modern code.
Implications for Homeowners and the Housing Market
The push toward higher energy efficiency standards carries broad implications for real estate valuations, structural longevity, and domestic energy consumption.
- Reduced Carbon Footprint: On a macro level, widespread residential weatherization significantly reduces aggregate electricity and gas demand, lowering greenhouse gas emissions associated with fossil-fuel power generation.
- Enhanced Property Resiliency: Homes equipped with proper air-sealing and high R-value insulation experience less structural wear and tear. Controlling attic moisture prevents premature timber rot, mold growth, and roof deck delamination.
- Real Estate Value: As energy costs fluctuate, prospective home buyers increasingly scrutinize home energy audits and utility utility history. A well-insulated attic serves as a tangible selling point, signaling that a property has been meticulously maintained and engineered for long-term operational economy.
By shifting focus from cosmetic updates to invisible structural efficiencies like attic insulation, homeowners can secure immediate relief on monthly utility bills while safeguarding the structural integrity of their investment for decades to come.
