

As winter approaches and temperatures plummet, homeowners across the country face the familiar dread of escalating heating bills. While drafty windows are often the immediate suspects when indoor temperatures drop, they rarely tell the whole story. Hidden gaps, unsealed attics, and poorly insulated wall cavities frequently act as thermal sieves, siphoning expensive heat out of the house and driving heating systems into overdrive.
Rather than relying on guesswork or unnecessarily cranking up the thermostat, industry experts recommend a systematic approach to home energy audits. By utilizing five targeted diagnostic tests—ranging from simple visual checks to advanced thermal imaging—homeowners can pinpoint exactly where their houses are losing heat and implement targeted repairs to maximize both comfort and financial savings.
Main Facts: The Hidden Cost of Thermal Inefficiency
In many older homes, the lack of updated insulation and continuous air sealing is the primary culprit behind soaring utility costs and uneven indoor temperatures. Heat naturally moves from warmer areas to colder ones, meaning that every unsealed crack, poorly insulated attic floor, and degraded weatherstrip acts as an open door for thermal energy to escape.
According to heating, ventilation, air conditioning, and refrigeration (HVACR) experts, identifying these vulnerabilities does not always require expensive professional contractors. Homeowners can uncover a vast majority of air leaks and insulation failures using everyday household items and accessible DIY diagnostic tests. By locating these breaches, residents can target problem areas with cost-effective solutions like caulking, weatherstripping, and blown-in attic insulation, dramatically reducing energy waste and lowering monthly utility expenses.
Chronology: A Step-by-Step Guide to Diagnosing Heat Loss
To effectively diagnose a home’s thermal performance, experts suggest following a progressive testing hierarchy—starting with free, simple observations and moving toward more sophisticated technological assessments.
Phase 1: The Initial Visual Inspection
The most straightforward and cost-free method for locating potential heat loss is a comprehensive visual sweep of the home’s interior and exterior envelopes.
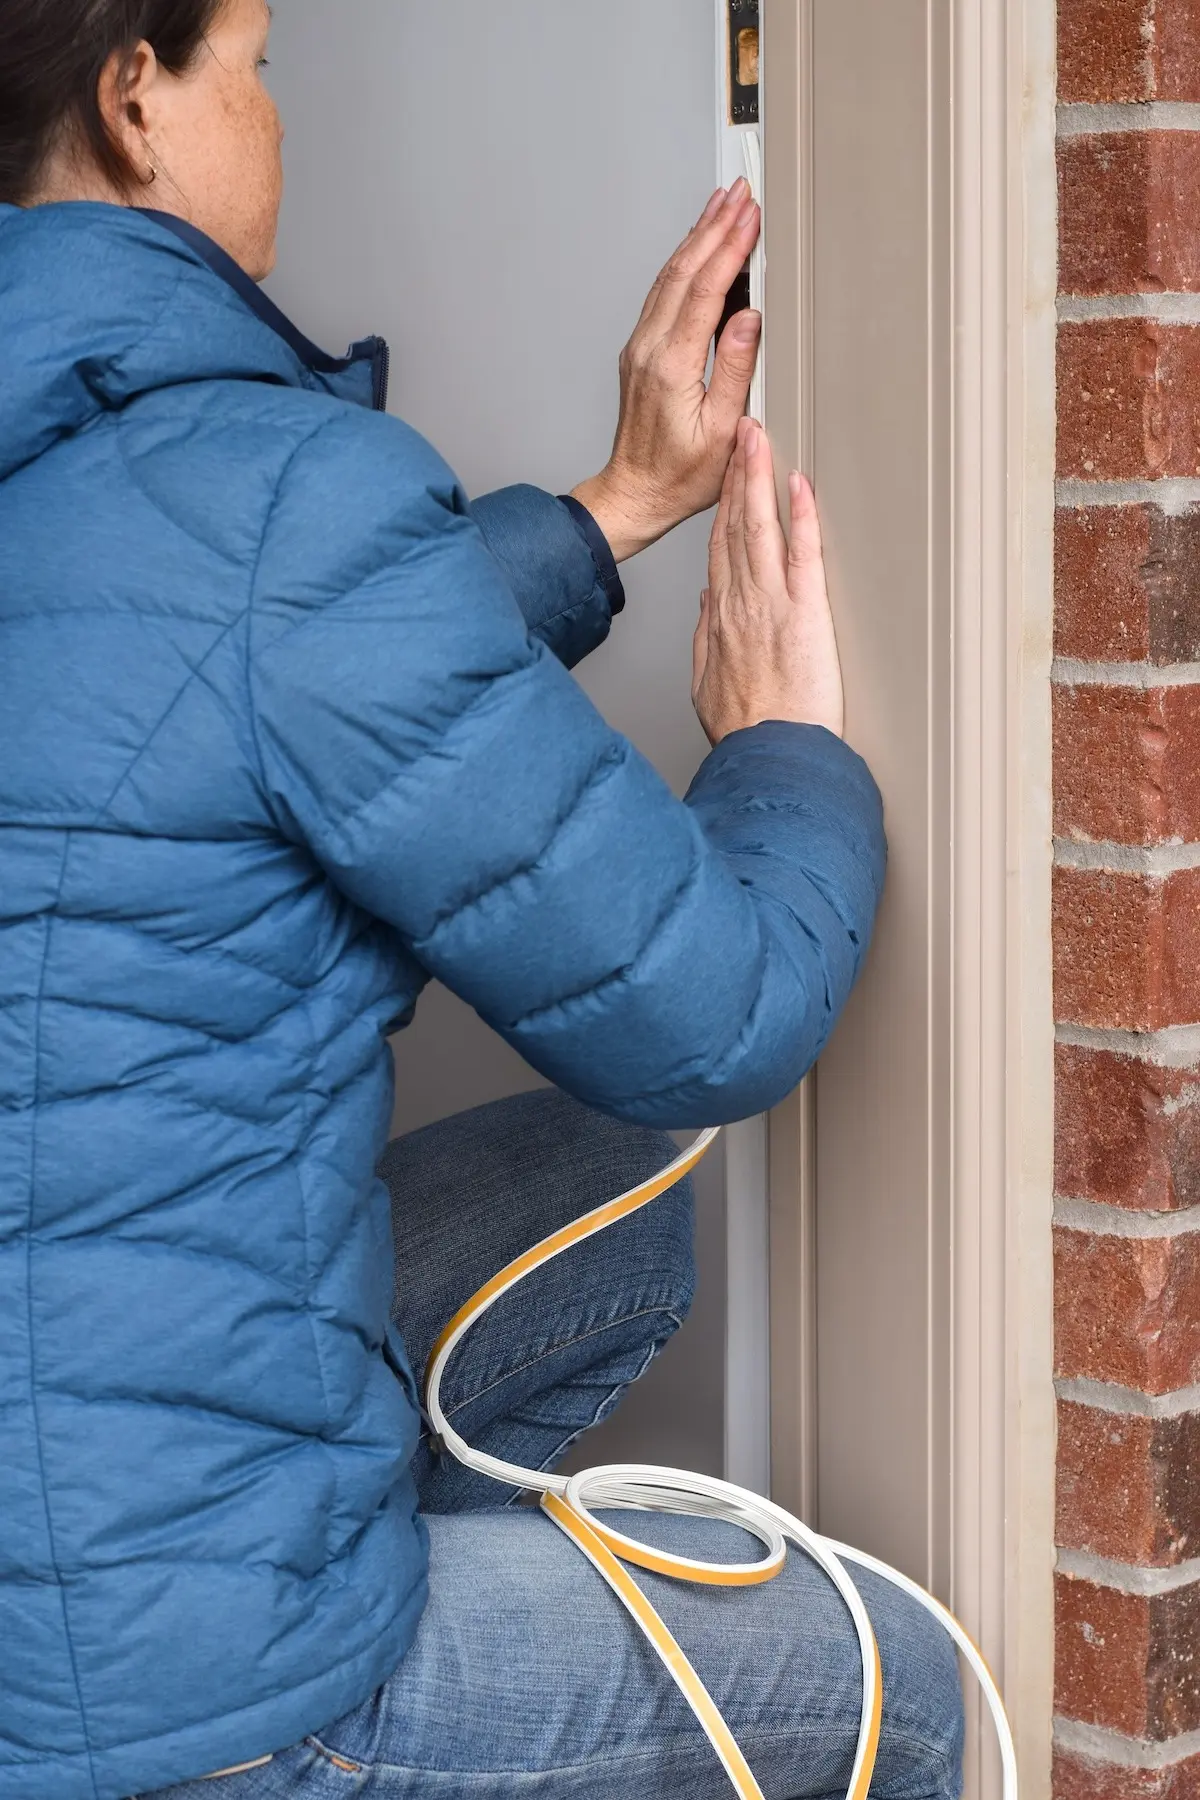
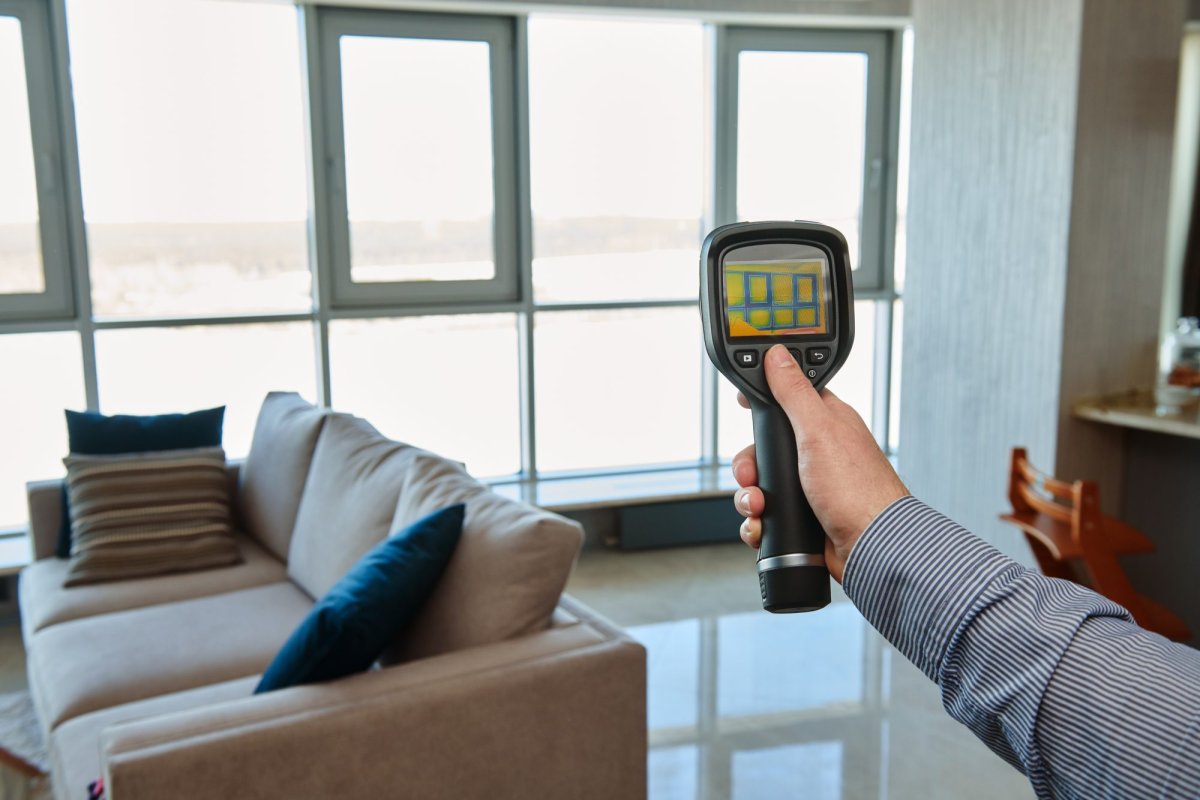
James Medina, an HVACR instructor at the Universal Technical Institute, emphasizes the importance of checking structural transitions. "Simply check around doors and windows for any openings where the air and heat would be able to escape," he advises. Wooden frames require particular attention because they are susceptible to decay, softening, and warping over time, which creates microscopic gaps.
Beyond windows and doors, homeowners should inspect:
- Deteriorated or compressed weatherstripping.
- Cracked or missing exterior caulking.
- Gaps surrounding utility penetrations, such as pipes, plumbing lines, and electrical wiring.
- Hidden breaches around electrical outlets, light switches, ceiling fans, and recessed lighting fixtures.
Phase 2: The Tactile "Touch Test"
When outdoor temperatures drop, conducting a tactile walkthrough can reveal drafts and heat transfer that visual checks miss. On a cold winter day, run the heating system and carefully trace the exterior perimeter of the home to feel for escaping warmth around window frames and thresholds.
"You can also do this on the interior of the home; as the heat escapes, it will feel cold to the touch," Medina explains. Pay special attention to temperature anomalies around baseboards, electrical receptacles, and the edges of exterior-facing walls.
Phase 3: The Classic "Smoke Test"
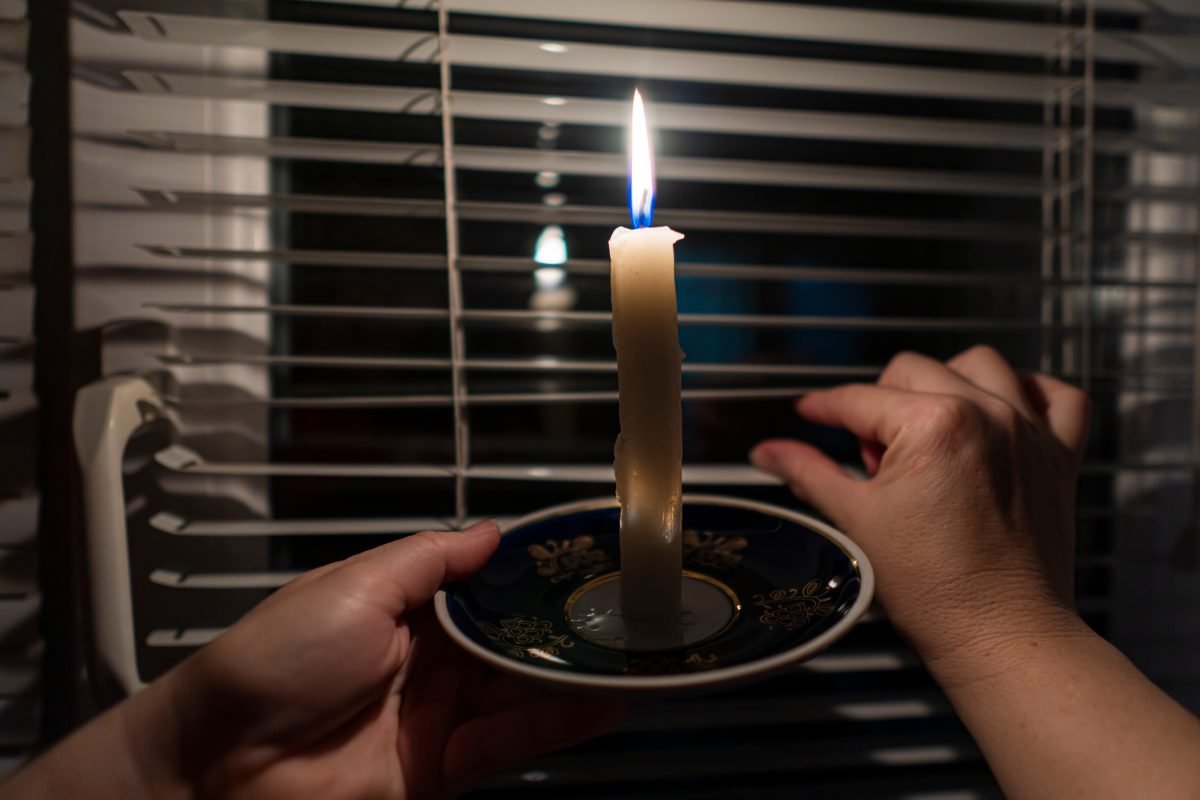
For a more definitive look at air movement, homeowners can perform a smoke test using a lit incense stick or a controlled candle.
Walk slowly along the interior perimeter of the residence, paying close attention to zones that border unconditioned spaces—such as the outdoors, a garage, or an unheated crawlspace. "Watch for places the smoke pulls toward cracks or penetrations," Medina notes. "This would be an indication that air is leaving the conditioned space and carrying heat out with it."
Phase 4: The Exterior "Snow Test"
Sometimes, the best diagnostic tool for roof insulation is nature itself. Following a light snowfall or a heavy frost, step outside and compare your roof’s condition with those of your neighbors.
"Check whether you have less frost or light snow on your roof compared to your neighbors," says Kevin Bohnet, HVAC program director at Fortis College. "If your attic is not insulated well, heat will penetrate through and warm the inside of the attic, causing the frost or light snow to melt, which is a definite sign of losing heat."
Phase 5: Advanced Thermal Imaging
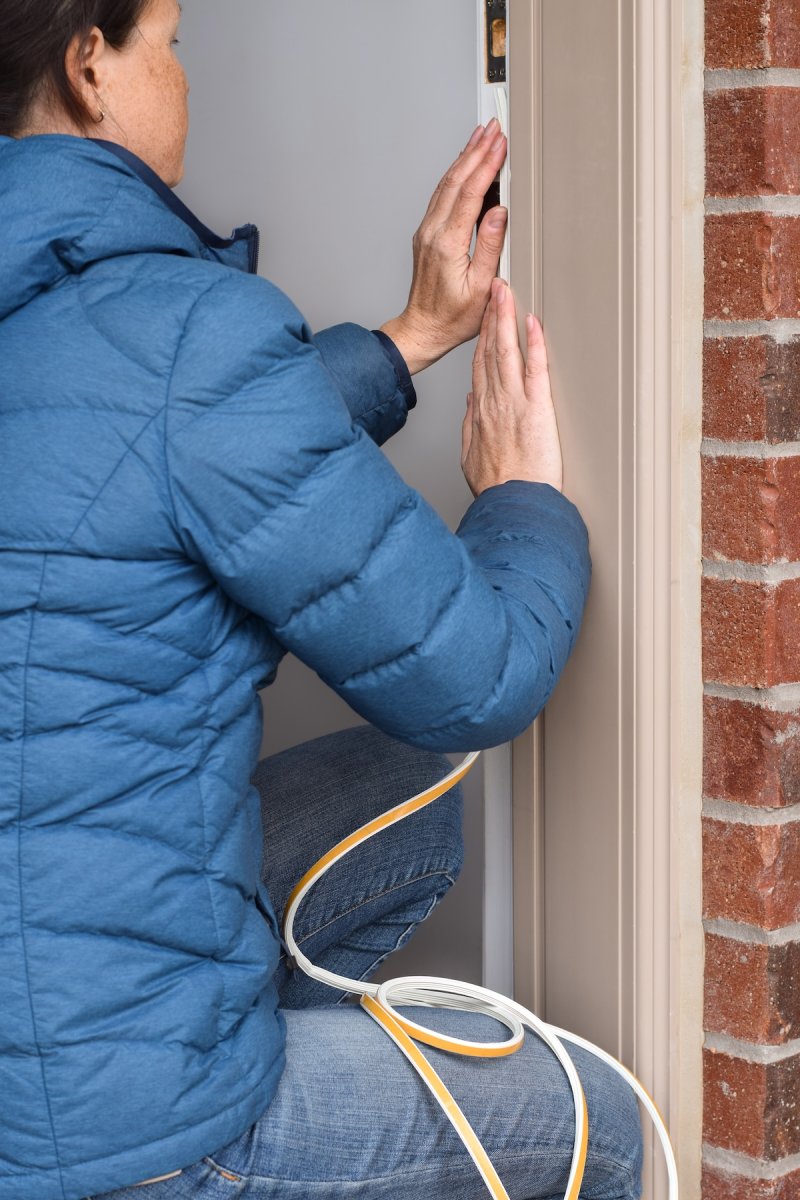
For homeowners looking for precision, thermal cameras offer a high-tech solution. These devices measure infrared energy—commonly referred to as a heat signature—and convert the data into an electronic visual map displaying surface temperatures.
To maximize the effectiveness of a thermal camera, test on a cold day and crank up the indoor heat beforehand. Creating a stark thermal contrast between the interior and exterior environments ensures that cold bridges, missing insulation, and active drafts register clearly on the screen. Among consumer-grade options, testing teams have highlighted models like the TopDon TC005 Thermal Camera (capable of measuring temperatures from -4°F to +1,022°F) as exceptional tools for DIY energy audits.
Supporting Data: Understanding R-Values and Energy Metrics
Understanding how homes lose heat requires looking closely at building science metrics, most notably the R-value.
The R-value measures a material’s thermal resistance—essentially, how effectively insulation stops the flow of heat into or out of a home. The higher the R-value, the greater the insulating performance. In colder climates, recommended attic R-values often range between R-49 and R-60, yet many older homes feature attic insulation that has compressed over time, dropping well below these thresholds.
When heat is allowed to escape through uninsulated attic assemblies, it creates a compounding energy crisis. Not only does the furnace have to work harder to maintain a comfortable ambient temperature, but the warm air rising into cold attic spaces can also create ice dams on the roof, leading to costly structural damage. Addressing these underlying deficiencies through properly rated insulation yields one of the highest returns on investment in home improvement.
Official Responses and Expert Recommendations
Industry professionals stress that minor air leakage is normal in almost any residential structure, but excessive exfiltration can cripple a home’s energy efficiency.
"What you can do is try to mitigate this as much as possible by making sure your home is properly insulated and sealed," Medina emphasizes. According to building contractors, the vast majority of air leakage problems can be resolved with straightforward, low-cost interventions:
- Air Sealing: Applying high-grade exterior caulk and expanding foam to seal cracks, gaps, and penetrations in the building envelope.
- Weatherstripping Maintenance: Replacing worn door sweeps and window gaskets to block cold drafts.
- Attic Upgrades: Adding blown-in or batt insulation to meet regional R-value guidelines, keeping heated air trapped inside the living space where it belongs.
When DIY methods fail to resolve chronic drafts or uneven room temperatures, experts recommend hiring a certified energy auditing company. A professional audit typically includes a blower-door test—which pressurizes the house to measure total air leakage—and provides a comprehensive roadmap for structural improvements. In severe cases, homeowners may need to replace failing, drafty windows or rotting wooden frames that can no longer be effectively sealed.
Implications: Comfort, Savings, and Environmental Impact
The implications of identifying and repairing thermal leaks extend far beyond simple winter comfort; they touch on household budgeting, environmental sustainability, and long-related property values.
Financial Relief
Heating and cooling account for the largest share of a typical home’s utility bills. By sealing air leaks and upgrading insulation, homeowners can routinely slash their heating energy consumption by 10% to 20%. In an era of fluctuating utility costs, these savings translate to hundreds of dollars kept in homeowners’ pockets every heating season.
Environmental Stewardship
Reducing residential energy consumption directly lowers the demand for fossil fuels and electricity generation, subsequently cutting household carbon footprints. Sealing a leaky home is one of the most direct, impactful actions an individual homeowner can take toward energy conservation.
Long-Term Home Health
Unmanaged thermal leaks often lead to moisture accumulation within wall cavities and attics. When warm indoor air meets cold structural surfaces, condensation forms, fostering mold growth, wood rot, and structural degradation. By sealing the building envelope and stabilizing temperatures, homeowners protect the structural integrity of their properties, ensuring durability and preserving resale value for decades to come.
