

Shoveling decomposing leaves, twigs, and organic sludge out of a home’s rain gutters while teetering dangerously on a ladder is universally recognized as one of the least appealing weekend chores. Beyond the sheer unpleasantry of the task, neglected gutters can lead to severe structural damage, basement flooding, and compromised foundations.
To mitigate these risks, homeowners increasingly turn to gutter guards—protective accessories designed to fit over or inside existing drainage systems. These devices actively block leaves, pine needles, and large debris while allowing rainwater to flow freely into the channels. While professional installation services are widely available, a thriving market of do-it-yourself (DIY) products makes this a manageable weekend project for handy homeowners. Ranging from ultra-fine micromesh systems to heavy-duty metal variants capable of withstanding heavy ice and falling branches, gutter guards can typically be installed in a single day using basic hand tools.
Main Facts: Understanding the Mechanics and Value of Gutter Protection
Gutter guards fundamentally change how a drainage system operates. Instead of serving as an open catch-all for everything falling from the surrounding canopy, a guarded gutter acts as a filtered conduit.
The primary mechanics rely on physics and material science. When rain hits a roof, it sheets downward into the gutter system. Gutter guards intercept this water flow, utilizing surface tension, fine mesh filtration, or slotted barriers to direct water inward while shedding solid debris off the edge of the roofline.

However, industry experts emphasize a critical reality: gutter guards do not render a home maintenance-free. While they dramatically reduce the frequency of cleanings, homeowners must still perform annual inspections and light maintenance. Fine particles, windblown dust, and seeds can occasionally accumulate on top of or within the guards, eventually forming a fertile bed for small weeds if left unchecked.
Chronology: The Step-by-Step DIY Installation Process
Successfully installing gutter guards requires a methodical approach. Skipping steps—such as failing to clear existing clogs or ignoring misaligned slopes—can lead to localized overflows and property damage. Here is the chronological workflow for a standard weekend installation project.
Step 1: Establish Safe Access and Set Up Ladders
Safety is paramount when working at heights. Begin by setting up a reliable step ladder or extension ladder on firm, even ground. If utilizing an extension ladder, strictly adhere to the industry-standard 4-to-1 safety rule: position the base of the ladder 1 foot away from the house for every 4 feet of height up to the gutter line. Crucially, ensure a reliable spotter is present to secure the ladder base while you ascend, work, and descend. Multi-position ladders—such as the Gorilla 22-Foot MPXA—offer versatile configurations that adapt smoothly to uneven terrain and varying roof angles.
Step 2: Thoroughly Clean the Gutters
Before introducing any guard system, the gutters must be pristine. Any decomposing leaves, silt, or twigs trapped beneath the future guards will quickly cause clogs and stagnation. Scoop out all solid debris by hand or with a gutter trowel, bag it for disposal, and flush the entire run with a garden hose. Simultaneously, inspect the downspouts to ensure water exits freely away from the home’s foundation.

Step 3: Inspect, Test, and Repair the Drainage System
With the channels clean, run water through the system via a garden hose to test the flow dynamics. Observe whether water travels smoothly toward the downspouts or pools in sagging sections. If water stalls or flows in reverse, the gutter hangers must be adjusted to re-establish the proper downward slope (typically a drop of 1/4 inch for every 10 feet of run). Next, inspect the seams and joints for leaks. Seal any compromised areas using a high-grade, waterproof silicone sealant specifically rated for exterior metal or vinyl gutters.
Step 4: Measure and Procure Materials
Accurate measurement prevents costly repeat trips to the hardware store. Use a long tape measure to determine the total linear footage of your home’s perimeter drainage system. When purchasing your chosen gutter guards, add a 10-percent buffer to account for cutting waste, overlap margins, and corner miters.
Step 5: Install the Guard Sections
Gutter guards are typically sold in 3-foot or 4-foot sections. Beginning at one end of a gutter run, install each piece according to the manufacturer’s precise specifications. Sections are generally secured by pushing edges together, overlapping ends, or fastening them directly to the fascia board.
Supporting Data: Classifying the Five Major Types of Gutter Guards
Choosing the correct guard depends heavily on regional climate, surrounding tree types, budget, and DIY skill level. The market categorizes gutter guards into five primary varieties:
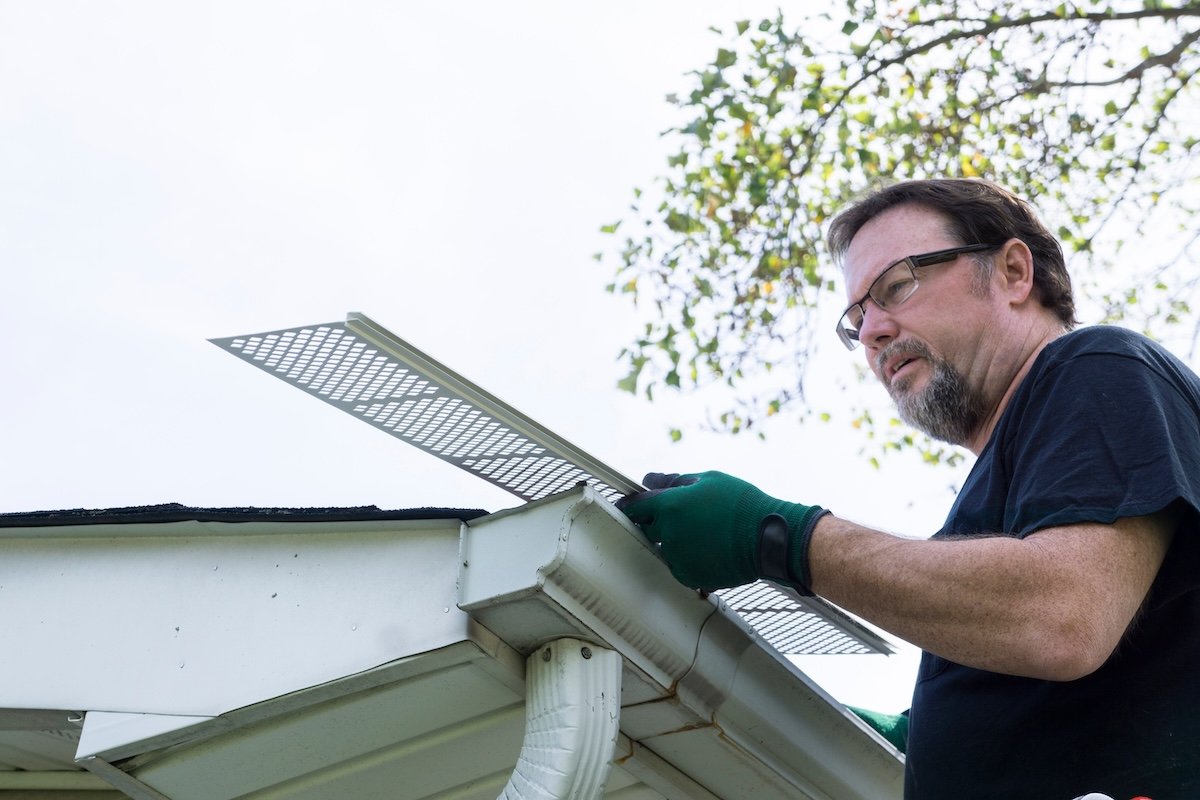
- Screen Guards: Typically manufactured from expanded aluminum or galvanized steel with punched holes, these are budget-friendly and snap easily onto the top lip of the gutter. They excel at blocking large leaves and twigs but may allow smaller particles like pine needles to slip through.
- Surface Tension (Bullnose) Guards: These curved systems utilize the physical property of surface tension to guide water around a rounded nose and into the gutter, while solid debris drops off the edge. They require precise pitch alignment to function correctly.
- Micromesh Guards: Featuring an ultra-fine stainless steel mesh stretched over a sturdy aluminum or plastic frame, these are widely considered the gold standard for filtration. They block everything down to shingle grit and pine pollen, though they command a higher initial price point.
- Reverse Curve (Looped) Systems: Similar to surface tension guards, these direct water through a narrow slot while shedding debris. They are highly visible from the ground, which can impact a home’s curb appeal.
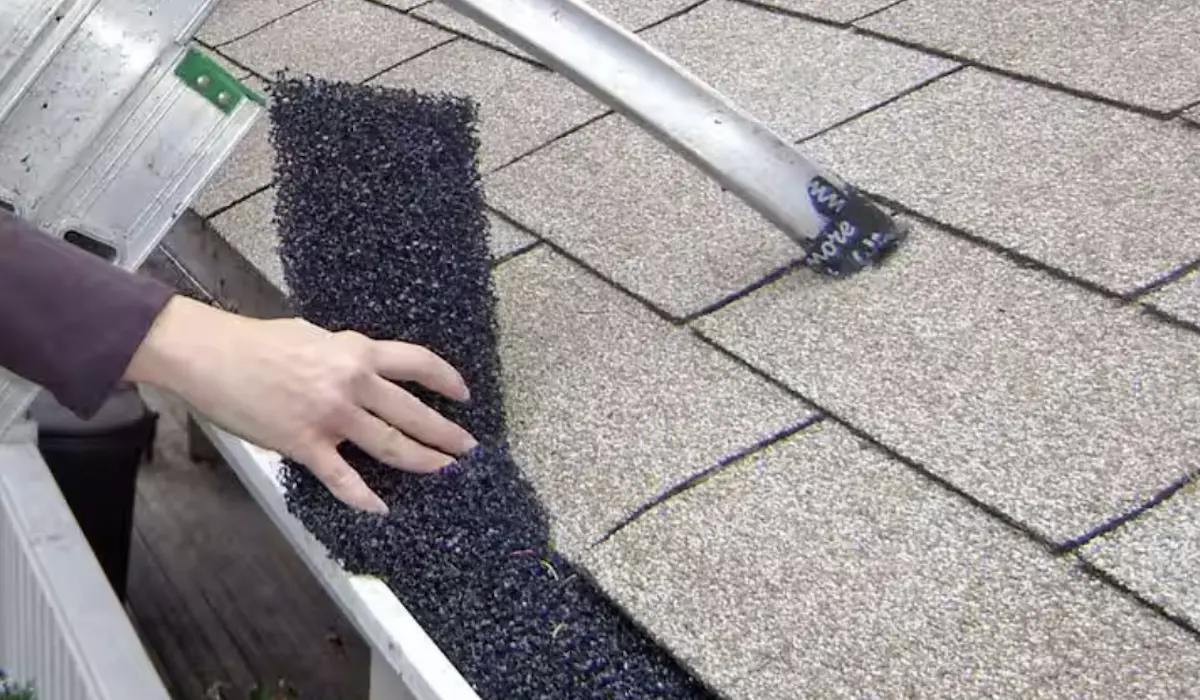
- Foam and Brush Inserts: Shaped like porous bottle brushes or wedge-shaped foam blocks, these drop directly into the gutter channel. Water flows through the porous material, while debris rests on top to blow away in the wind. They are exceptionally easy to install but can degrade or clog with organic silt over several seasons.
Official Recommendations and Expert Insights
Industry professionals and consumer protection advocates offer several guiding principles for homeowners contemplating this upgrade:
- Protect Your Warranty: Always check your roofing manufacturer’s warranty before beginning. Forcing certain rigid guards underneath sealed architectural shingles or punching nails through them can inadvertently void your roof warranty. Opt for gutter-mounted systems whenever possible to maintain structural integrity.
- Assess Your Comfort Level: While DIY installation saves substantial labor costs, homes featuring steep pitches, multiple stories, or complex architectural angles present severe fall risks. If you experience vertigo or lack ladder confidence, hiring a bonded, insured local contractor is the most prudent path forward.
- Pitch Matters: Avoid laying flat gutter guards on roofs with shallow pitches. Flat configurations create an unintended shelf where debris accumulates, drying out in the sun and forming mats that block water infiltration.
Implications: Long-Term Benefits for Property Value and Safety
Investing time and resources into a quality gutter protection system yields substantial dividends over a home’s lifecycle. By preventing clogs, homeowners drastically reduce the likelihood of ice dams forming during freezing winter months—a destructive phenomenon caused by trapped, refreezing water backing up under roof shingles.
Furthermore, properly channeled rainwater protects exterior siding, prevents wood rot along the fascia and soffits, and safeguards the building’s foundation from erosion and hydrostatic pressure. While maintenance is never entirely eliminated, a well-chosen and correctly installed gutter guard system transforms an arduous, hazardous quarterly chore into a manageable annual inspection, preserving both your home’s structural integrity and your weekend free time.
