

BOSTON, MASSACHUSETTS — To the untrained eye, a newly painted room is simply a room with a fresh coat of color—a blank canvas transformed by a weekend of hard work, a few gallons of paint, and a steady hand. But step inside that same space with a professional painting contractor, and the perspective shifts entirely.
To an expert, walls tell a silent story of preparation, technique, and material selection. Long after the drop cloths have been folded and the brushes cleaned, the subtle markers of amateur craftsmanship remain on display.
“Professional painters always have an eye for detail; it’s not something we can turn off,” explains Jason Card, Senior Vice President of Operations for Paintzen in Woburn, Massachusetts. “It is hard not to notice homeowner DIY-ed paint projects and common mistakes when visiting other people’s homes.”
Whether you are preparing to host a neighborhood gathering, putting your property on the real estate market, or simply inviting a contractor over for a home improvement estimate, understanding how professionals evaluate interior spaces can elevate your home improvement standards. Drawing from decades of collective field experience, industry insiders have mapped out the most common paint-related missteps that instantly give away a DIY job—and more importantly, how to avoid making them.
1. The Anatomy of a Professional Evaluation: Main Facts
When a professional contractor enters a residential property, their visual assessment is instantaneous and multi-layered. Unlike casual guests who focus on interior design, furniture placement, or lighting, a painter evaluates structural finishes down to the millimeter.
According to trade analysts, residential painting accounts for one of the most popular DIY home improvement projects in North America, with millions of gallons of paint sold annually to homeowners attempting weekend room makeovers. However, industry data consistently shows that remediation work—fixing botched DIY paint jobs—makes up a significant percentage of professional painting call-backs.

The core diagnostic points a professional focuses on include:
- Surface Adhesion and Prep: Whether drywall seams, nail pops, and dents were properly compounded and sanded.
- Cut-In Precision: The razor-sharp line where walls meet ceilings, trim, and baseboards without bleeding or bridging.
- Sheen Uniformity: Ensuring that lighting does not expose flashing, roller marks, or overlapping dry edges.
- Substrate Compatibility: Matching the correct chemical formulation of paint or stain to the specific material, whether it is raw wood, previously painted drywall, or high-moisture masonry.
2. A Chronological Breakdown of the DIY Painting Process
To understand where amateur projects typically go wrong, it helps to look at the chronological sequence of a proper paint job. Professionals follow a strict, multi-stage methodology designed to guarantee longevity and aesthetic appeal. When DIYers deviate from this timeline, structural flaws are virtually guaranteed.
Phase One: Assessment and Remediation
Before a single drop of primer is purchased, a professional evaluates the structural integrity of the surface. This includes testing for moisture, checking for lead paint in older homes, and cataloging every imperfection on the drywall. Amateurs frequently bypass this step, rushing straight to the paint store to pick out color swatches.
Phase Two: Surface Preparation and Masking
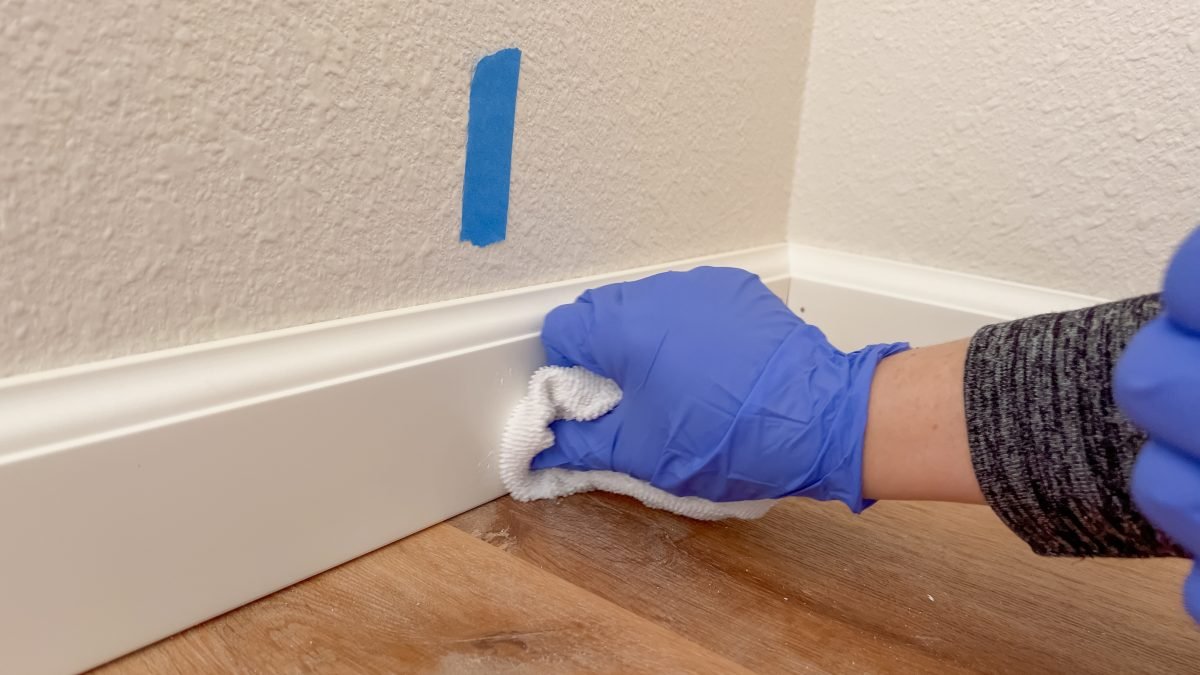
Surface prep consumes up to 60 percent of a professional painter’s total project time. This involves washing grease off kitchen walls, filling gouges with spackle, sanding patches flush, vacuuming residual dust, and meticulously applying painter’s tape. Skipping or rushing these labor-intensive steps is the number one indicator of amateur work.
Phase Three: Priming and Ceiling Work
The physical painting process should never begin at eye level. Professionals adhere to a top-down chronological rule: ceilings are always addressed first. Attempting to paint a ceiling after the walls have been finished is a recipe for accidental splatter, inconsistent cut-ins, and double-work. Furthermore, applying a dedicated primer seals porous patches and prevents finish coats from absorbing unevenly.
Phase Four: Application and Tool Selection
The final phase involves rolling walls and cutting in trim using high-grade tools. Amateurs often cut corners by purchasing cheap, synthetic brushes and low-density roller covers that shed bristles and leave heavy stipple marks. True professionals know that investing in premium applicators is non-negotiable for a flawless, factory-like finish.
3. Supporting Data and Technical Insights
The stakes of proper painting extend far beyond surface aesthetics; they directly impact the financial value and structural preservation of a home. Industry insights and building science metrics highlight why professional standards matter.
- The Cost of Cheap Tools: Consumer testing reports indicate that budget roller covers drop up to 15 percent of their fibers into wet paint films, forcing homeowners to stop and pick out fuzz particles mid-application. Premium woven microfiber or lambskin rollers retain their structure and lay down an even, high-hiding film.
- Sheen Science: Not all paints are created equal. According to paint manufacturers, standard semi-gloss interior paint lacks the structural resilience required for high-touch surfaces like doors, window sills, and kitchen cabinetry. These areas demand specialized formulations, such as semi-gloss urethane enamels, which cure to a harder, more impact-resistant shell.
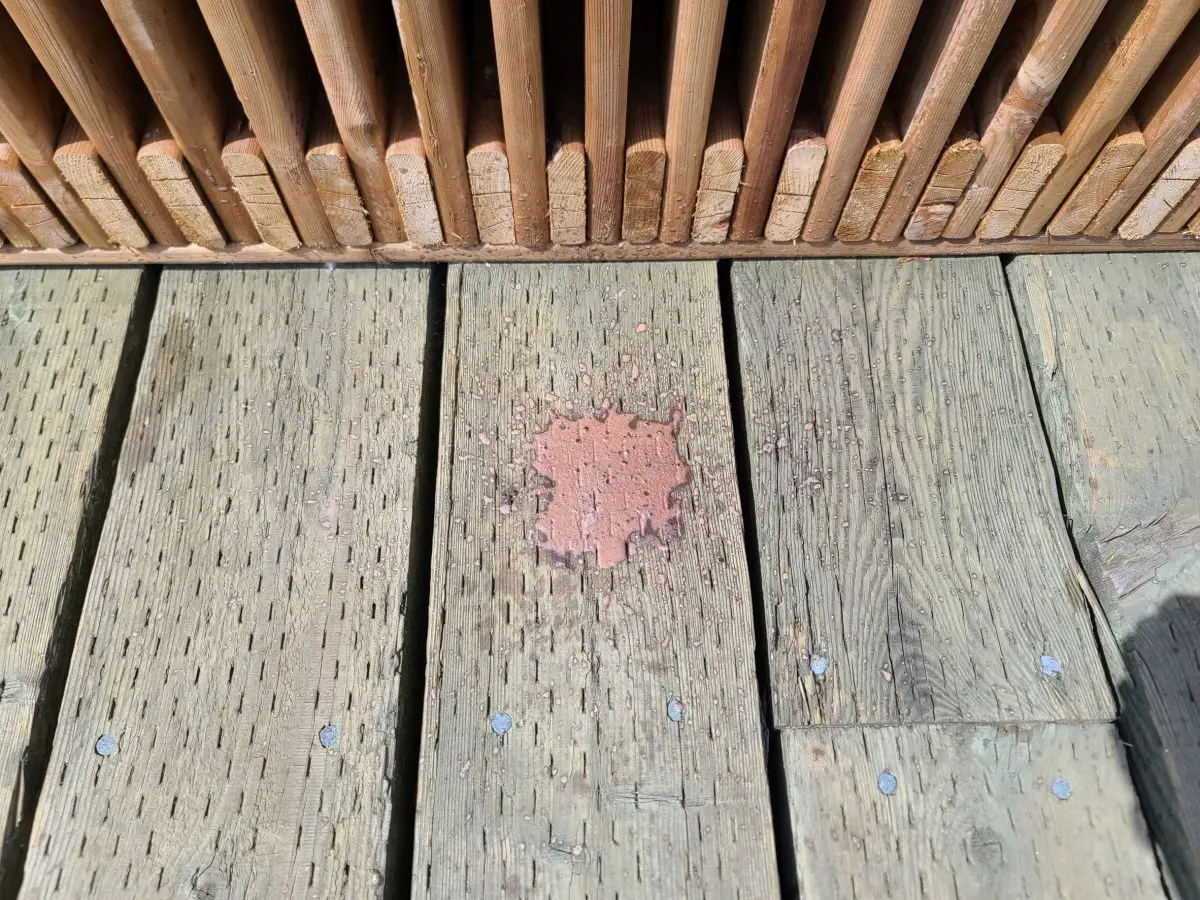
- The Deck Staining Trap: Exterior wood preservation suffers the highest DIY failure rate. Without proper mechanical sanding to open up wood pores—and without maintaining a continuous “wet edge” during application—stain cures unevenly, leading to dark overlapping lap marks and premature peeling within 12 to 18 months.
4. Official Industry Perspectives and Expert Guidance
To bridge the gap between amateur attempts and professional execution, master painters offer clear, actionable advice for homeowners willing to tackle their own renovations.
Jason Card emphasizes that the psychology of a professional painter cannot simply be turned off when visiting friends or family. However, his critiques are rooted in a desire to educate rather than judge.
“Freshly painted walls can highlight imperfections because the paint makes the walls pop,” Card notes, highlighting the paradox of new paint. When a homeowner applies a vibrant, modern color over un-sanded drywall patches or dingy, unpainted ceilings, the very act of updating the space draws immediate attention to the flaws they neglected.
Furthermore, trade associations consistently stress the importance of understanding chemical compatibility. Applying water-based latex paint directly over oil-based alkyd trim without proper sanding and bonding primer, for instance, leads to widespread peeling and delamination down the road. Official guidance from paint formulators dictates that preparation remains the single most reliable predictor of project success.
5. Implications for Homeowners and Property Values
The realization that professionals can instantly spot DIY shortcuts carries significant implications for homeowners, particularly those navigating the real estate market.
First impressions matter profoundly to home buyers and property appraisers. While a homeowner might view a quick weekend paint job as a cost-effective way to spruce up a living room before listing a house, a savvy buyer—or a sharp-eyed home inspector—may view sloppy cutting-in, roller stipple, or unpainted ceilings as a proxy for deferred maintenance throughout the rest of the home. If the paint job looks rushed, buyers may subconsciously wonder what other shortcuts were taken behind the walls or in mechanical spaces.
Financially, correcting a failed DIY paint job often costs more than hiring a professional in the first place. Stripping peeling incompatible paint, sanding down heavy lap marks on a deck, or scraping fuzz out of hardened wall finishes requires intensive labor.
Summary Checklist for a Professional-Grade DIY Finish:
- Never skip the ceiling: Always paint the ceiling first before rolling the walls to maintain a clean, cohesive look.
- Invest in professional tools: High-end brushes and microfiber roller covers pay for themselves by eliminating brush marks and shedding.
- Prioritize surface prep: Wash, sand, spackle, and prime. The final finish is only as good as the drywall underneath.
- Match paint to function: Use specialized urethane enamels for high-traffic doors and cabinets rather than standard wall paint.
- Master exterior techniques: When staining decks, sand the wood thoroughly and maintain a wet edge to prevent unsightly lap marks.
By respecting the technical nuances of the trade, homeowners can bridge the gap between amateur effort and professional execution—ensuring that when a contractor or guest walks through the front door, the only thing they notice is the undeniable beauty of a job done right.
