By Home Improvement & DIY News Desk Published: October 2023 | Updated for 2026 Standards
1. Main Facts: The Eternal Dilemma of Paint Splatters on Plastic
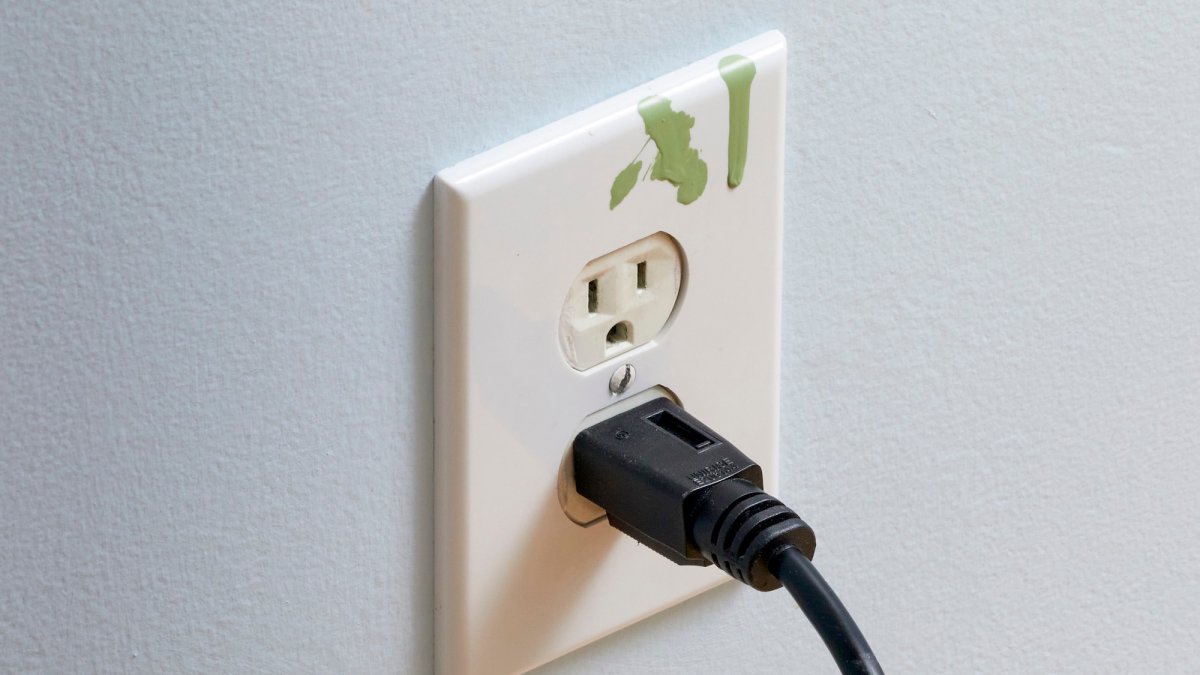
No matter how meticulous a homeowner or professional contractor is during a painting project, mishaps happen. Whether it is an accidental brush against an unmasked light switch cover, an aerosol overspray drift landing on outdoor patio furniture, or a stray drip of high-pigment latex landing on appliance handles, paint on plastic can instantly diminish the aesthetic gratification of a freshly renovated space.
Unlike wood, porous drywall, or heavy metals, plastic presents a unique set of restoration challenges. Because plastics are synthetically manufactured polymers, they react adversely to many industrial solvents. Aggressive paint thinners, heavy-duty lacquer removers, and harsh petroleum-based stripping agents can permanently melt, warp, or discolor plastic substrates, turning a minor cleaning nuisance into a costly replacement job.
Fortunately, industry experts and home improvement authorities have formulated a hierarchy of safe, effective methods to remove wet and dried paint from plastic surfaces without compromising the structural integrity of the material beneath. Ranging from simple household dish soap to specialized isopropyl alcohol techniques, the correct approach depends heavily on the paint type, how long the spill has cured, and the shape of the plastic item.
2. Chronology: The Evolution of Paint Removal Methods
Understanding the timeline of a paint spill is crucial for determining the correct removal strategy. As paint cures, its chemical composition alters, shifting from a flexible, water-soluble or solvent-soluble liquid into a rigid, cross-linked polymer film that aggressively adheres to underlying surfaces.
Phase 1: The Fresh Spill (Minutes to Hours)
When paint is freshly spilled or splattered onto plastic, it has not yet formed a rigid bond. During this initial window, removal is remarkably straightforward.
The Action: Immediate intervention using mild surfactants, such as warm water and dish soap, breaks down the surface tension of the fresh droplets.
The Outcome: The pigment lifts effortlessly from the plastic substrate with minimal mechanical friction, requiring nothing more than a soft microfiber cloth or paper towel.
Phase 2: Semi-Cured and Tacky Paint (24 to 72 Hours)
As hours pass, moisture or liquid solvents within the paint begin to evaporate. The binder hardens, creating a tacky, semi-bonded layer that resists simple wiping.
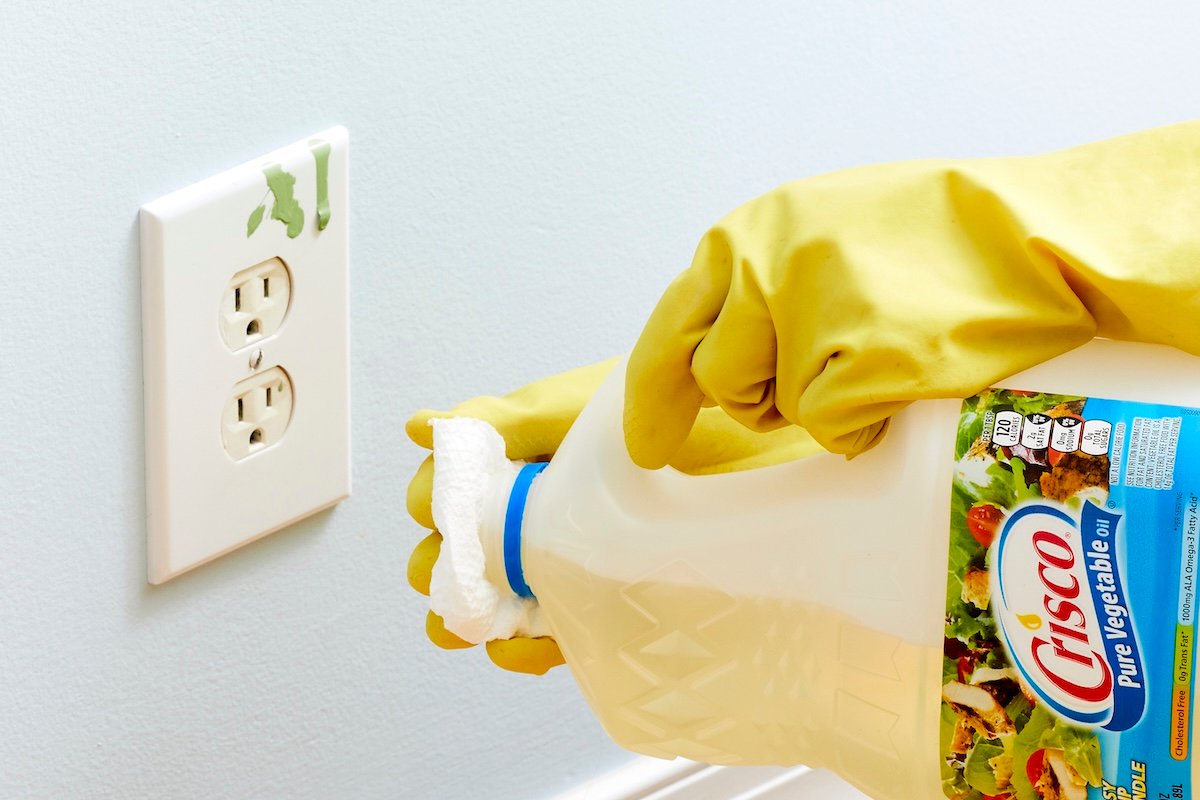
The Action: Gentle kitchen or garage emollients—specifically vegetable oil—can be introduced. The natural fats help soften the drying binders without chemical aggression.
The Outcome: The paint loses its rigid grip, allowing a plastic scraper or dull blade to safely slip underneath and lift the splotch away in one cohesive piece.
Phase 3: Fully Cured and Hardened Paint (Days to Years)
When paint remains on plastic for an extended period, it undergoes complete cross-linking. It becomes hard, brittle, and intensely bonded to microscopic textures on the plastic’s surface.
The Action: This stage demands stronger, non-melting solvents like isopropyl (rubbing) alcohol or acetone (used with extreme caution), coupled with mechanical scraping or steady scrubbing.
The Outcome: The solvent softens the stubborn polymer matrix while the mechanical tool or abrasive pad separates it from the plastic base, restoring the item to its original pristine state.
3. Supporting Data & Step-by-Step Methodology
To safely execute these restorations, homeowners must utilize the correct tools, materials, and safety equipment. Below is the definitive breakdown of the four primary techniques used by professionals.
Method 1: The Dish Soap Wash (Best for Fresh Spills)
Recommended Tools: Bucket, warm water, liquid dish soap, clean rags, or heavy-duty paper towels.
Step-by-Step Execution:
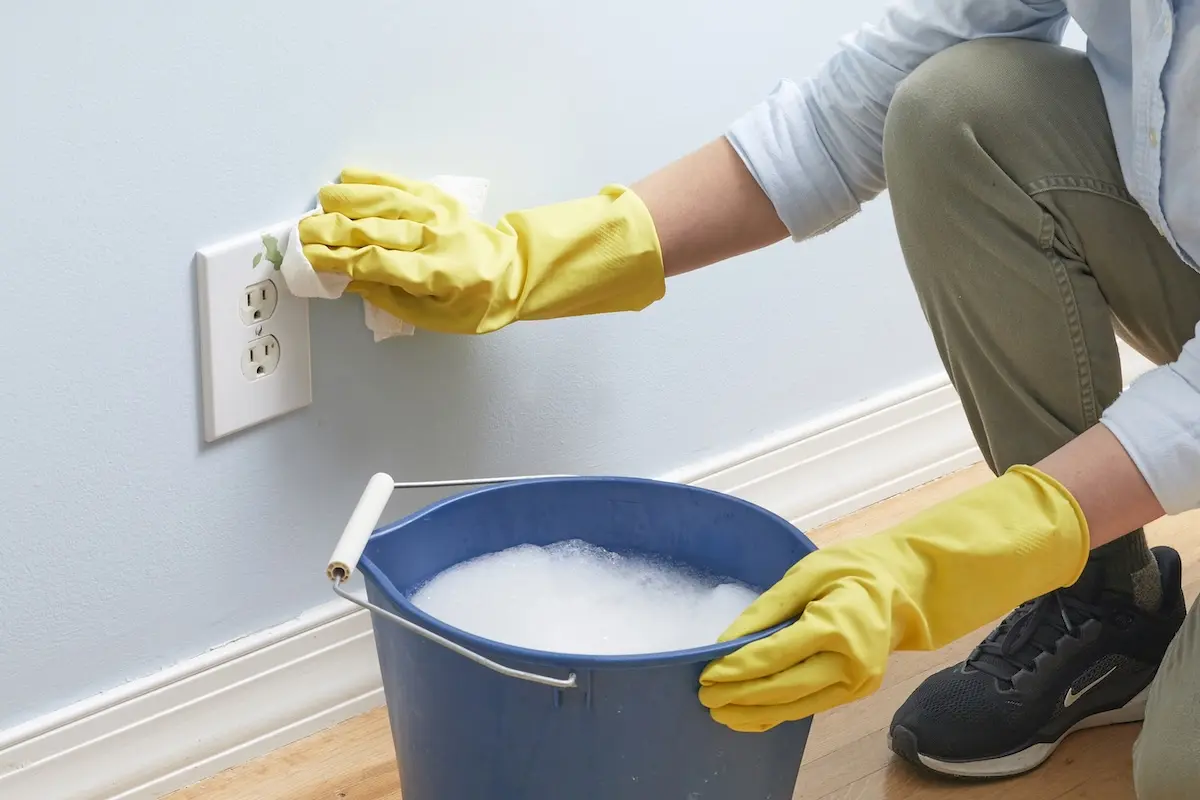
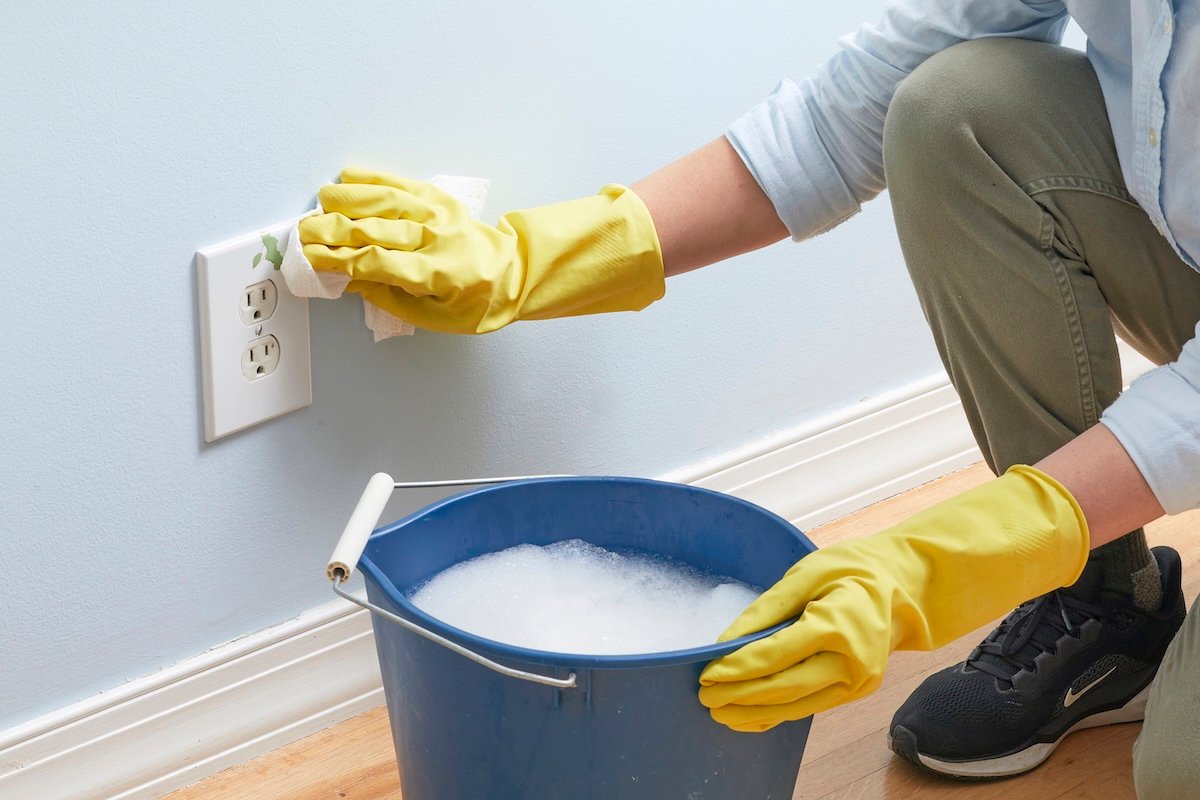
Mix a generous amount of liquid dish soap with warm water in a bucket until a rich lather forms.
Submerge a clean rag into the soapy solution and lay it directly over the fresh paint splatters to let it saturate the pigments.
Gently scrub the area in a circular motion until the paint dissolves into the solution.
Rinse the plastic thoroughly with a clean, damp cloth or a garden hose to remove any soapy residue.
Method 2: Vegetable Oil and Softening (Best for Semi-Cured Paint)
Recommended Tools: Vegetable oil, clean paper towels, plastic paint scraper, work gloves, and optional acetone-based nail polish remover.
Step-by-Step Execution:
Pour a small amount of vegetable oil onto a paper towel or rag.
Rub the oily cloth firmly over the paint spot. Allow the natural oils to sit for 5 to 10 minutes to penetrate the drying binders.
Once the paint begins to soften and lose adhesion, take a plastic paint scraper and gently pry at the edges.
If vegetable oil falls short, thoroughly clean away the oil residue, don work gloves, and apply a small amount of acetone-based nail polish remover to a fresh rag, rubbing gently until the remaining paint dissolves.
Method 3: Mechanical Lifting via Scrapers and Blades (Best for Flat and Contoured Surfaces)
Recommended Tools: Plastic paint scraper, razor blade (for durable, flat surfaces), work gloves, and safety glasses.
Step-by-Step Execution:
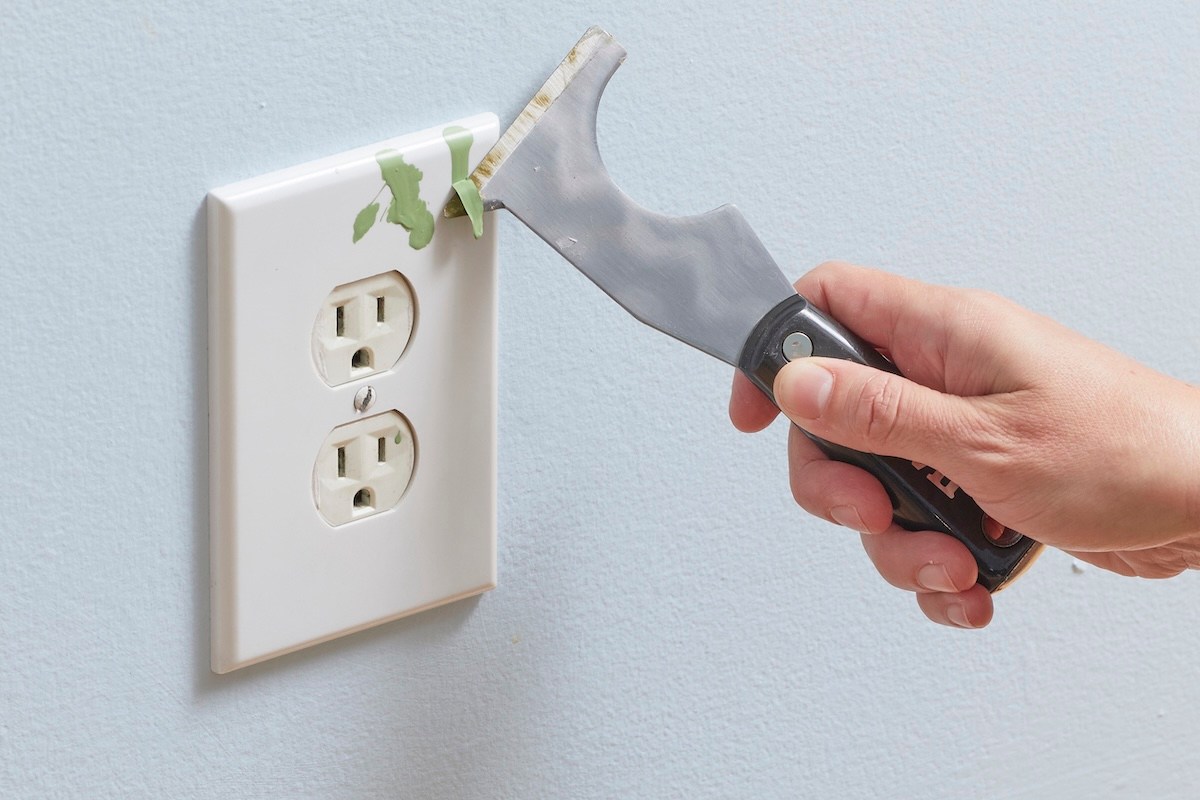
For flat surfaces like light switch plates or appliance panels, position a plastic paint scraper at a shallow angle against the edge of the dried paint splotch.
Apply consistent, steady pressure, sliding the tool underneath the paint film to pop it off the plastic. Avoid sudden, violent jabs that can gouge the material.
For contoured surfaces—such as molded outdoor plastic chairs—switch to a sharp razor blade. Keep the blade nearly flat against the contour to prevent the corners from digging into and scarring the plastic.
Method 4: Rubbing Alcohol Scrub (Best for Stubborn, Cured Paint)
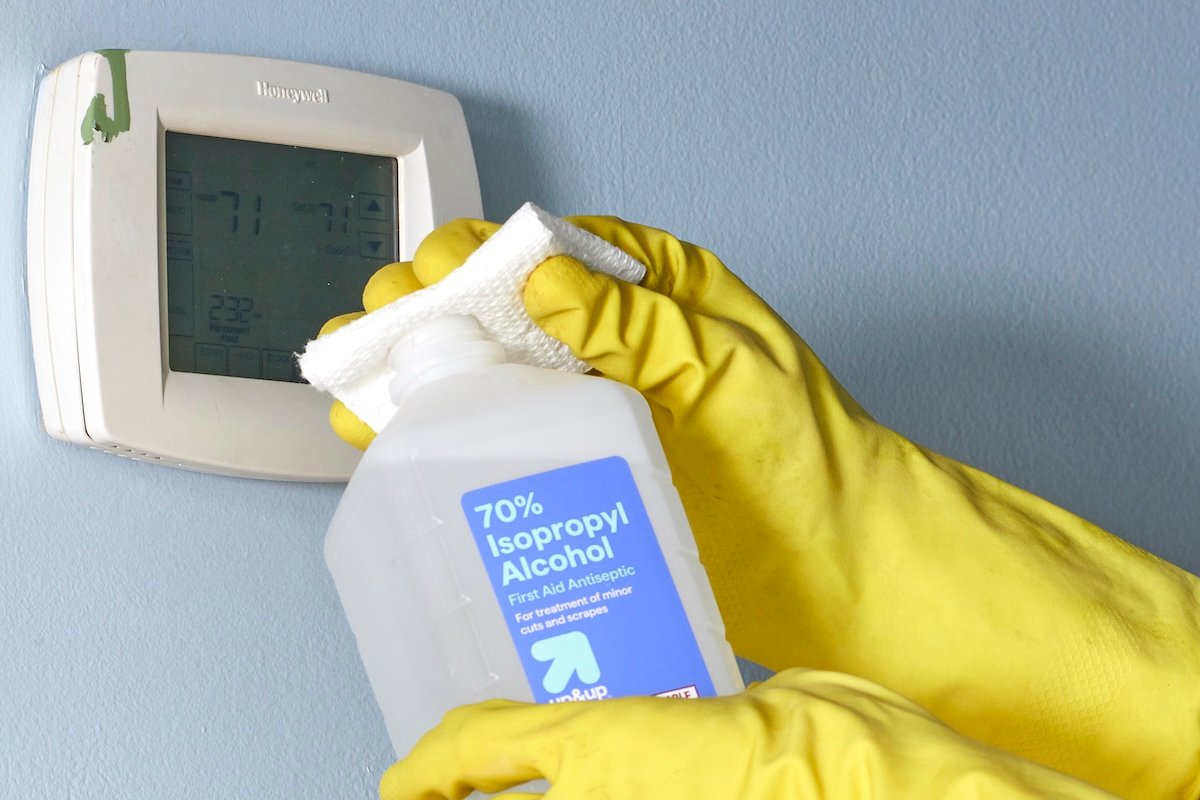
Recommended Tools: Isopropyl alcohol (70% or 91%), face mask, work gloves, and abrasive cleaning pads.
Step-by-Step Execution:
Put on work gloves and a face mask to protect against strong alcohol fumes and skin irritation.
Dab a generous amount of isopropyl alcohol onto a cleaning cloth or paper towel. Unlike harsh industrial paint thinners, rubbing alcohol will not melt standard hard plastics (such as ABS, PVC, or acrylic).
Scrub the stubborn paint spot vigorously. Reapply alcohol to the rag as it evaporates.
Continue the friction process until the paint breaks down entirely and the plastic surface is completely clean.
4. Official Guidelines & Industry Expert Responses
Home improvement authorities and leading consumer product testing organizations emphasize that safety and chemical compatibility should always take precedence over speed when undertaking DIY cleaning projects.
According to consumer safety panels within the home improvement sector, homeowners frequently make the critical mistake of reaching for lacquer thinner or professional graffiti removers when encountering paint on plastic. Industry specialists caution:
"Never assume a universal solvent is safe for all plastics. Materials like polystyrene, polycarbonate, and ABS will instantly dissolve, warp, or craze upon contact with strong ketones and aromatic hydrocarbons. Always test any solvent on a hidden underside or back corner of the plastic object before applying it to a visible surface."
Furthermore, safety experts recommend wearing personal protective equipment (PPE)—specifically nitrile work gloves and protective eyewear—whenever handling chemical solvents like isopropyl alcohol, acetone, or commercial adhesive removers. Proper room ventilation is equally mandatory to prevent the inhalation of concentrated chemical vapors during prolonged indoor scrubbing tasks.
5. Implications: Economic, Aesthetic, and Environmental Considerations
The ability to properly remove paint from plastic items carries broader implications for household budgeting, waste reduction, and interior aesthetics.
Economic and Financial Impact
Replacing architectural plastic elements—such as custom electrical faceplates, high-end appliance handles, integrated thermostat housings, and expensive patio sets—can accumulate unexpected expenses during a home renovation. By mastering safe paint removal techniques, DIYers can salvage existing components, saving hundreds of dollars in unnecessary replacement hardware.
Environmental Sustainability
From an ecological standpoint, discarding functional plastic goods merely because they bear stray paint splatters contributes unnecessarily to global landfill mass. Plastics degrade slowly, and manufacturing replacement goods incurs carbon expenditures through petroleum extraction and industrial fabrication. Restoring and reusing existing plastic items aligns with modern sustainability principles, minimizing consumer waste and extending product lifecycles.
Aesthetic Standards
Finally, the finishing touches of any painting project dictate its overall perceived quality. Leaving dried paint drips on switch plates, hinges, and fixtures signals unfinished workmanship. By dedicating time to precise, careful cleanup using the methods outlined above, homeowners ensure that their final project reflects professional-grade attention to detail, maximizing both visual appeal and long-enduring property pride.