

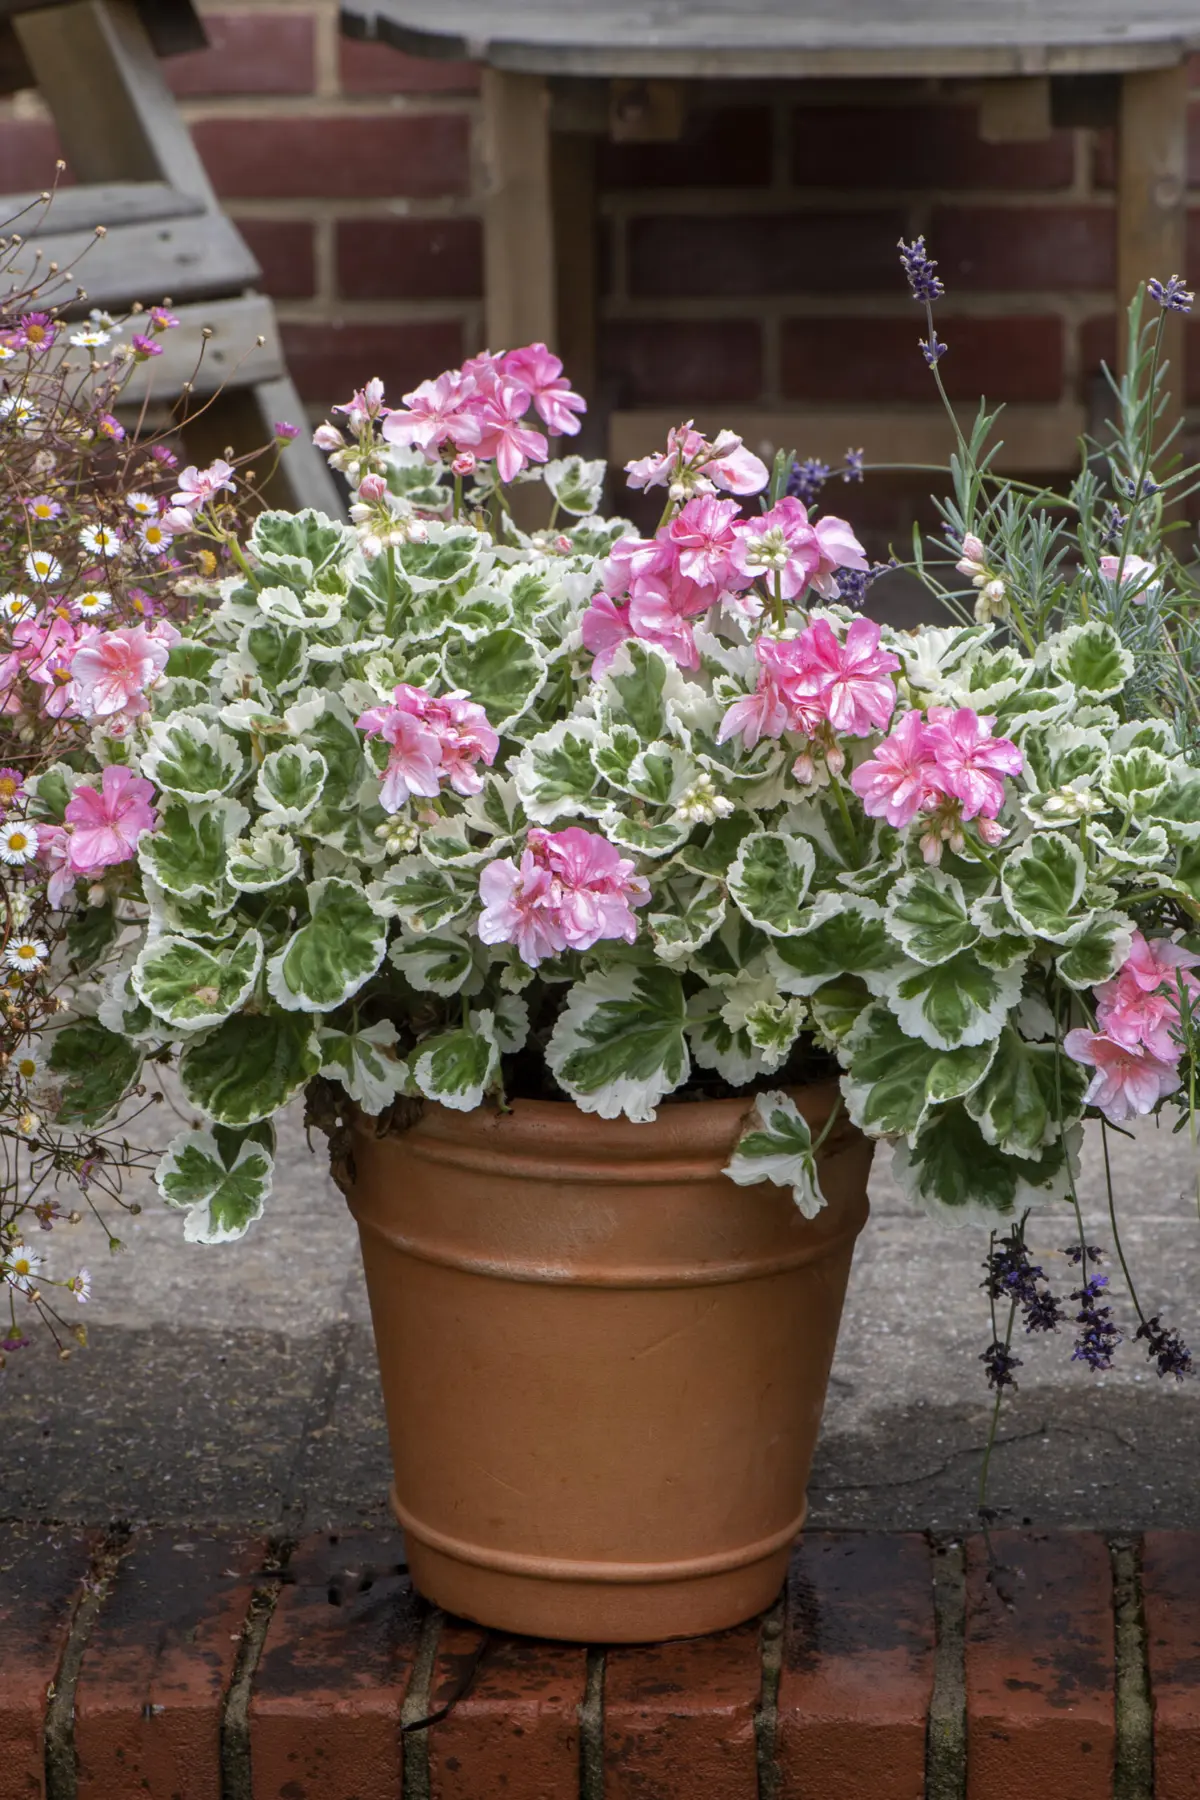
As the calendar turns to September, gardeners everywhere experience a familiar bittersweet shift. The vibrant, sun-drenched days of summer begin to gently recede, replaced by the crisp, amber mornings of early autumn. While the growing season winds down, nature does not pause; rather, it shifts into a period of preparation. For horticulturalists and backyard enthusiasts alike, September is a crucial transitional month. It is a time to thank summer for its colorful bounty while laying the vital groundwork for the seasons ahead.
Among the many plants requiring specialized attention during this seasonal pivot, tender bedding geraniums—scientifically known as Pelargoniums—demand a top priority. Unlike their tough, frost-hardy perennial cousins (Geranium species), popular bedding pelargoniums are native to the warmer climates of South Africa. Hardy outdoors only in USDA zones 10 through 11, these classic cottage-garden favorites are uniquely vulnerable to cold snaps and frost.
Failing to act before the first autumnal frost can spell disaster for these beloved blooms. However, with a proactive, structured care routine implemented throughout September, gardeners can easily safeguard their existing plants, propagate vibrant new backups, and ensure another breathtaking floral display next spring. Here is an in-depth, professional guide to the five essential steps every gardener should take this September to prepare their pelargoniums for the cooler months ahead.
1. Remove Damaged Foliage and Spent Blooms
By the time September rolls around, pelargoniums have worked tirelessly for months, putting on a magnificent, continuous summer show. Naturally, this prolonged period of active growth leaves the plants looking a bit tired, woody, or untidy.
While heavy pruning can typically wait until later in the season, early fall calls for a gentle, strategic cleanup while the plant still possesses enough vitality to heal quickly.
The Tidy-Up Process
Gardeners should focus their efforts on clearing away:
- Yellowing or discolored leaves that rob the plant of energy.
- Foliage showing signs of disease, pest damage, or rot.
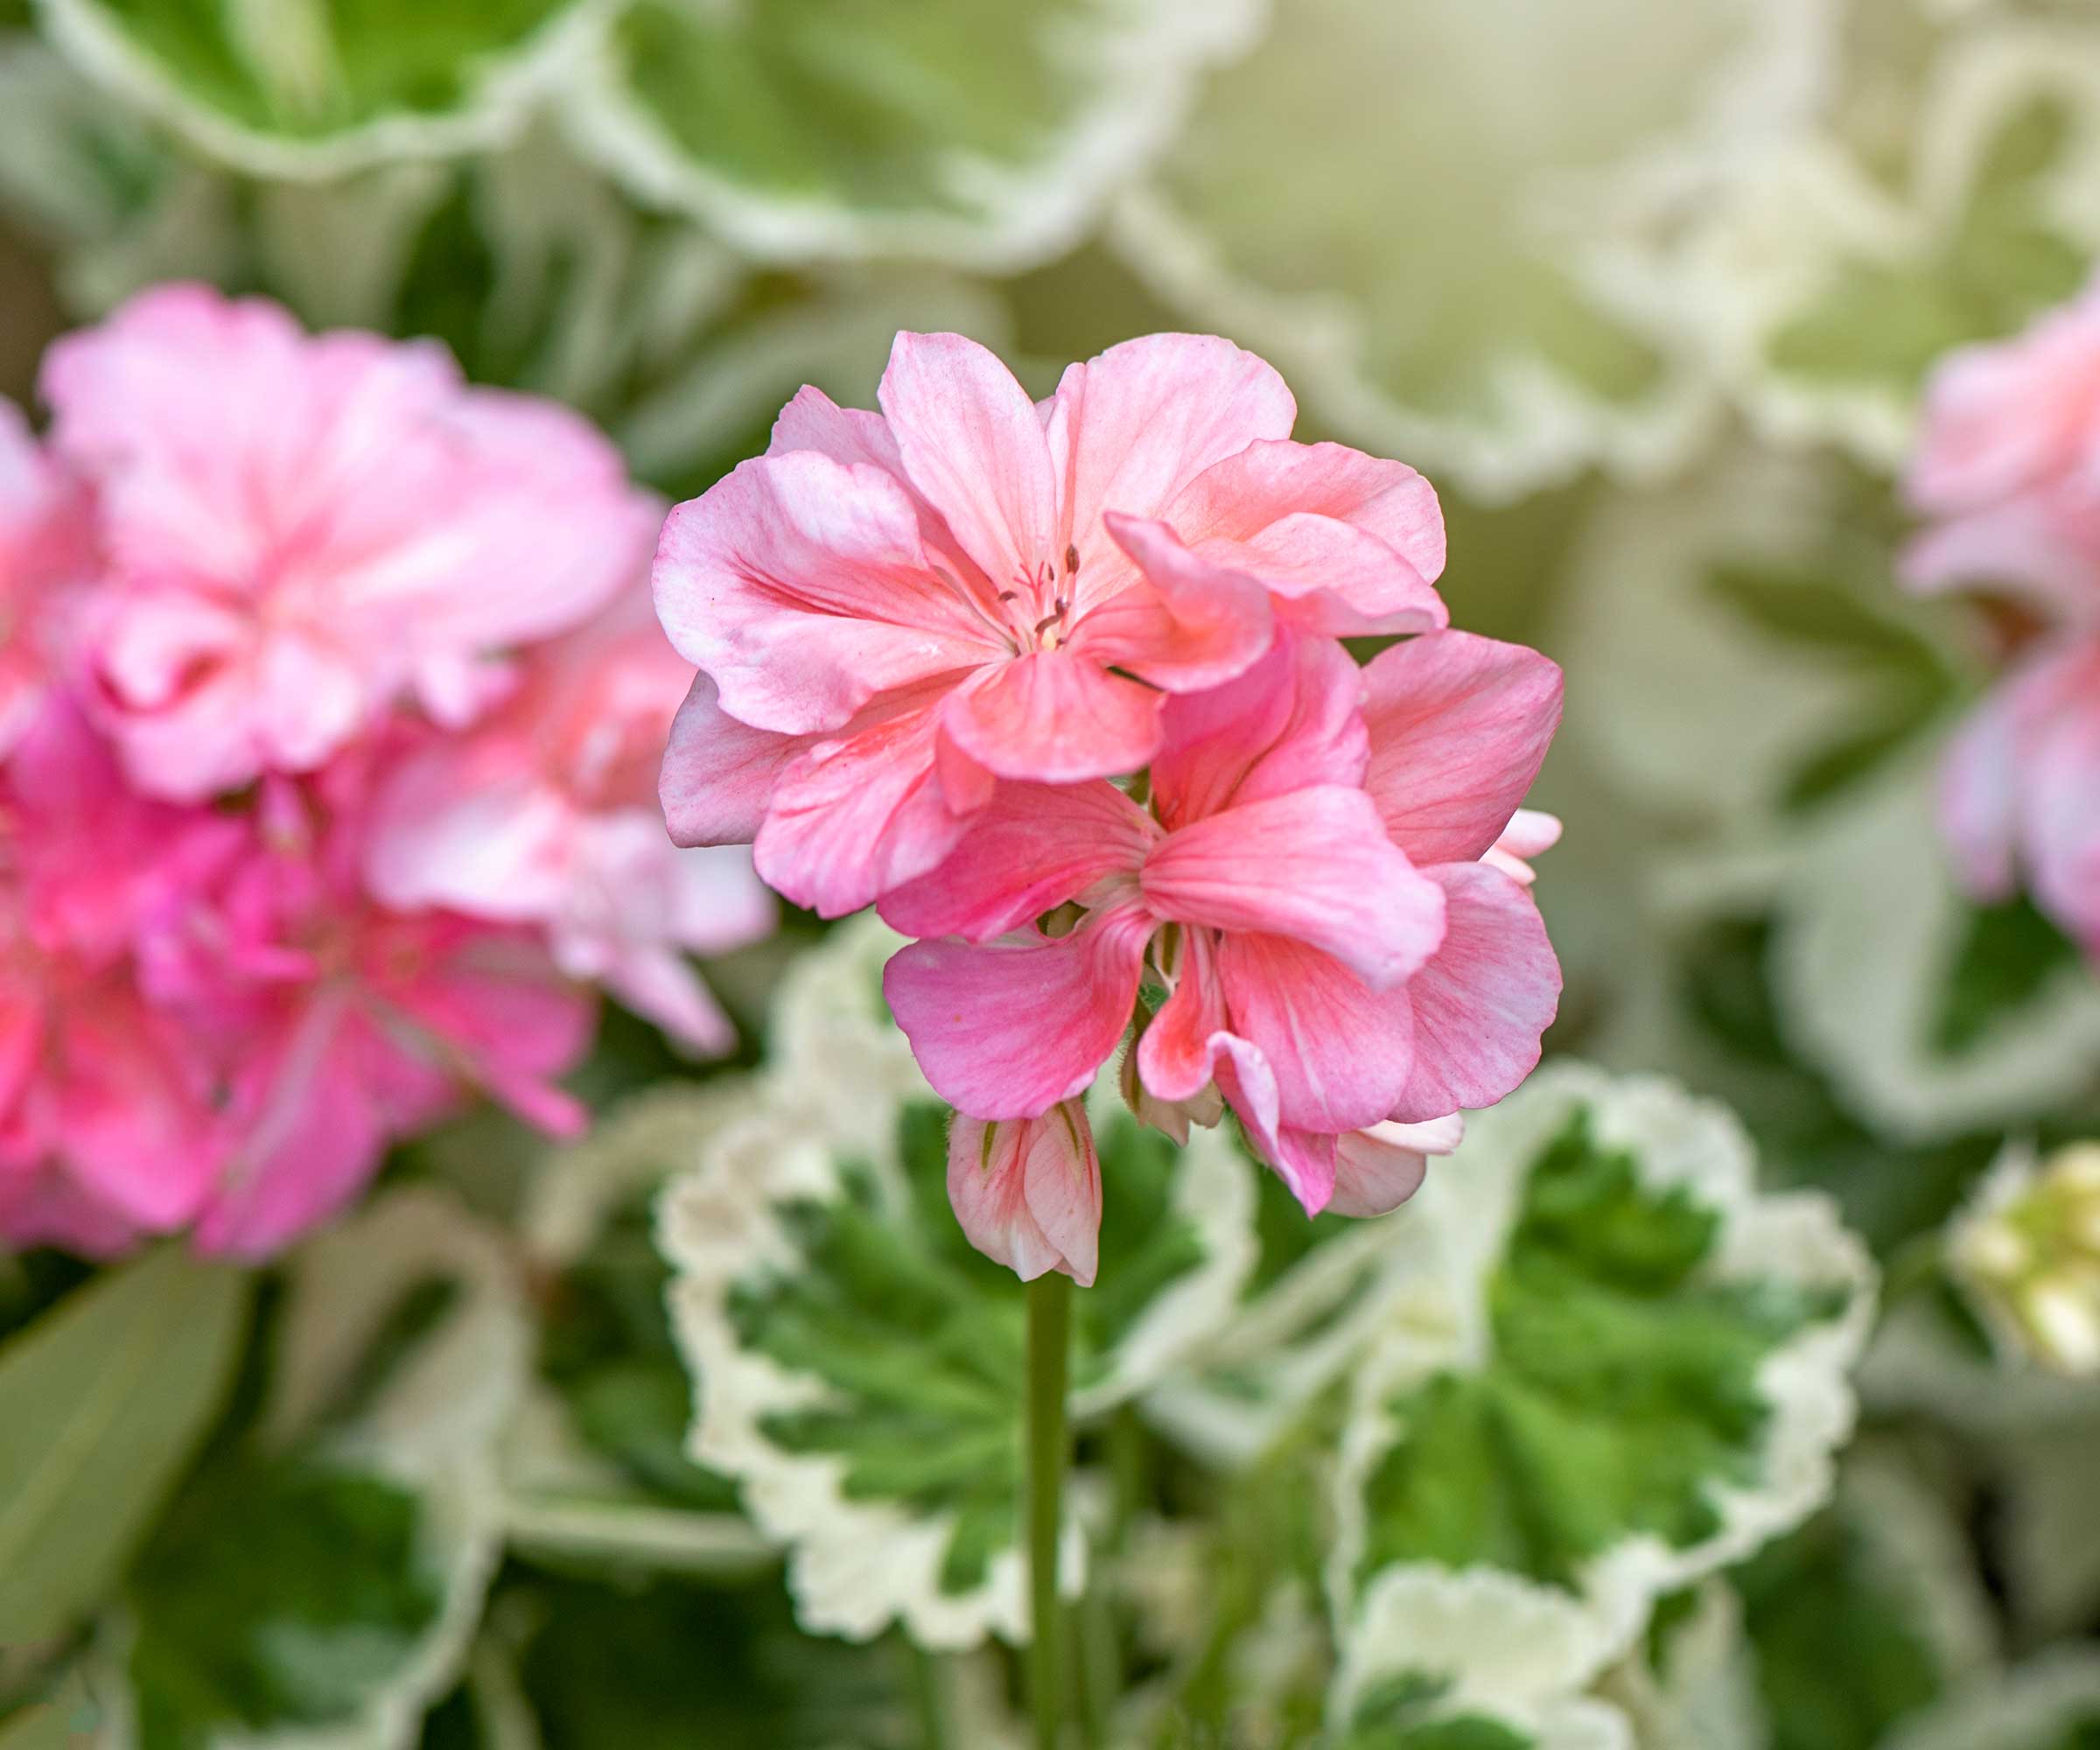
- Spent flower heads (deadheading) to redirect the plant’s remaining energy away from seed production and back into root preservation.
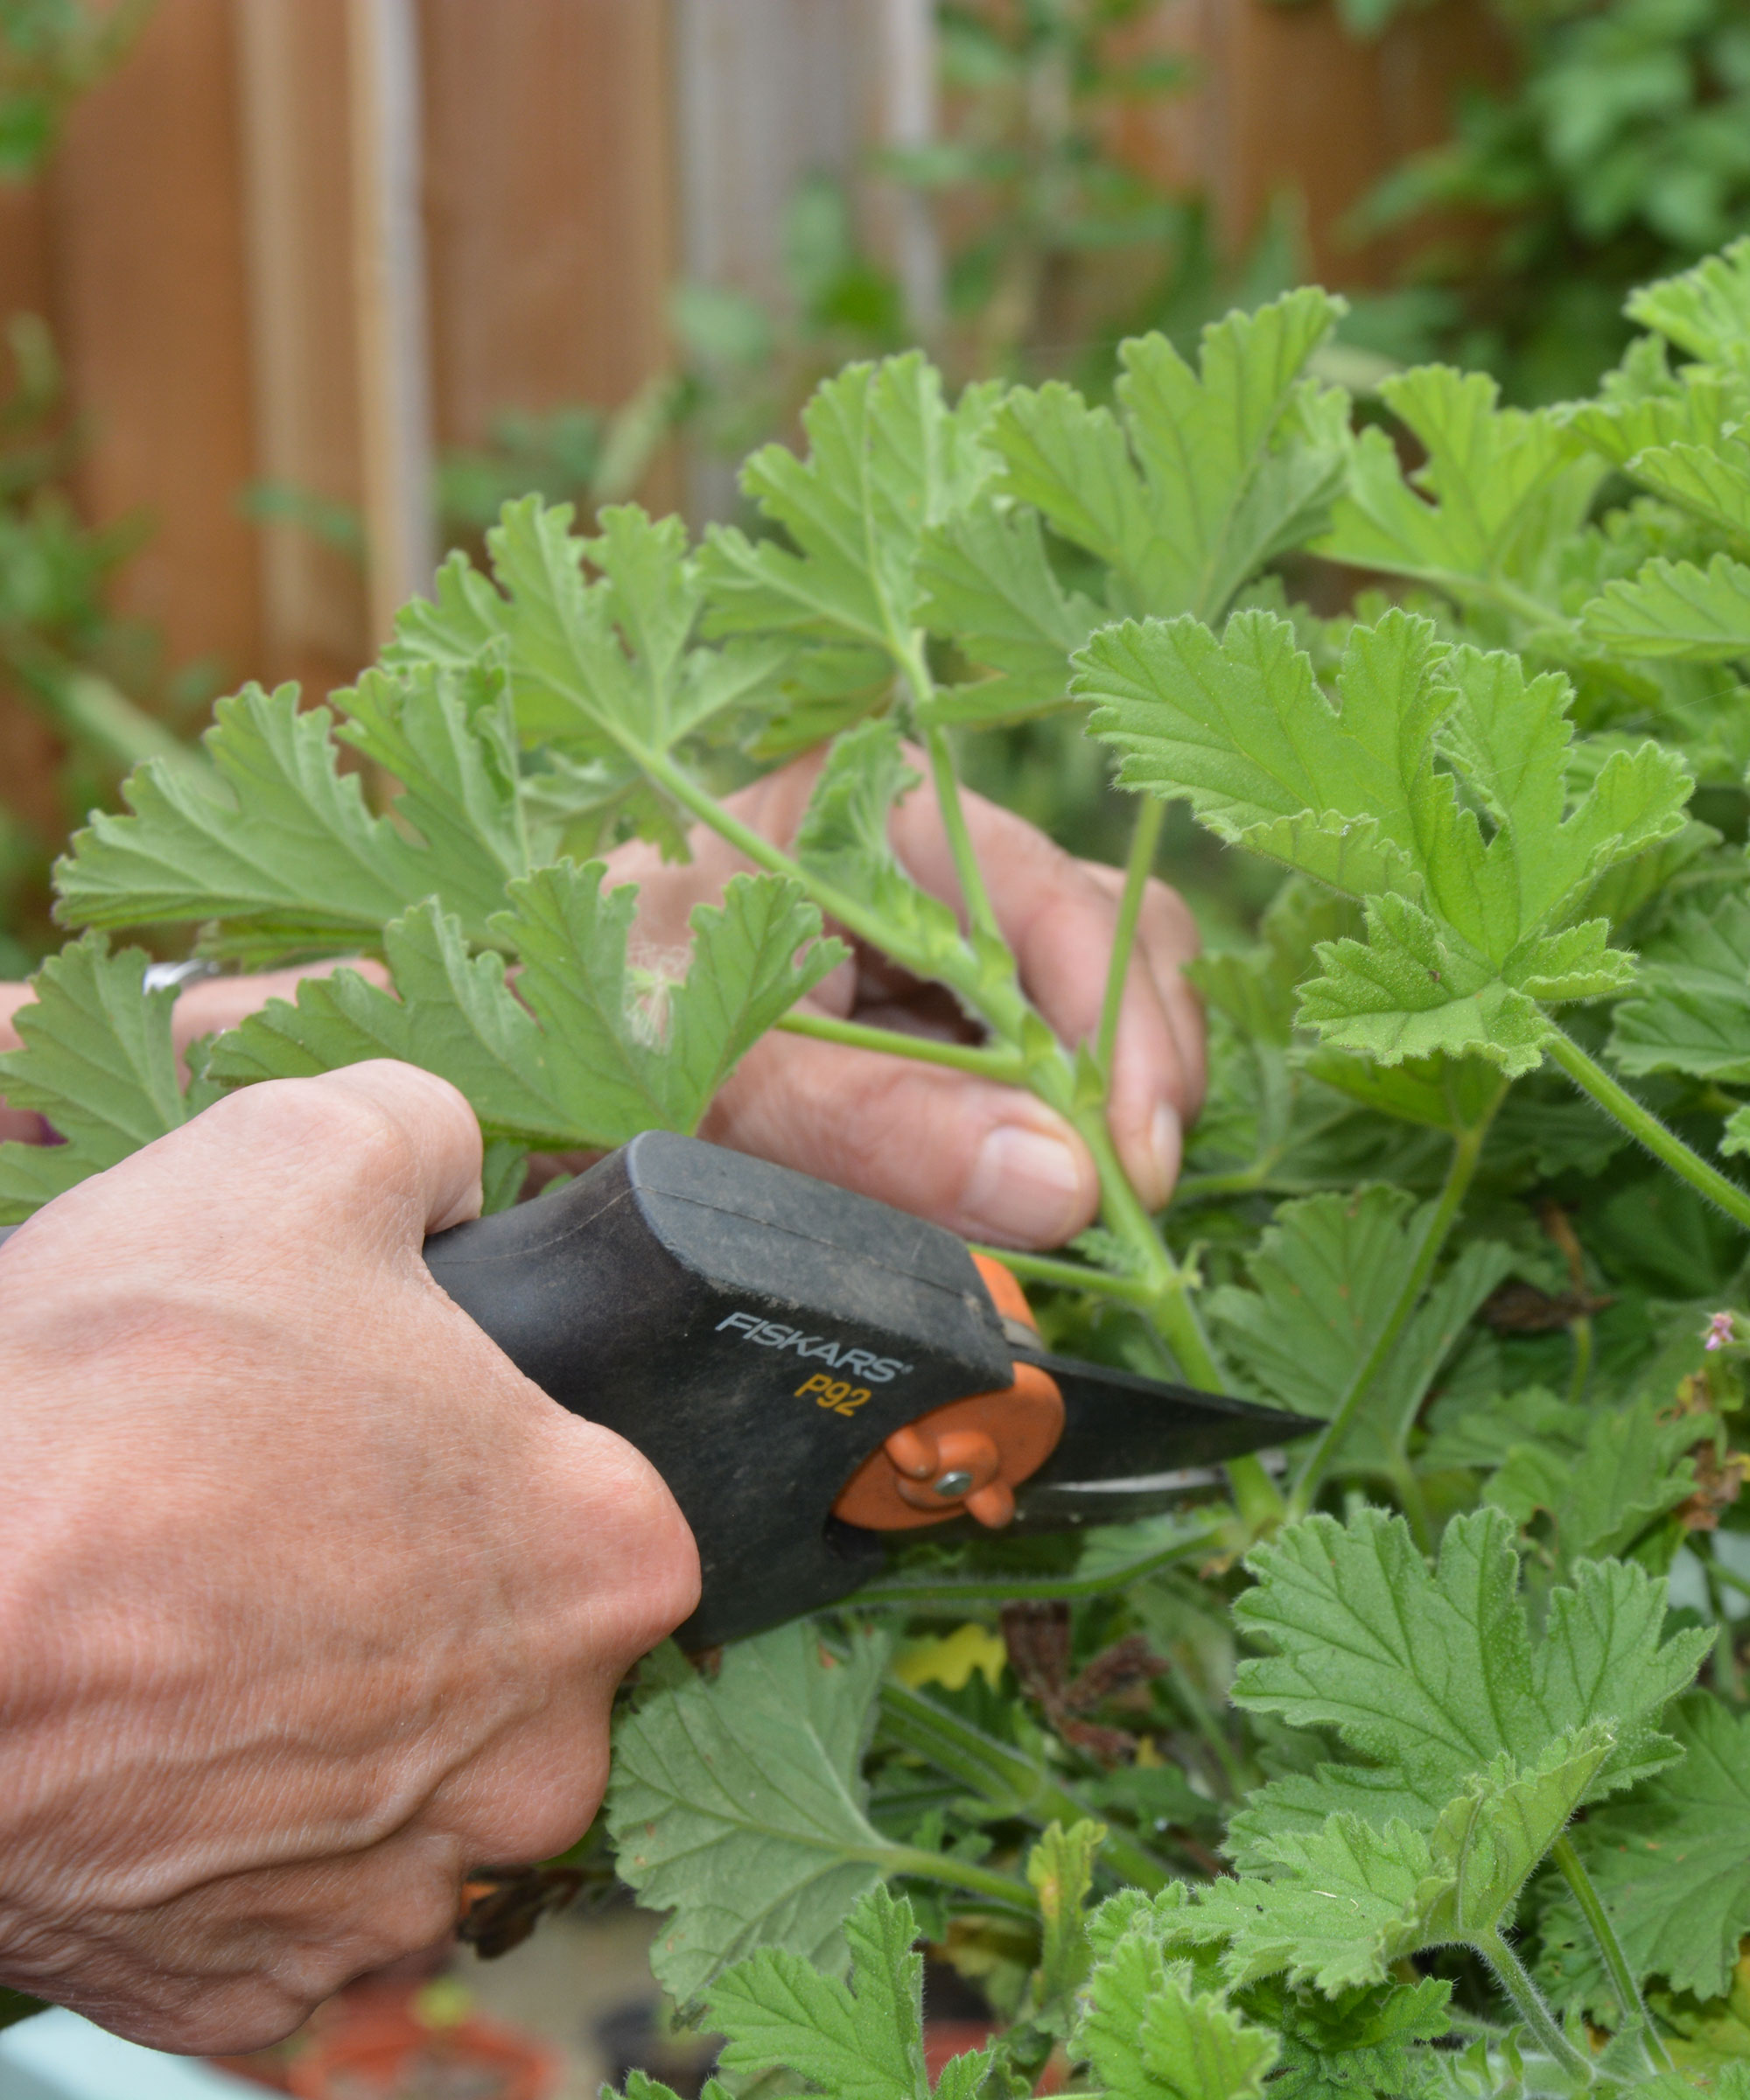
Using precision tools—such as micro-tip gardening snips—is critical during this phase. Because pelargonium stems can be succulent and easily bruised, clean, sharp blades prevent crushing the tissue, thereby lowering the risk of bacterial infections or fungal spores entering the wounds. This simple cosmetic and structural trim keeps the plants looking vibrant as they transition indoors and significantly reduces the risk of harboring overwintering pests.
2. Take Stem Cuttings for Insurance and Propagation
Because tender pelargoniums are not guaranteed to survive harsh winter conditions—even when brought indoors—smart gardeners never put all their eggs in one basket. September offers the final reliable window of opportunity to take stem cuttings, ensuring you have healthy, vigorous back-up plants for the following year.
Step-by-Step Propagation Guide
- Select the Right Material: Choose healthy, non-flowering side shoots measuring approximately 3 to 4 inches in length. Avoid woody stems, as they root poorly, as well as overly soft tips that tend to rot.
- Make the Cut: Snip the stem cleanly just below a leaf node. This specific anatomical zone contains high concentrations of rooting hormones and active cells.
- Strip Lower Foliage: Remove all lower leaves, leaving only one or two pairs at the very top of the cutting. This minimizes moisture loss through transpiration.
- Apply Rooting Hormone: Dip the cut end into a quality rooting hormone powder. These specialized formulations encourage rapid root development and protect the raw wound from soil-borne pathogens.
- Plant and Protect: Insert the cuttings into small pots filled with a sterile, fast-draining potting mix or seed compost. Keep the medium consistently moist but never waterlogged.
Overwintering these cuttings in a bright, frost-free, and sheltered environment—such as an unheated greenhouse, a bright conservatory, or a well-lit windowsill—will yield strong, independent young plants by spring. Any surplus plants make wonderful, living gifts for friends and gardening neighbors.
3. Move Plants Under Cover Before the First Frost
The absolute golden rule of growing tender pelargoniums in temperate climates is beating the frost. Even a light, unexpected autumn frost can turn succulent pelargonium foliage to mush, permanently damaging the crown of the plant.
Overwintering Locations
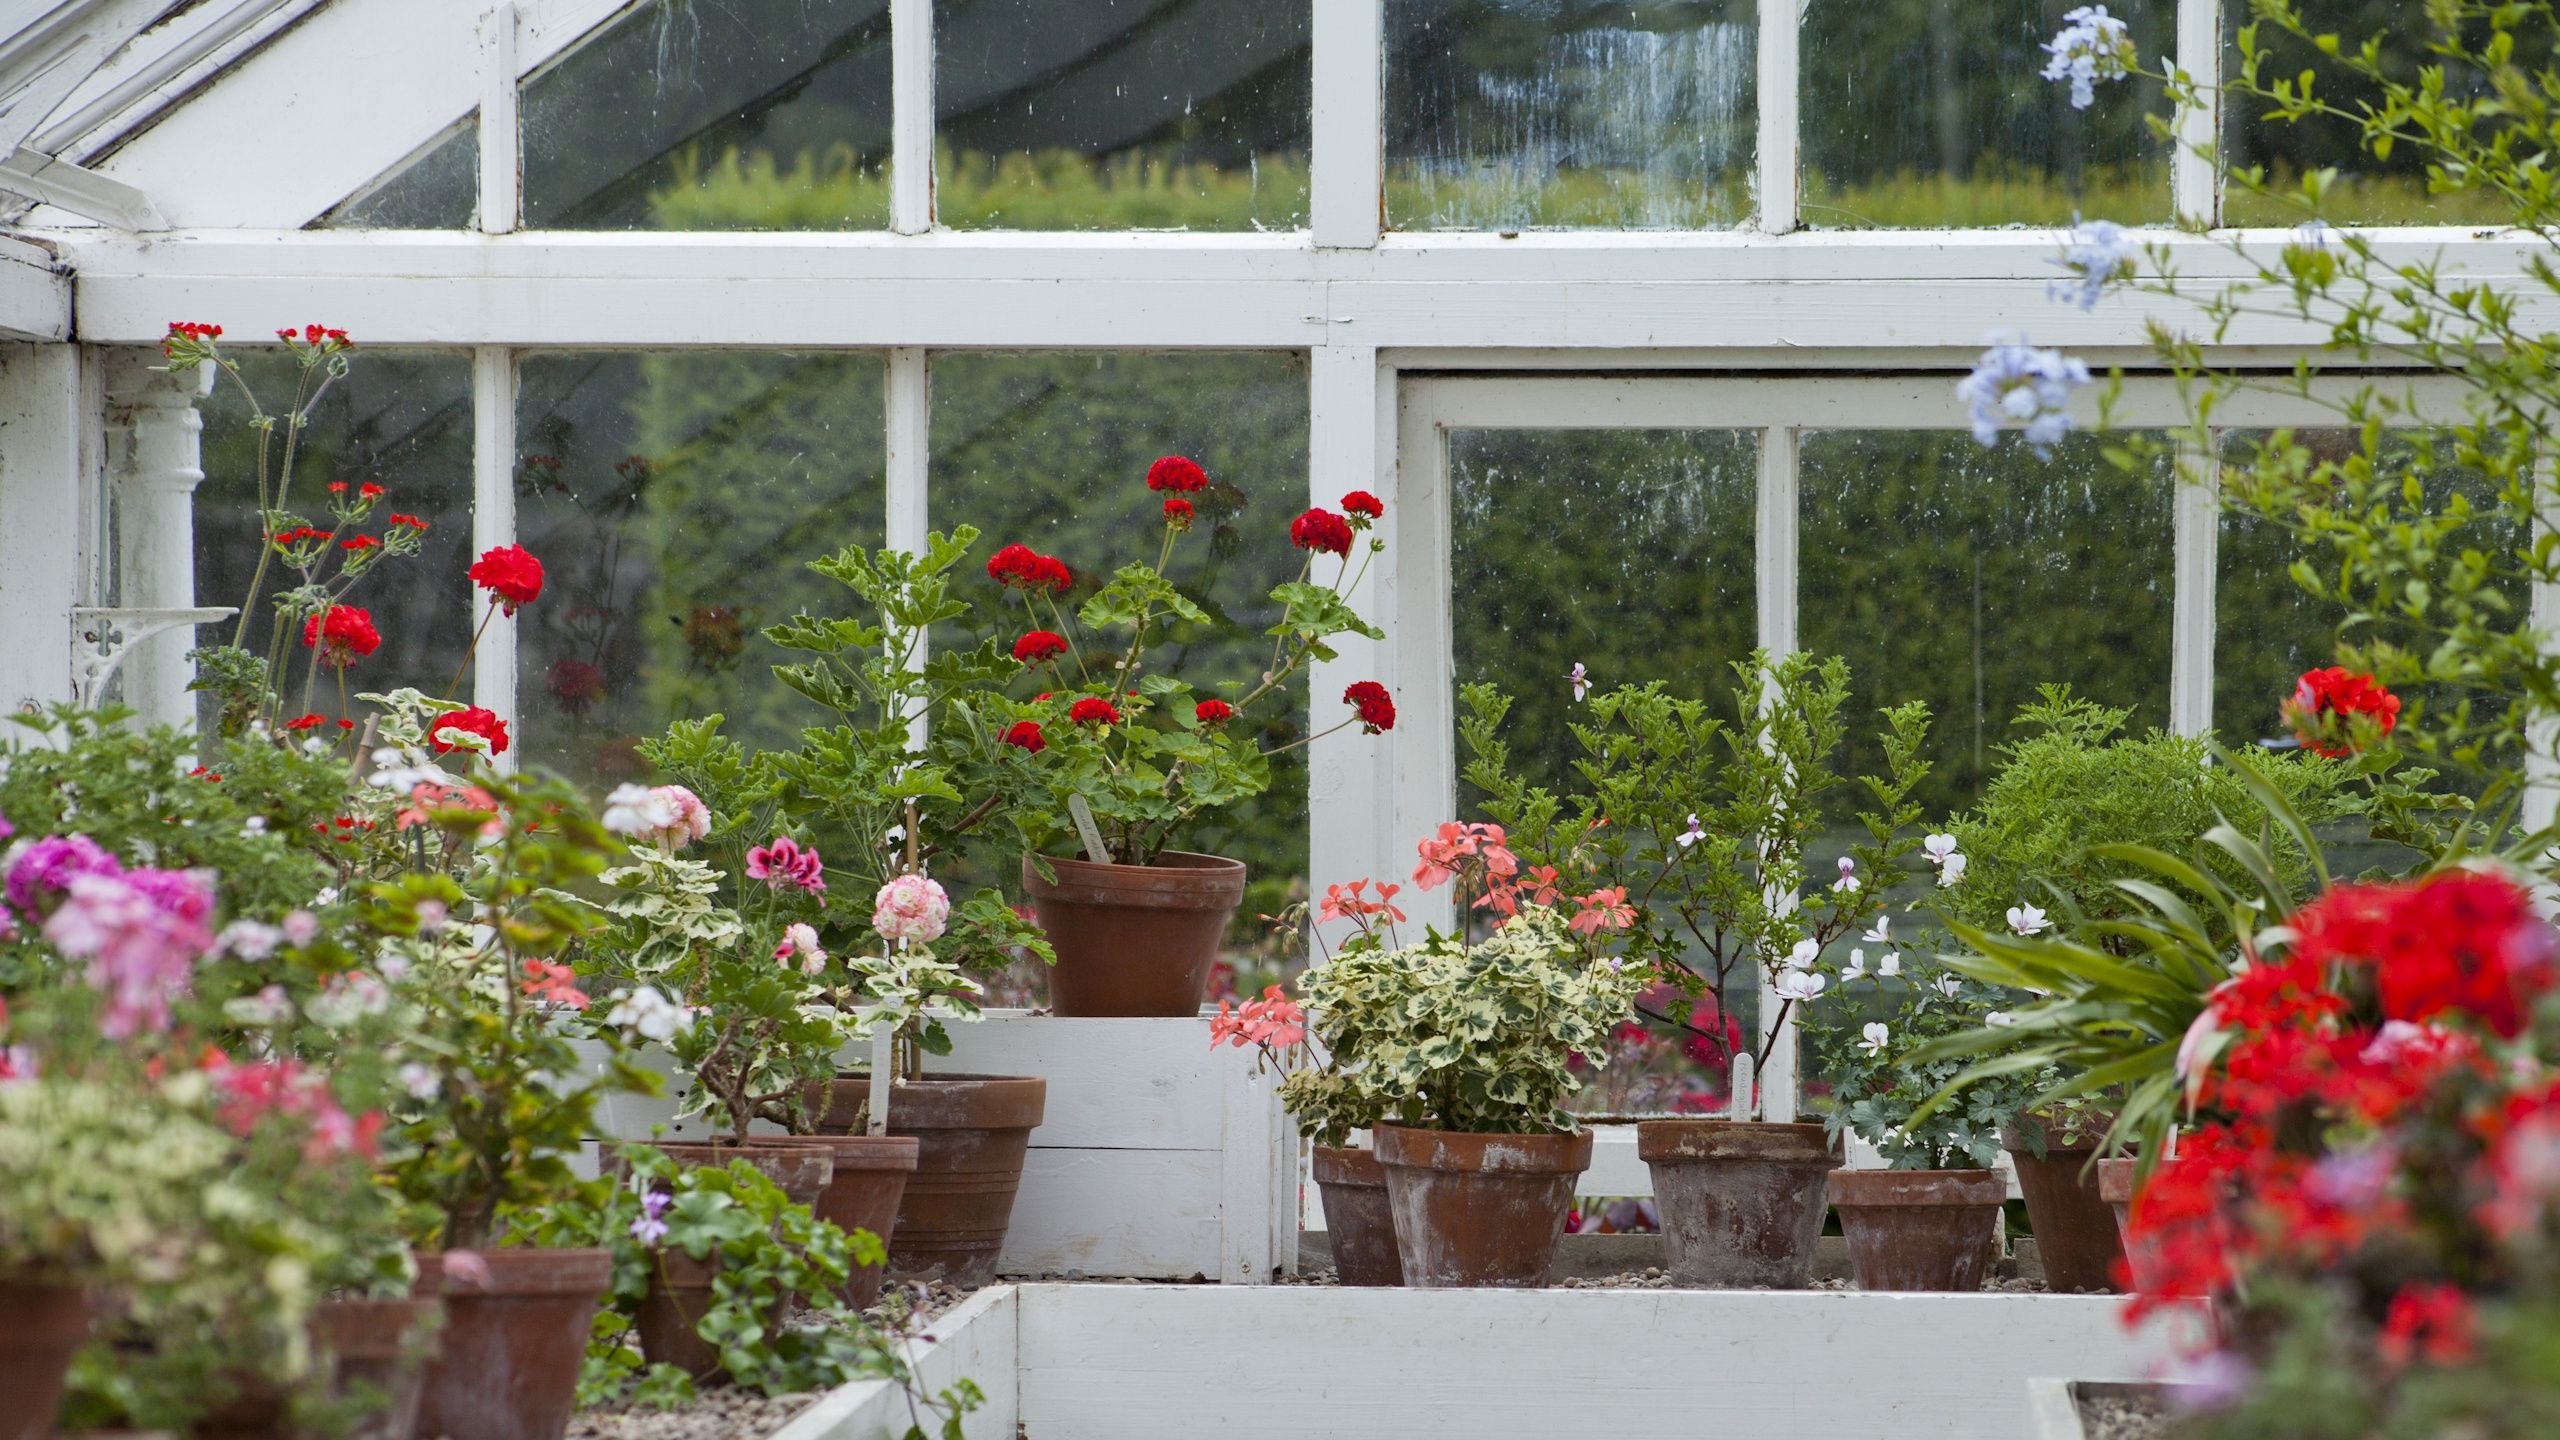
As nighttime temperatures begin to dip, gardeners in colder zones must transition their potted pelargoniums indoors or into protected outdoor structures. Viable shelters include:
- Greenhouses and Polytunnels: Ideal for maintaining frost-free conditions while providing maximum natural light.
- Conservatories and Sunrooms: Excellent spaces that offer bright, indirect light and regulated temperatures.
- Indoor Windowsills: A classic choice for transforming outdoor bedding plants into cheerful winter houseplants.
Avoiding Indoor Pitfalls
When bringing plants indoors, inspect every specimen meticulously for hitchhiking pests such as aphids, whiteflies, or spider mites to prevent an indoor infestation. Furthermore, position plants away from heat sources like radiators, heating vents, and active fireplaces. Excessive dry heat will cause foliage to crisp up and rapidly dehydrate the soil. Finally, ensure adequate ventilation around indoor plants to discourage the formation of powdery mildew and other fungal diseases.
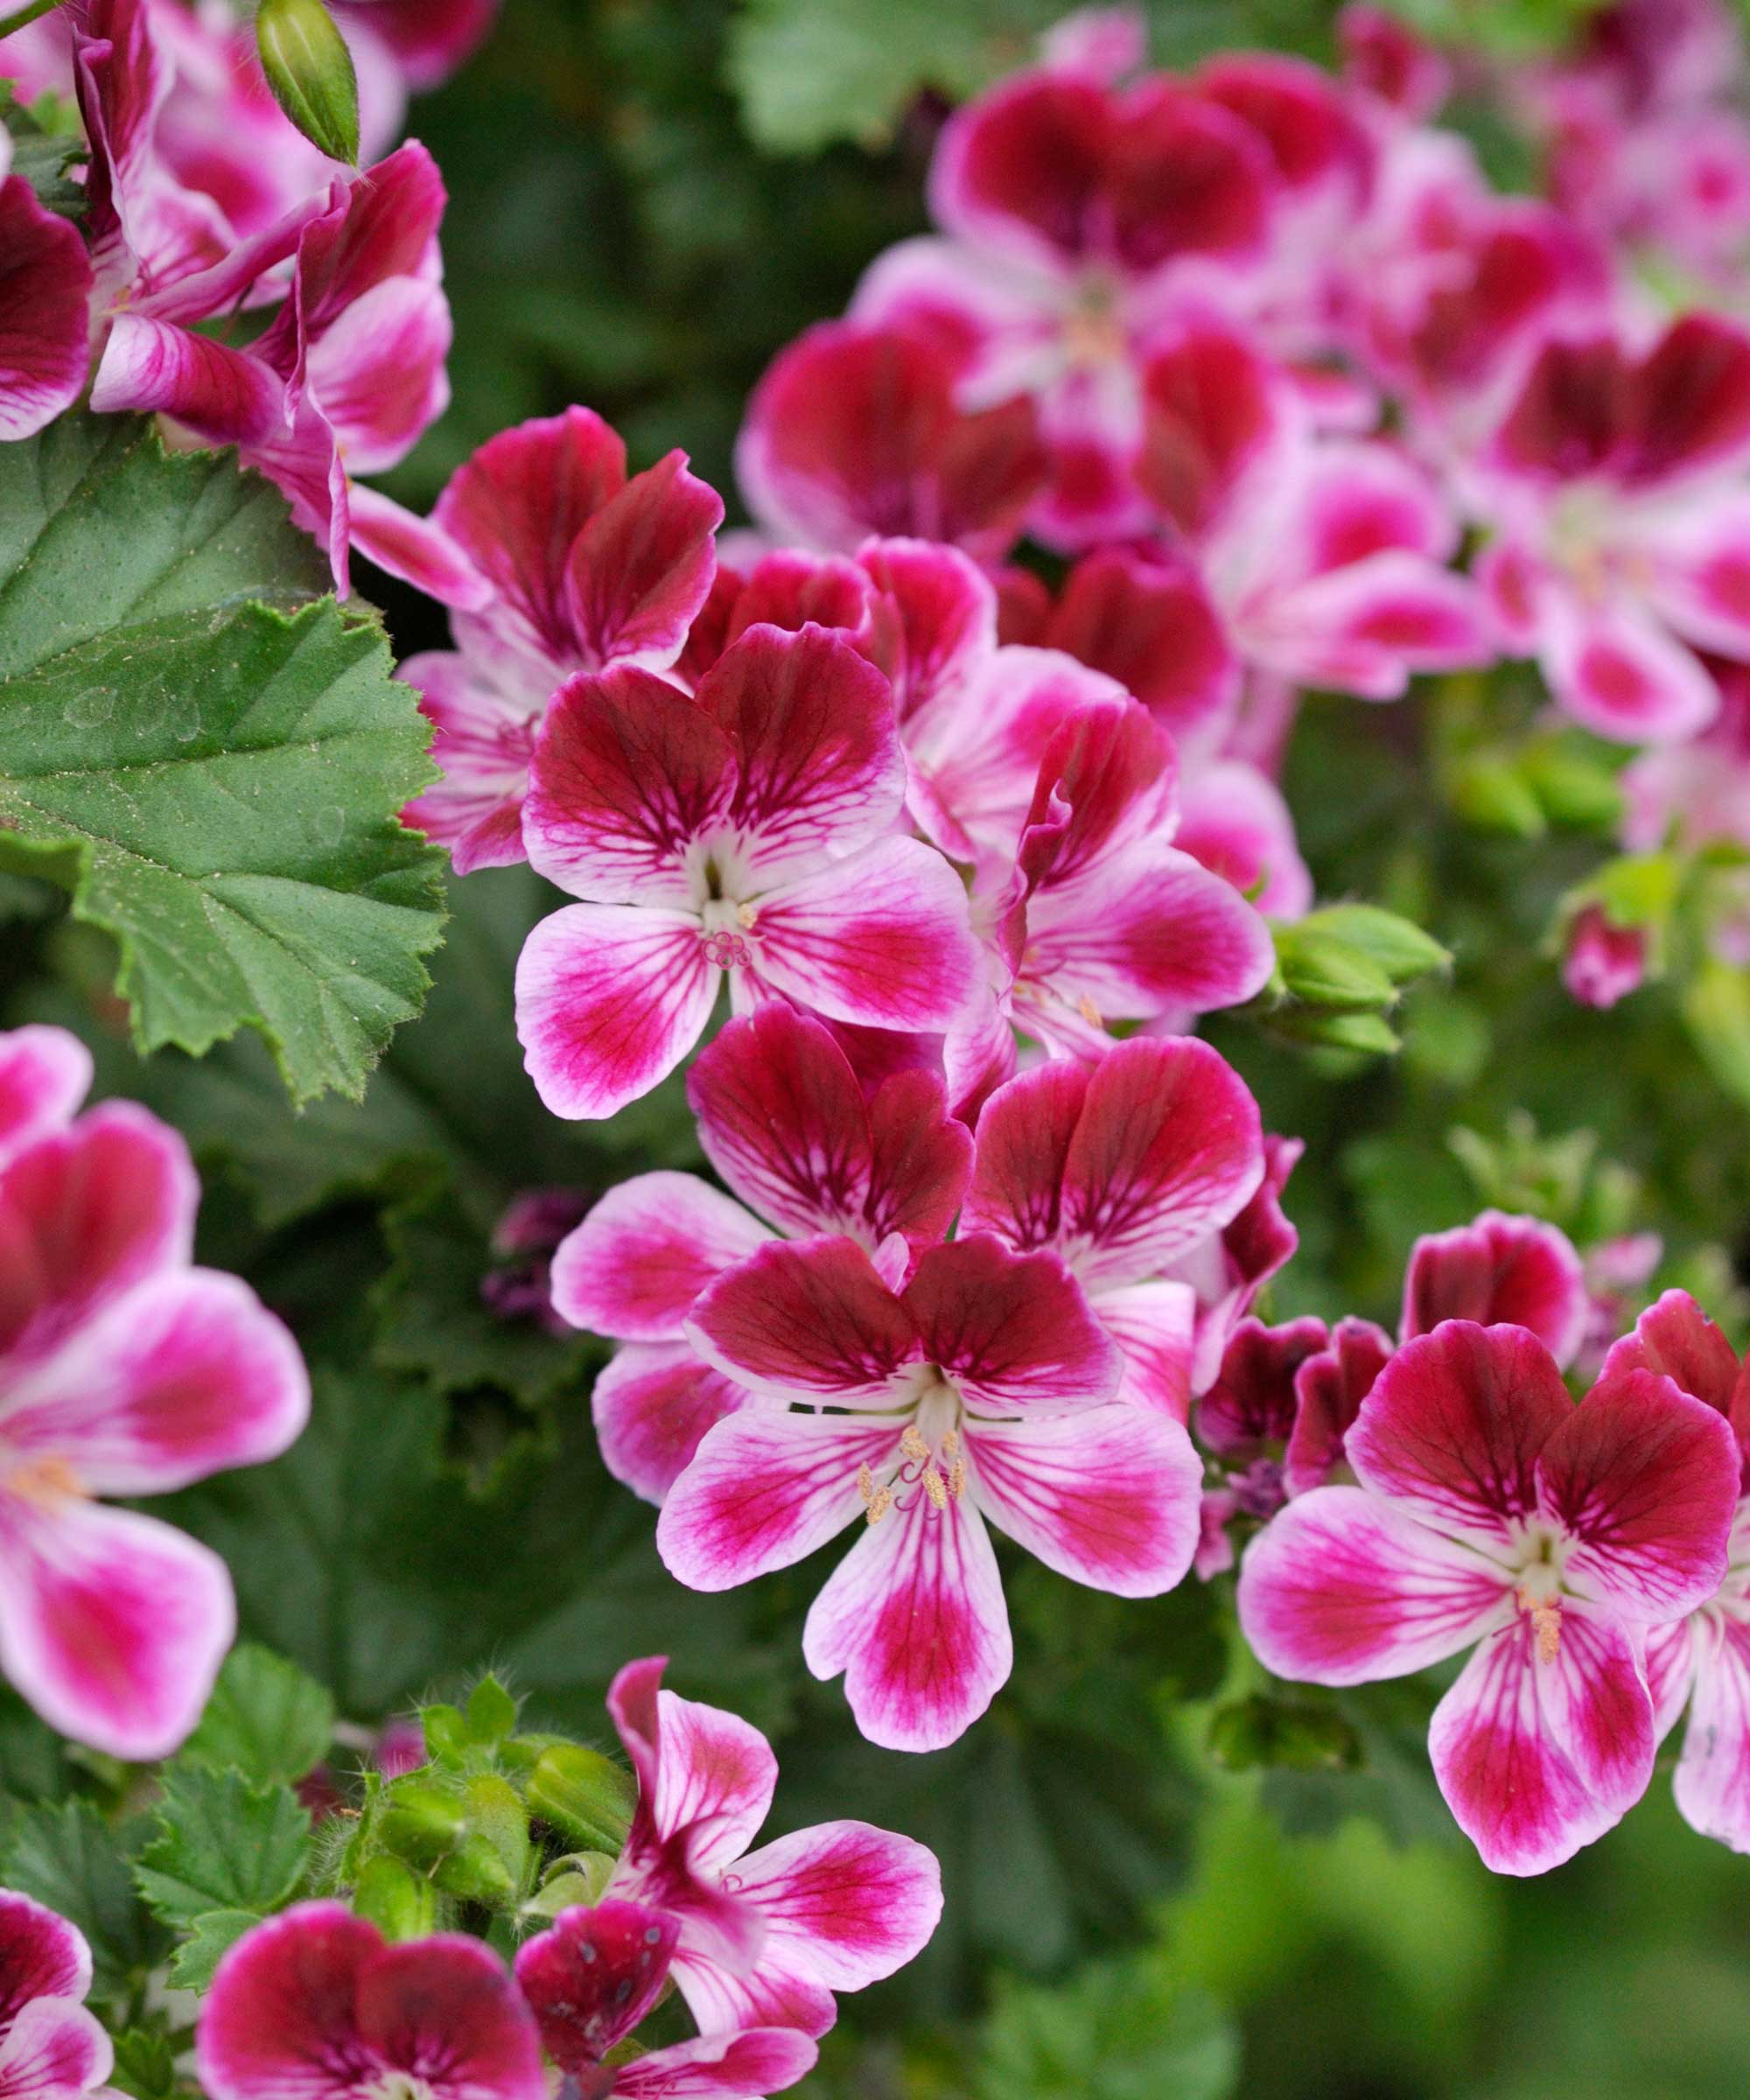
4. Adjust Watering Habits: Only Water When Dry
One of the most common reasons pelargoniums fail to survive the winter months is not the cold, but rather excessive moisture. During their active summer growth phase, these plants happily consume substantial amounts of water. However, as day lengths shorten and temperatures drop, their metabolic rate plummets.
Managing Moisture Levels
- The Root Rot Danger: Pelargoniums feature semi-succulent stems and root systems that are exceptionally susceptible to root rot when sitting in cold, wet compost.
- Check Before You Pour: Shift away from a regular watering schedule. Instead, allow the potting mix to dry out significantly between waterings. Utilizing a reliable soil moisture meter can remove the guesswork, ensuring you only add water when the root zone is genuinely dry.
- Upgrade Drainage: Ensure that all containers feature adequate drainage holes and are paired with saucers to catch excess run-off. Transitioning plants into traditional terracotta pots can also be beneficial, as the porous clay walls allow excess moisture to evaporate more rapidly from the soil.
Watering frequency can safely be returned to normal levels in the spring once fresh green growth and new shoots visibly emerge.
5. Reduce and Ultimately Cease Fertilizing
Just as watering requirements change drastically in September, so too must the plant’s nutritional intake. Continuing to feed pelargoniums standard liquid fertilizers into the autumn months is a counterproductive trap.
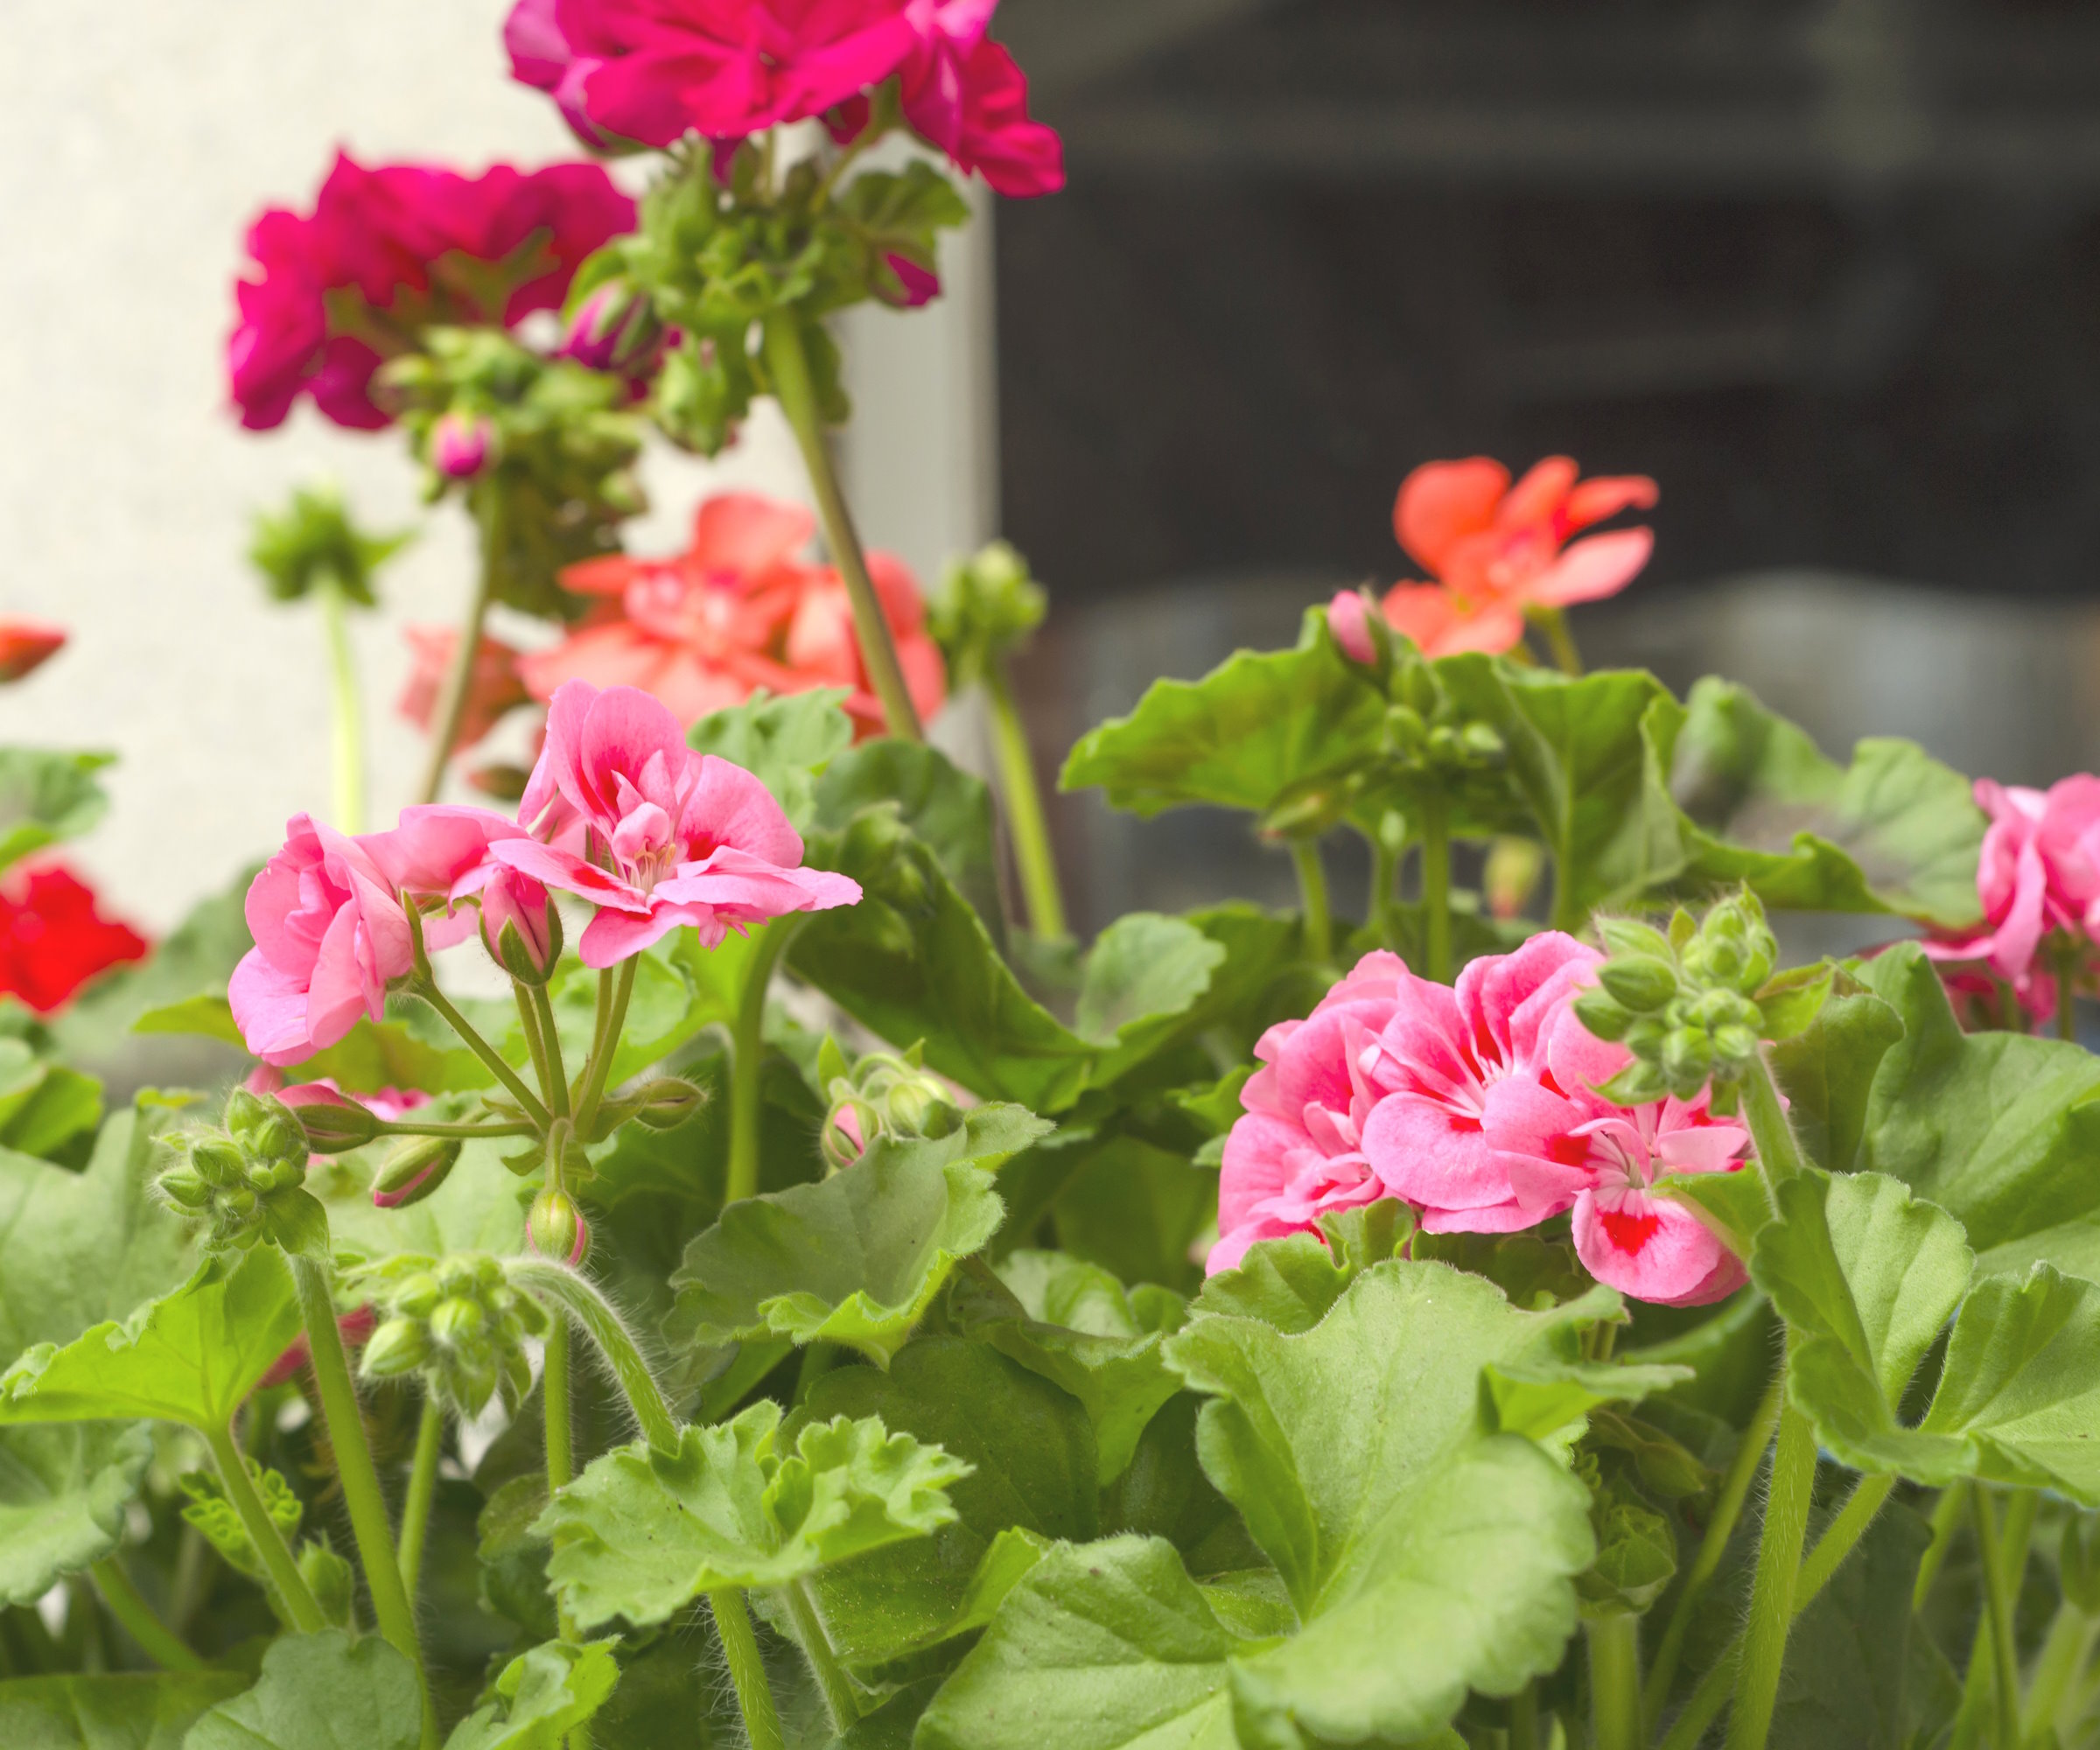
Why Less is More in Autumn
- Preventing Weak Growth: Applying nitrogen-rich or general-purpose fertilizers stimulates a flush of soft, succulent new growth. This delicate tissue is highly vulnerable to chilling injuries, low light levels, and fungal diseases common indoors during winter.
- Salt Accumulation: Over-fertilizing a dormant or semi-dormant plant leads to a harmful accumulation of unabsorbed mineral salts in the potting compost, which can chemically burn and damage sensitive roots.
The September Feeding Protocol
If your pelargoniums are still putting on a brave floral display at the very beginning of September, you may give them one final, targeted nutritional boost using a high-potassium "bloom booster" fertilizer. This encourages the final wave of flowers without promoting excessive vegetative growth. By the middle to end of September, however, all feeding should cease entirely, allowing the plant to enter its natural, energy-conserving resting phase.
Implications and Future Outlook
The transition from summer garden displays to indoor winter protection highlights a broader shift in modern horticulture: a growing emphasis on sustainable, cyclical gardening practices. By propagating cuttings, overwintering mature plants, and reducing chemical inputs as seasons change, gardeners reduce waste, save money, and cultivate a deeper, more resilient connection with their local ecosystems.
As climatic patterns become increasingly unpredictable, mastering these fundamental preservation techniques ensures that traditional garden favorites—like the fragrant, charming pelargonium—will continue to thrive for generations. Keep a close eye on local meteorological forecasts for unexpected early frost warnings, ensure your protective measures are fully in place, and enjoy the rewarding process of safeguarding your garden’s vibrant future.
