

By the Editorial Home Improvement Desk
Published by Special Arrangement
Main Facts: The Enduring Appeal and Vulnerability of Metal
Metal furniture, ornamental fixtures, and architectural accents have long been celebrated for their structural integrity, architectural weight, and longevity. From mid-century modern wire chairs and wrought-iron garden benches to cast-aluminum patio sets and decorative railings, metal provides a resilient foundation that outlasts wood and plastic equivalents. However, time, weather, and heavy daily use eventually take their toll.
When rust begins to bloom, paint flakes, or a once-vibrant factory finish fades into chalky obsolescence, homeowners often face a critical decision: discard the item or restore it.
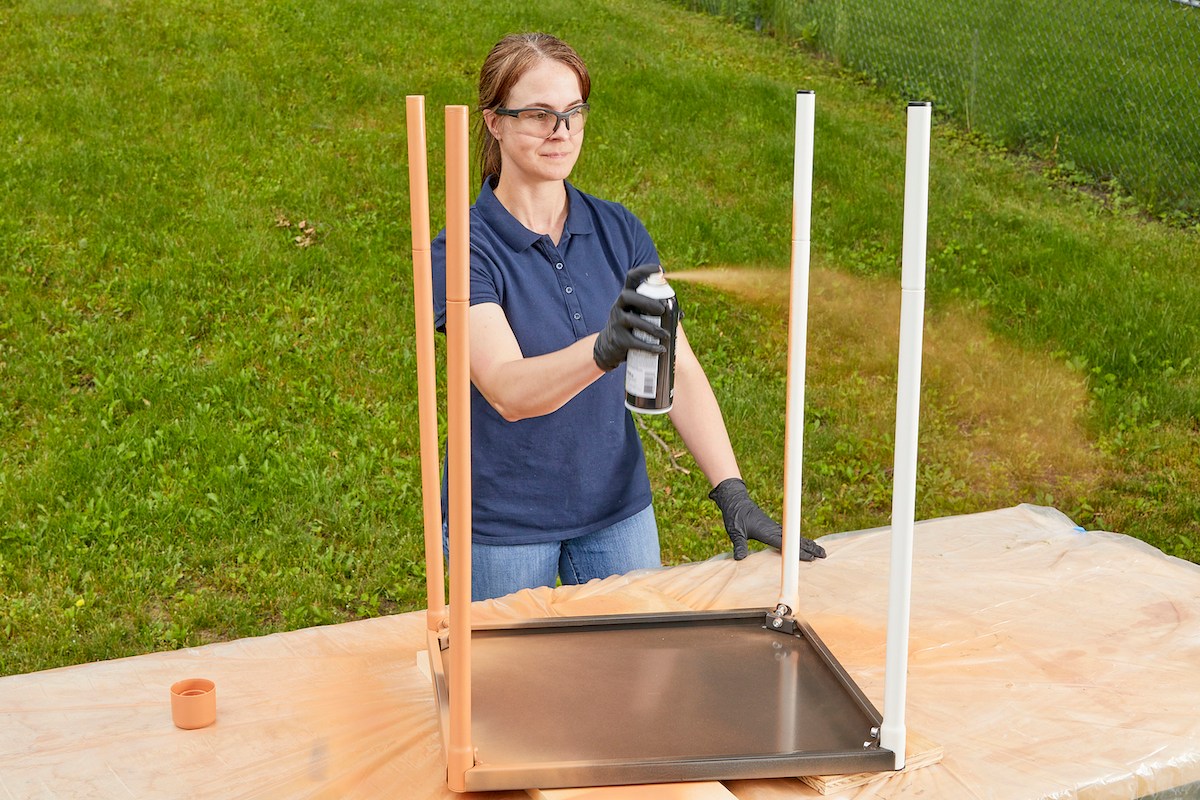
According to home maintenance experts, throwing away structurally sound metal furniture is both environmentally and economically wasteful. A fresh, properly applied coat of spray paint can completely transform an aged piece, returning it to factory-new condition at a fraction of the cost of replacement. Yet, unlike painting porous materials like wood or drywall, painting metal requires precision, strict adherence to surface preparation protocols, and an understanding of chemical bonding.
The gold standard for these projects is a hard-wearing oil-based enamel. While slower to dry than water-based acrylics, enamel delivers superior durability, stands up to rigorous cleaning, and frequently incorporates rust-inhibiting agents. Achieving professional results, however, demands far more than simply aiming a can and pulling the trigger. It requires a meticulous, multi-step process encompassing surface scouring, degreasing, proper environmental staging, and multi-layered application techniques.
Chronology: A Step-by-Step Masterclass in Metal Restoration
Successfully spray-painting metal is an exercise in sequential discipline. Rushing a phase—such as failing to let primer dry or skipping the sanding step—compromises the structural integrity of the paint coat, leading to premature bubbling, peeling, and rust breakthrough. Below is the chronological blueprint utilized by professional restorers to ensure a flawless, long-lasting finish.
Phase 1: Surface Preparation and Scouring (Steps 1 & 2)
The primary enemy of spray paint is poor adhesion. Smooth, shiny, or oxidized metal surfaces repel paint, causing it to bead up or slide off.
- Eradicate Rust and Loose Paint: Begin by using a stiff wire brush and medium-grit sandpaper to aggressively scrub away all flaking paint and active rust spots down to the bare metal.
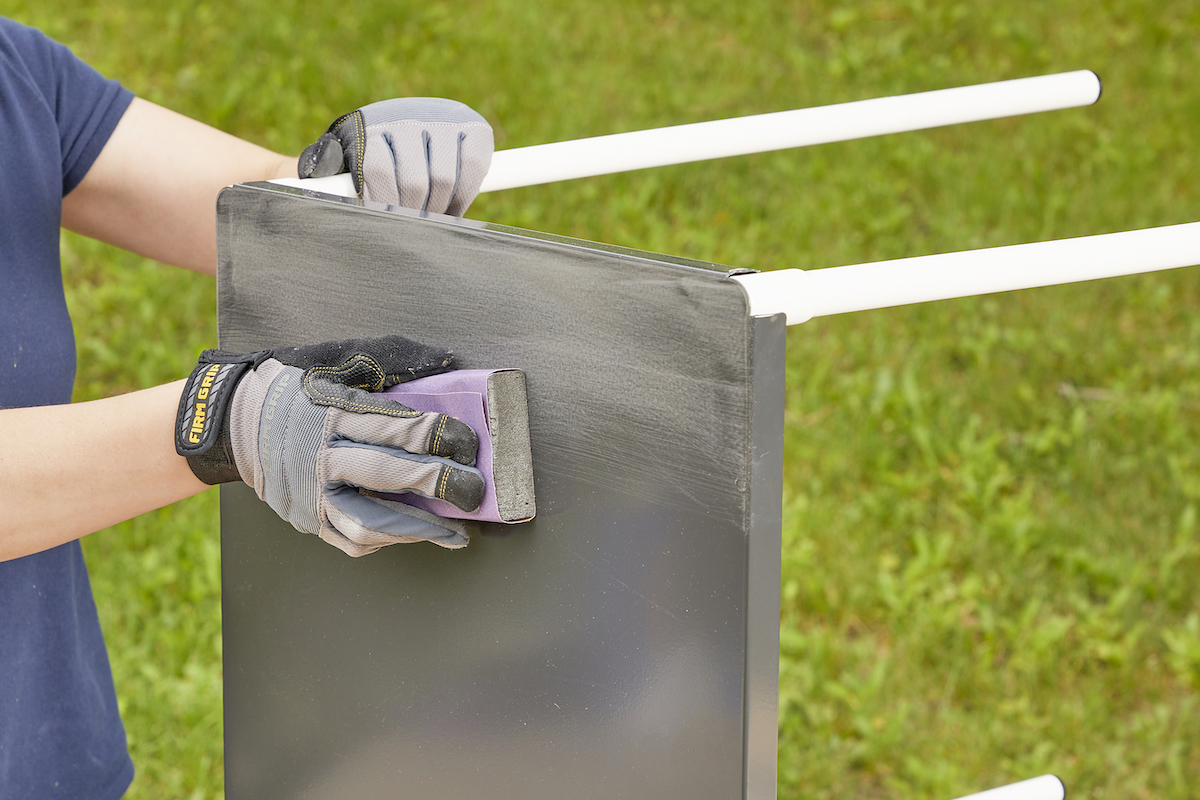
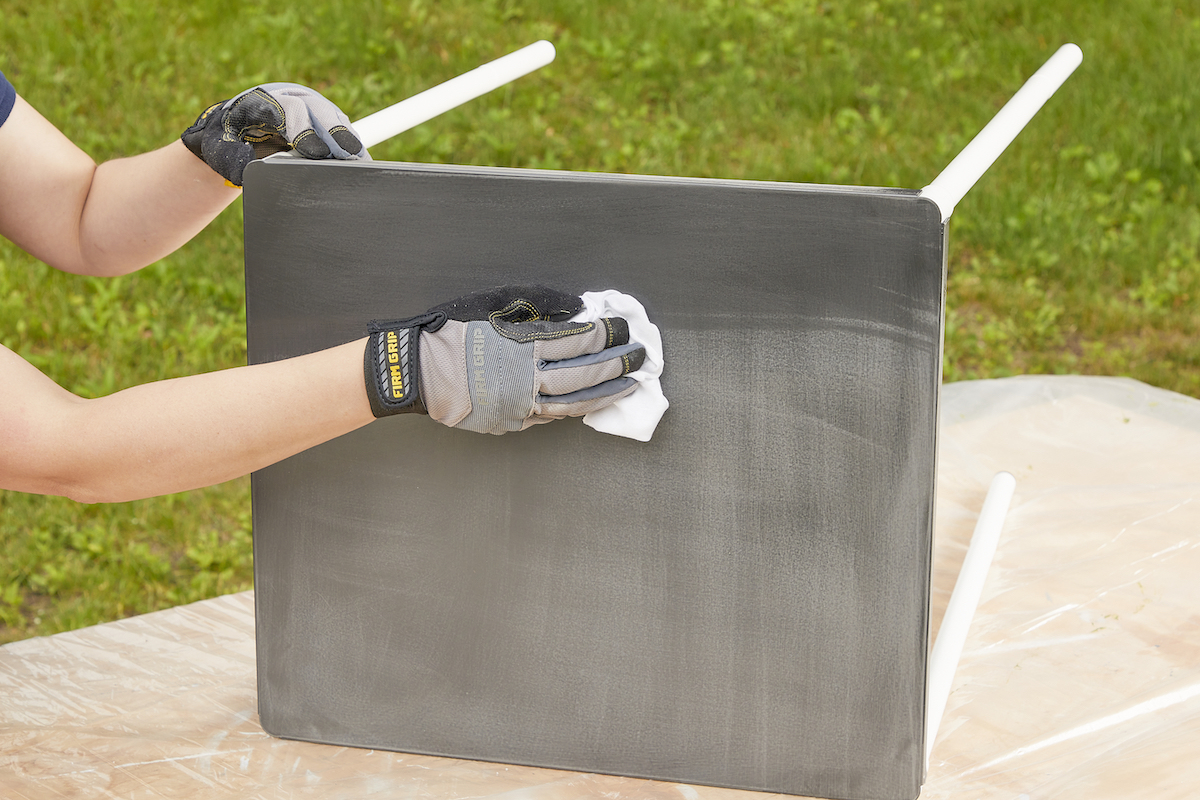
- Scour for Adhesion: Because paint bonds poorly to ultra-shiny factory finishes, lightly scour the entire surface with fine-grit sandpaper or a sanding block. The objective is not to gouge or scratch the metal deeply, but to dull the sheen until the surface resembles brushed nickel. This micro-texture gives the paint microscopic "anchors" to grip onto.
- Decontaminate: Once sanding is complete, wipe down the entire piece meticulously using a clean, dry, lint-free cloth. For stubborn grease, oils, or residue, lightly dampen the rag. Crucial Rule: The metal must be 100 percent dry before any chemical primers or paints are introduced.
Phase 2: Workspace Staging and Environmental Control (Step 3)
Environmental factors play an outsized role in the outcome of a spray-painting project.
- Location, Location, Location: Whenever possible, work outdoors in a well-ventilated area protected from direct wind. Wind not only introduces airborne debris—such as dust, leaves, and pollen—into your wet paint, but it can also blow the aerosol mist off-target, resulting in an uneven, patchy finish. If working indoors, ensure cross-ventilation by opening all nearby doors and windows.
- Protect the Surrounding Area: Clear all adjacent furniture within a 10-foot radius. Lay down heavy-duty canvas drop cloths or layers of newspaper to protect flooring and grass from airborne overspray. Use high-grade masking tape to seal off any hardware, glass inserts, or decorative trim that must remain unpainted.
Phase 3: Aerosol Testing and Safety Protocol (Step 4)
Before bringing the spray can anywhere near your restoration project, take critical safety precautions and test the equipment.
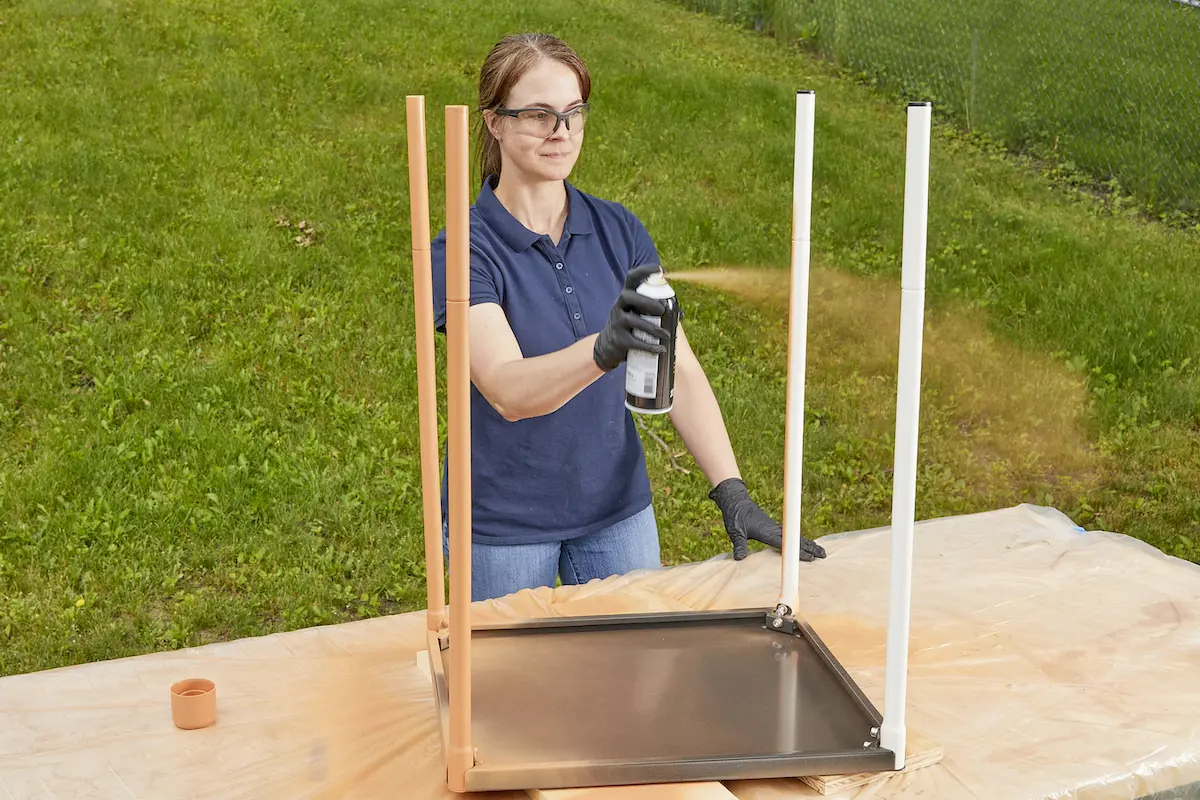
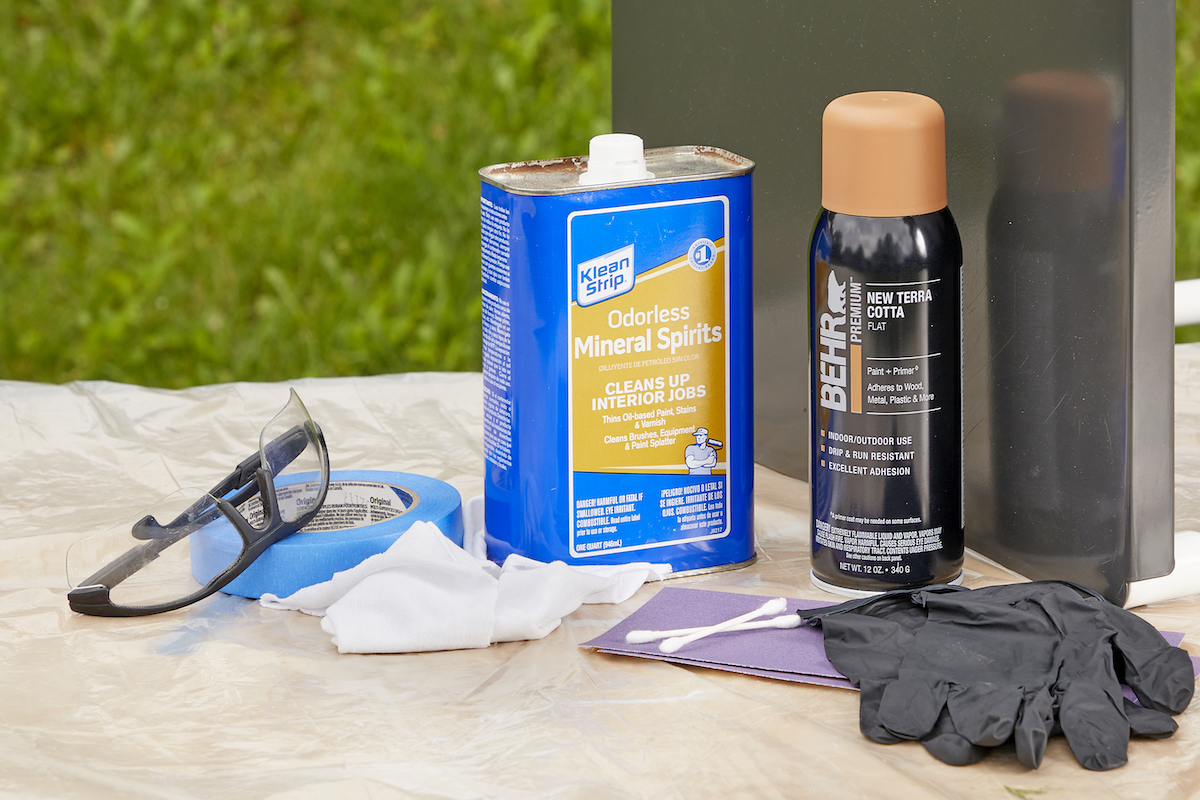
- Don Personal Protective Equipment (PPE): Always wear safety glasses, protective gloves, and a respirator mask to prevent inhalation of volatile organic compounds (VOCs) and aerosolized paint particles.
- Vigorous Agitation: Shake the spray can vigorously for 45 to 60 seconds to ensure the pigments and propellants are thoroughly mixed.
- The Test Spray: Test the nozzle spray pattern on a piece of scrap cardboard or the hidden underside of the project. A properly functioning nozzle should emit a fine, even mist. If the can "spits" or sputters, it may indicate a manufacturing defect (in which case it should be returned) or a clogged nozzle. For older cans, clear blockages by soaking or wiping the nozzle with warm water, followed by a dab of lacquer or paint thinner on a rag.
Phase 4: Priming and Layering (Steps 5 & 6)
If your chosen topcoat does not explicitly state that it includes a built-in primer, applying a dedicated metal primer—such as a rust-inhibiting formulation—is non-negotiable.
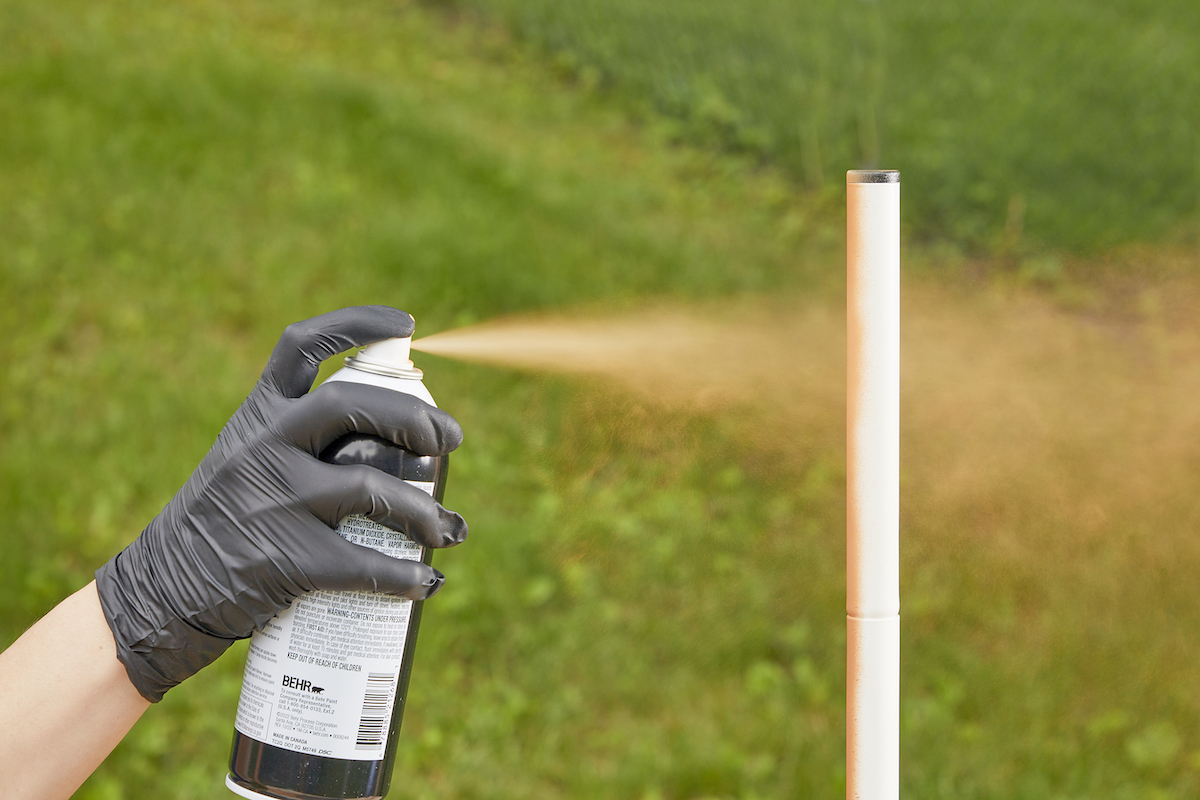
- Primer Application: Apply the primer using light, sweeping motions, holding the can roughly 8 to 12 inches from the surface. Allow the primer to cure completely according to the manufacturer’s instructions.
- The Color Coats: Apply the topcoat in the same methodical manner. Professionals advocate for multiple thin coats rather than one thick, heavy application. Apply up to three light coats, allowing adequate flash-off time between applications to prevent sagging, running, or bubbling. Always keep the can moving to maintain an even film thickness.
Phase 5: Curing and Cleanup (Step 7)
- Overspray Management: If paint dribbles or splatters onto unprotected areas, remove it immediately using the paint manufacturer’s recommended solvent (such as paint thinner or mineral spirits) and a clean rag before the chemical agents begin to cure.
- The Curing Window: Drying times vary wildly depending on ambient temperature, humidity levels, and coating thickness. While a coat may feel dry to the touch within a few hours, complete chemical curing can take anywhere from 3 hours to overnight. Professional Advice: Exercise patience. Wait a full 24 hours before putting newly restored metal furniture back into active service.
Supporting Data: Coverage Metrics and Material Mathematics
Effective project management begins with accurate material estimation. Underestimating the amount of paint required in the middle of a restoration project often leads to mismatched dye lots or visible lap lines if a second trip to the hardware store is required mid-application.
- Coverage Ratios: The standard industry benchmark for a typical 12-ounce spray paint can is approximately 8 to 10 square feet of complete coverage, assuming standard application techniques and moderate environmental conditions.
- The Buffer Rule: Because complex three-dimensional objects—such as wire chairs, scrollwork, and patio tables—possess intricate geometry, surface area calculations are frequently understated by novices. Experts recommend calculating the flat-surface square footage and multiplying that figure by 1.5 to 2 to account for overspray loss and multi-directional geometry.
- Retailer Policies: Due to the risk of underestimation, consumers are advised to purchase surplus cans from retailers with liberal, customer-friendly return policies, ensuring a seamless workflow from preparation to final cure.
Official Responses and Expert Industry Insights
Industry veterans and testing organizations emphasize that metal restoration is as much about chemical compatibility as it is about aesthetic transformation.
According to product testing panels at premier home improvement publications, the most common point of failure in DIY metal painting is inadequate rust remediation.
"You cannot simply paint over active corrosion and expect a lasting finish," notes a senior technical reviewer for national home restoration journals. "Rust is porous and continues to oxidize beneath a paint barrier if oxygen and moisture are present. Sanding down to sound metal and utilizing a rust-inhibiting zinc or oil-based primer is the single most important variable separating a temporary fix from a permanent restoration."
Furthermore, safety regulators stress the importance of environmental controls. The volatility of aerosolized enamels requires strict adherence to ventilation guidelines. Indoor applications without forced-air ventilation or proper respiratory protection expose operators to high concentrations of organic solvents, which can cause acute respiratory irritation and neurological fatigue.
Implications: Economic, Environmental, and Aesthetic Impact
The implications of adopting DIY metal restoration practices extend far beyond individual household aesthetics.
- Economic Sustainability: At a time when furniture manufacturing is increasingly dominated by fast-furniture models built from compressed particle board and low-grade veneers, preserving legacy metal items offers immense financial value. High-end cast aluminum and wrought-iron pieces that command hundreds—if not thousands—of dollars retail can be revitalized for the nominal cost of sandpaper, primer, and a few cans of quality enamel.
- Environmental Conservation: Discarded metal furniture contributes significantly to municipal waste streams. While metals are theoretically recyclable, the energy expenditure required to smelt, re-alloy, and remanufacture structural steel and aluminum far exceeds the resource cost of maintaining existing pieces through cyclical repainting. Extending the life cycle of domestic goods directly mitigates carbon footprints.
- Aesthetic Customization: Beyond utility, spray-painting empowers homeowners to curate custom design palettes that match evolving interior and exterior trends. Whether transitioning a dated brass-plated étagère into a matte-black industrial statement piece or refreshing sun-bleached patio loungers in vibrant coastal hues, mastering the art of metal spray-painting unlocks limitless creative potential for the modern homeowner.
