

Main Facts
For many homeowners, the garage is the final frontier of home improvement—a cavernous concrete-and-drywall box that transforms into an oppressive oven during the scorching dog days of summer and an unbearable icebox in the dead of winter. Without proper thermal management, utilizing a workbench, housing a home gym, or pursuing weekend woodworking projects becomes nearly impossible without the aid of loud, inefficient space heaters or heavy-duty air conditioning units.
However, insulating a garage fundamentally alters its environmental performance. By introducing a continuous thermal barrier, homeowners can effectively restrict the aggressive influx and loss of thermal energy. Beyond achieving stable interior temperatures, a properly insulated garage acts as a powerful acoustic buffer, successfully dampening intrusive exterior noises such as heavy street traffic, barking dogs, and neighborhood commotion.
Fundamentally, deciding to insulate a garage delivers a triple-tier benefit:
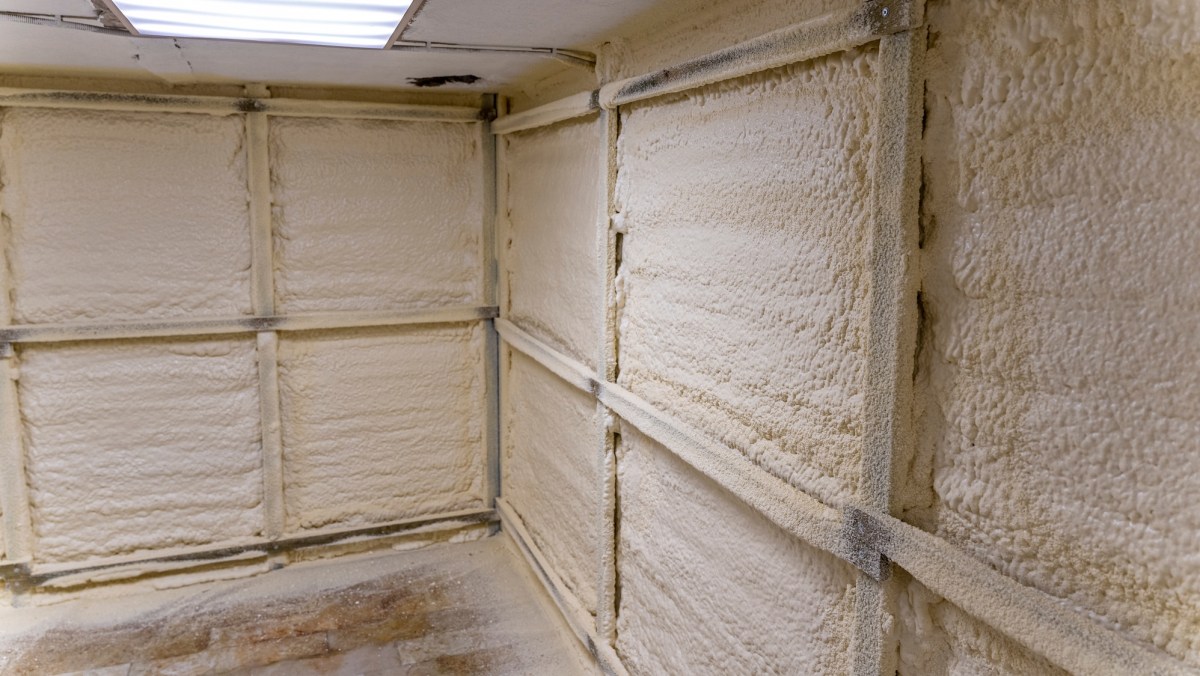
- Enhanced year-round climate control and comfort,
- Substantial reductions in monthly heating and cooling energy expenditures (particularly for attached garages sharing a wall with the main home), and
- Superior safeguarding for stored possessions—from vintage automobiles and electronic gear to paint cans and seasonal gear—against damaging thermal shock and humidity fluctuations.
Chronology of the Project: Step-by-Step Installation
Executing a successful garage insulation overhaul requires a meticulous, chronological approach. Rushing the sequence or skipping crucial preparatory steps can result in trapped moisture, compromised structural integrity, and failed insulation materials.
Phase 1: Pre-Construction Preparation & Safety Protocols
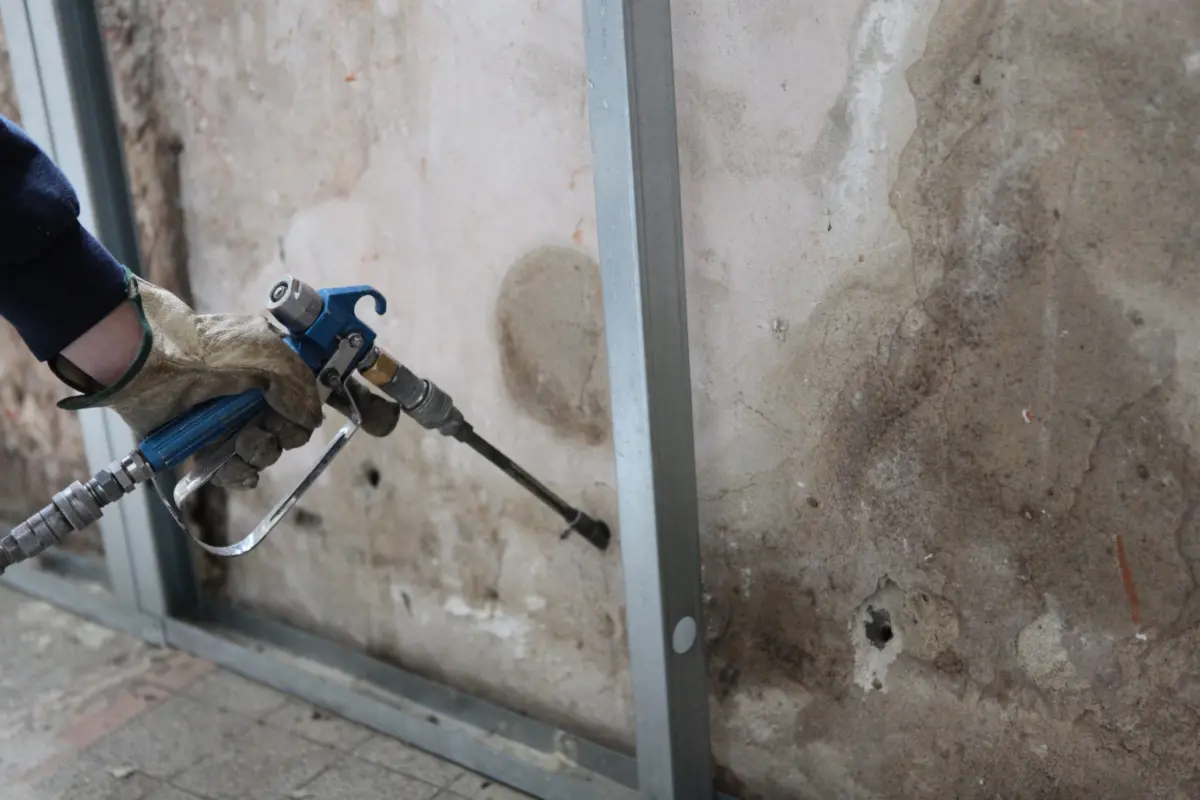
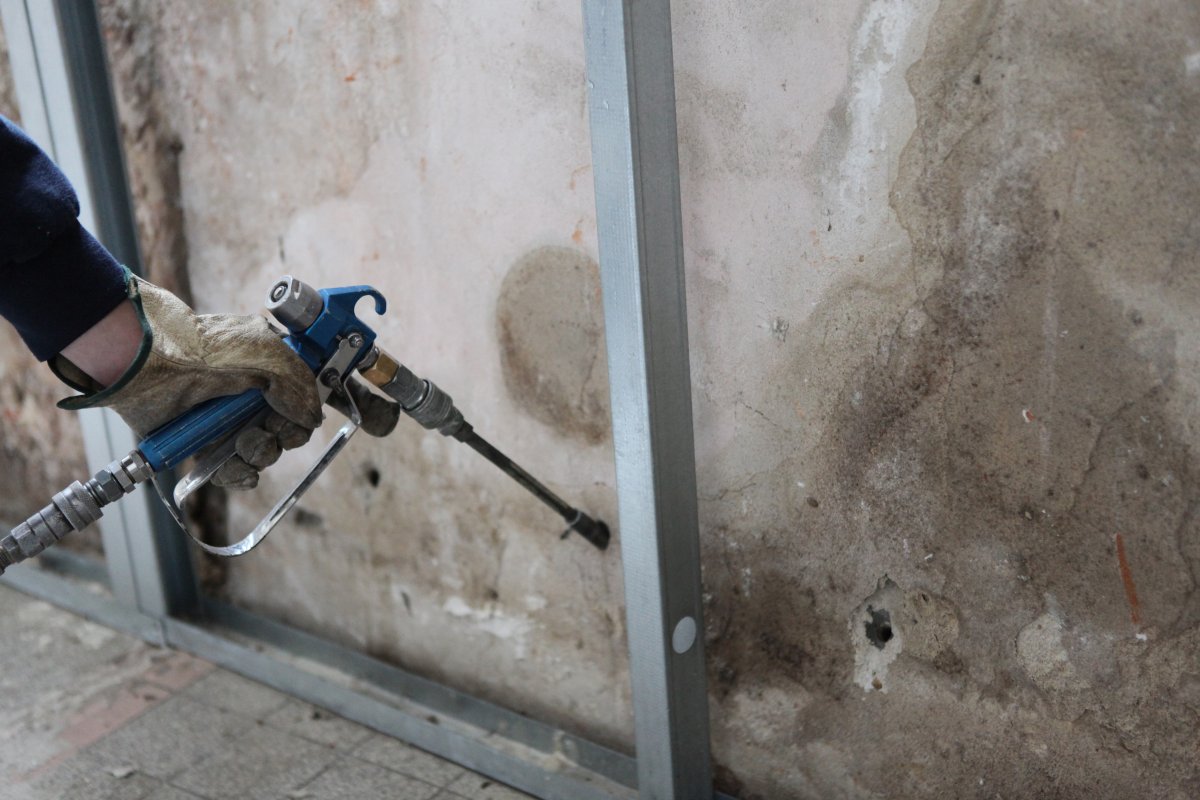
Before touching a single batt of insulation, safety must take center stage. Insulation mediums like fiberglass and cellulose release microscopic airborne particulates capable of irritating the skin, eyes, and upper respiratory tract. Spray foam introduces aggressive chemical vapors during its application and curing phase, necessitating robust ventilation.
- Electrical Safety: Always flip the circuit breakers supplying power to the garage to cut electricity to exposed wall cavities and wiring, drastically minimizing shock risks.
- Structural Inspection: Thoroughly audit the garage for pre-existing water leaks, active dampness, structural cracks, or fungal growth. Remedying these foundational flaws prevents trapped moisture and hidden rot down the road.
- Personal Protective Equipment (PPE): Suit up in heavy-duty work gloves, safety glasses, a certified respirator mask, closed-toe footwear, long trousers, and a long-sleeved shirt.
Phase 2: Wall Clearing and Surface Remediation
- Remove Surface Mounts: Strip the walls of all hanging brackets, heavy-duty hooks, nails, and screws traditionally used to store lawnmowers, ladders, and tools. Utilize a claw hammer, utility pry bar, or screwdriver to clear every stud.
- Seal Exterior Gaps: Conduct a forensic search along the exterior perimeter and interior partition walls for gaps, fissures, and hairline cracks. Pay special attention to the shared wall between the garage and the home’s conditioned living space. Utilize a caulking gun filled with waterproof masonry sealant to tightly seal these openings, blocking both energetic air leaks and insect ingress. Allow the sealant to cure completely.
Phase 3: Installing Wall and Ceiling Insulation
- Fit the Insulation: Select your preferred insulation type—most commonly fiberglass batts or rigid foam panels for DIYers. Fit the material snugly into the cavities between the vertical wall studs. Never compress fiberglass; crushing the material diminishes its dead-air pockets, thereby tanking its effective R-value. Use a sharp utility knife to custom-trim pieces for awkward corners.
- Apply the Vapor Barrier: In temperate regions, staple a continuous polyethylene vapor barrier across the room-side of the insulation studs. This crucial membrane prevents interior moisture from migrating into the wall cavity, where it would otherwise condense, rot wooden framing, and spark mold colonies.
- Ceiling Execution: Replicate the wall-insulation process overhead in the garage ceiling. Because gravity fights against overhead installations, this phase demands at least two people: one positioned securely on an extension ladder fitting batts and another handing up tools and stabilizing the equipment.
Phase 4: Drywall Installation & Finishing
- Hanging Drywall: To lock the insulation permanently in place and achieve vital fire-resistance ratings, hang sheets of standard drywall over the framing. Measure carefully, map out your layout, and secure the gypsum boards to the wooden studs utilizing corrosion-resistant drywall screws.
- Finishing Touches: Tape, mud, and sand the drywall seams to achieve a monolithic, professional surface. Finish the space by applying a coat of interior latex paint, sealing your garage into a polished, weather-tight environment.
Supporting Data: Understanding Insulation Types and R-Values
The effectiveness of any insulation project hinges directly on its R-value—a metric measuring a material’s resistance to conductive heat flow. Higher R-values indicate superior insulating power per inch of thickness. Regional climate demands dictate the exact R-value required for your project.
| Insulation Type | Cost Range | R-Value per Inch | Primary Advantages | Main Disadvantages |
|---|---|---|---|---|
| Fiberglass Batts | Budget-friendly ($) | R-2.9 to R-4.3 | Inexpensive, widely available, exceptionally DIY-friendly. | Vulnerable to moisture damage; skin/lung irritant during install. |
| Rigid Foam Panels | Moderate ($$) | R-3.6 to R-6.8 | Customizable for tight spots, high moisture resistance. | Prone to cracking or snapping under excessive pressure. |
| Cellulose | Moderate-High ($$-$$$) | R-3.2 to R-3.8 | Made from recycled paper, excellent for blowing into closed cavities. | Costlier than fiberglass; requires a finished space to contain it. |
| Spray Foam (Open/Closed) | Premium ($$$$) | R-3.5 to R-7.0 | Ultimate air sealing, highest R-value, perfect for living conversions. | Expensive; professional installation generally required. |
Garage Door Insulation Breakdown
Because standard garage doors lack internal vertical studs, they require specialized treatment. Homeowners can select a pre-engineered garage door insulation kit featuring rigid panels or retainers, or cut leftover fiberglass batts to fit individual door panel recesses.
- Essential Door Supplies: Microfiber cloth, heavy-duty tape measure, double-sided mounting tape, retention clips, custom-cut fiberglass batts, and a fresh utility knife.
Official Recommendations and Professional Insights
According to building science experts, homeowners embarking on garage renovations should carefully evaluate whether their garage is actively heated or kept strictly as an unconditioned utility space.
- The Unheated Garage Rule: If your garage features no dedicated HVAC heating source, insulating the exterior garage walls is generally unnecessary and economically inefficient. However, building codes and energy auditors strongly recommend thoroughly insulating and air-sealing any common walls or ceilings that interface directly with the main, conditioned living areas of the home. This prevents the garage from acting as a thermal drain on your household heating and cooling systems.
- When to Call a Professional: While handling fiberglass batts or rigid foam panels is well within the wheelhouse of an experienced weekend DIYer, advanced materials like closed-cell spray foam or high-volume blown-in cellulose require specialized contractor equipment, chemical safety protocols, and professional execution to avoid hazardous installation errors.
Implications: Cost, Comfort, and Long-Term Value
Investing in a comprehensive garage insulation upgrade carries significant financial and lifestyle implications:
- Financial Investment: For a standard 1,200-square-foot garage, total material and labor expenditures generally range from $600 to $1,500. Breaking this down by component, wall insulation typically runs $0.50 to $1.25 per square foot; ceiling insulation costs $1.00 to $3.89 per inch; and outfitting a garage door runs between $200 and $300.
- Energy Savings: By establishing a robust thermal envelope, homeowners often notice an immediate stabilization in the temperature of adjacent rooms (such as bedrooms situated directly above an attached garage), driving down cumulative monthly utility consumption.
- Expanded Usability: By eradicating extreme temperature swings, the garage transitions from a glorified storage shed into a functional extension of the home—ready to serve as a year-round workshop, creative studio, fitness room, or comfortable hobby space regardless of what the weather is doing outside.
