

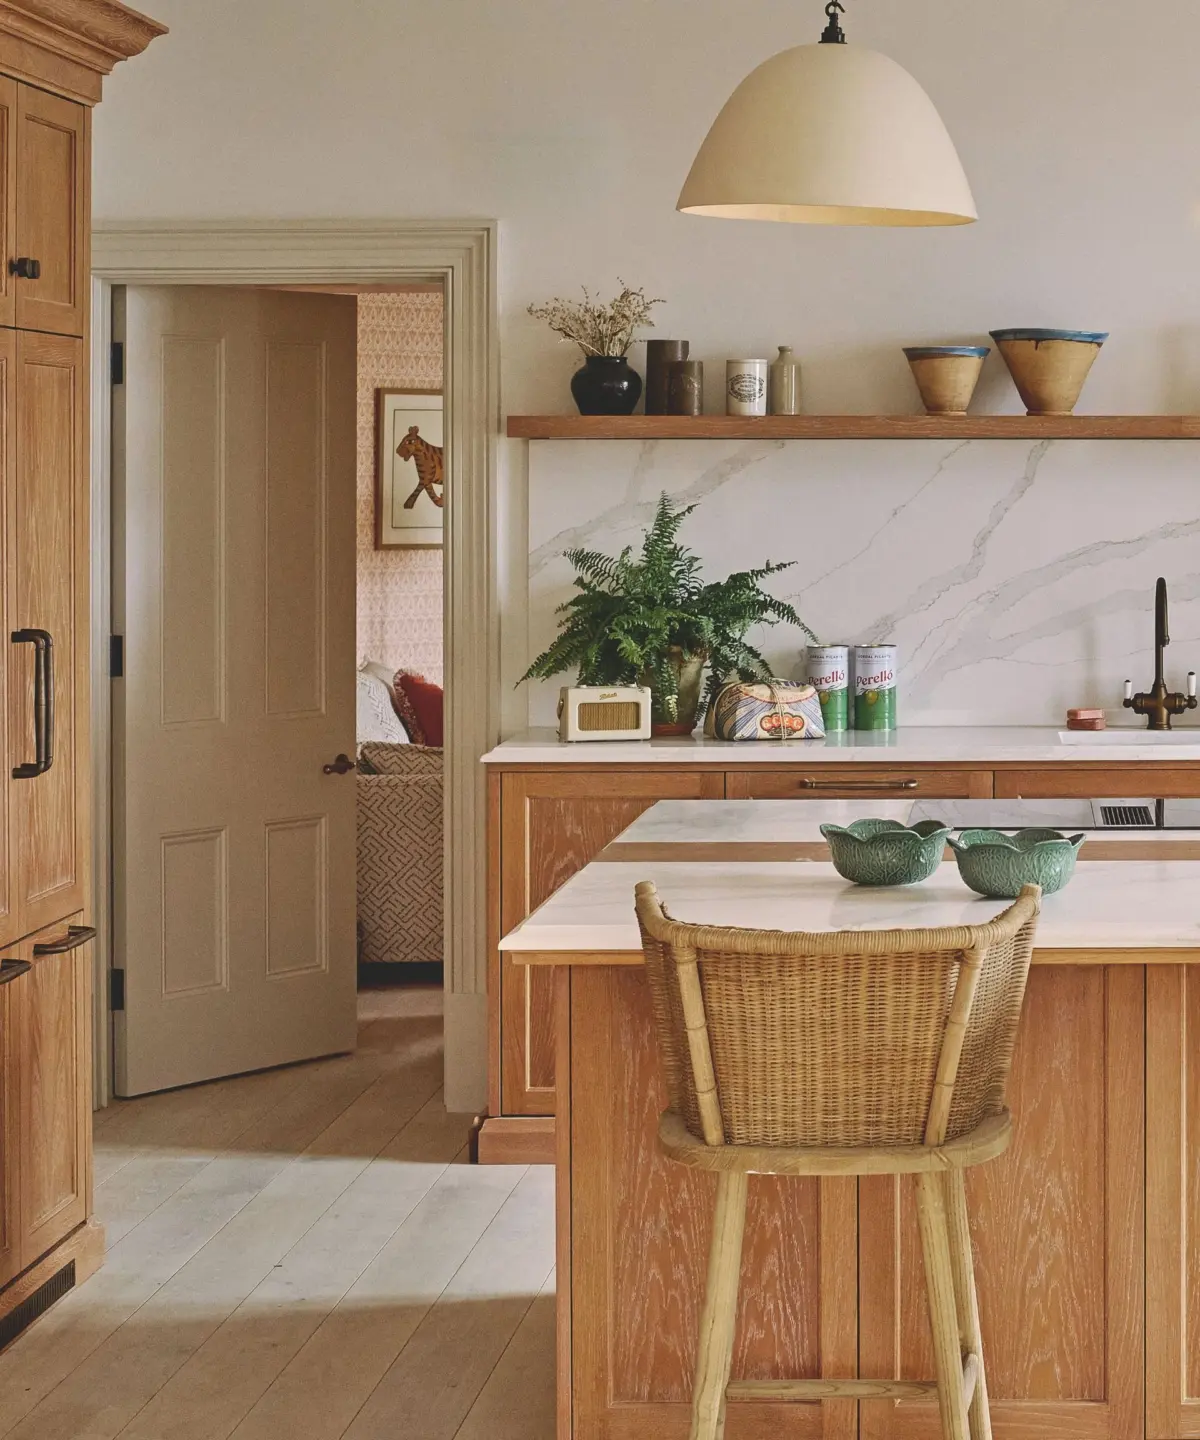
Introduction: The Outsized Impact of a Small Surface Area
A kitchen backsplash may occupy a modest percentage of your total square footage, but it wields a disproportionate influence over the aesthetic harmony and functional efficiency of the entire room. Positioned squarely in the line of sight between countertops and upper cabinetry, a well-chosen backsplash can sharpen simple kitchen layouts, pacify busier schemes, or provide the precise detail required to pull disparate design elements together.
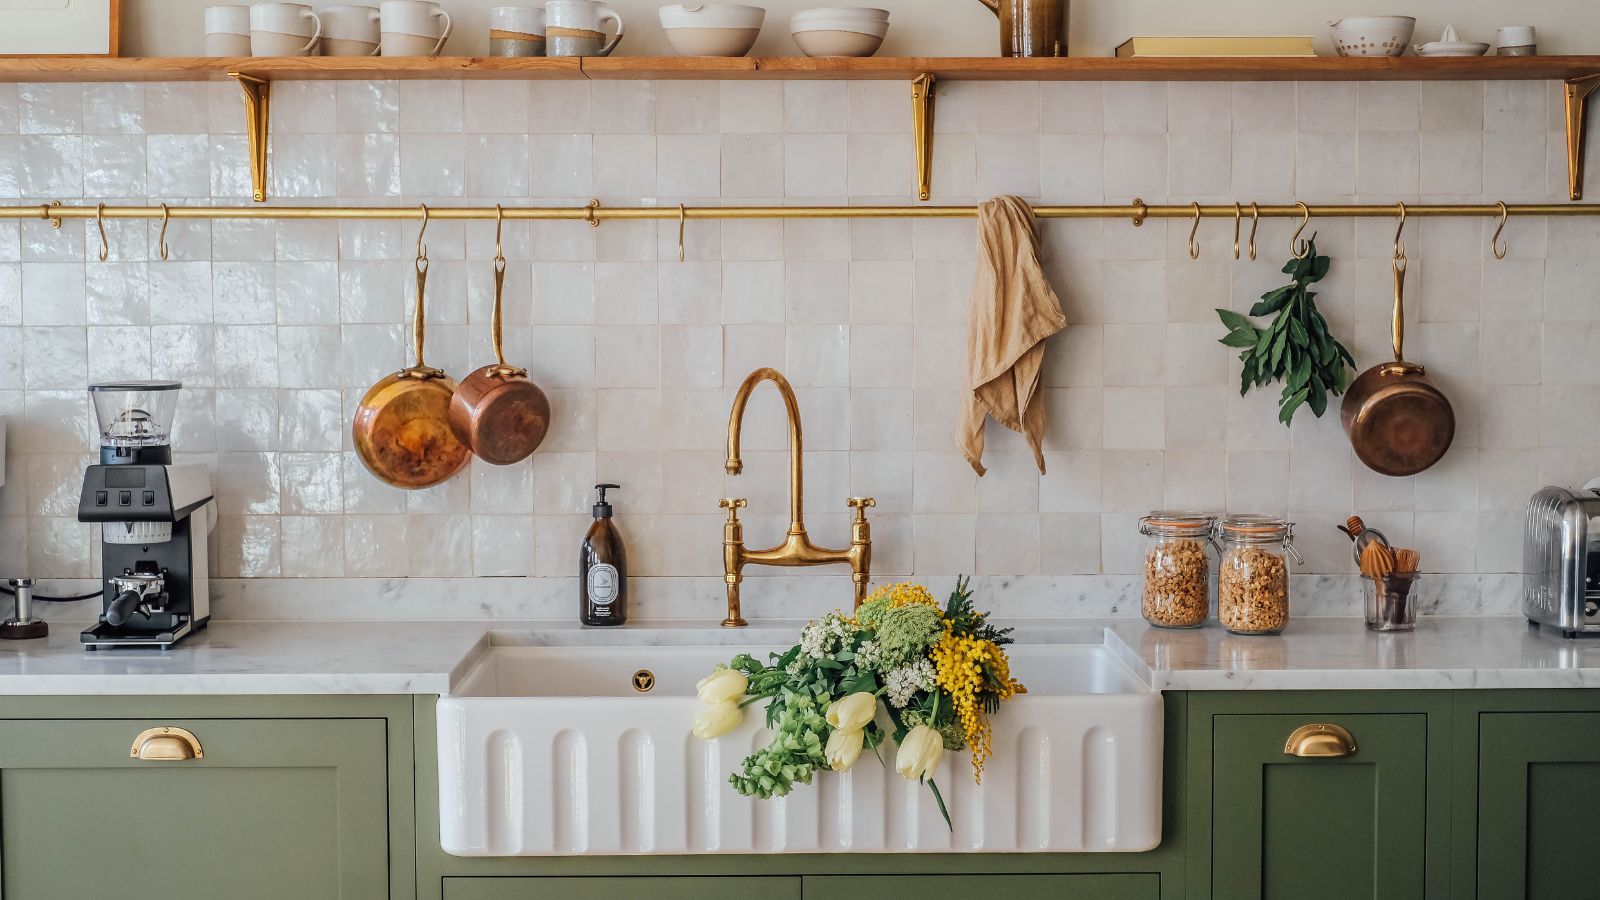
Simultaneously, it happens to occupy one of the most punishing stretches of wall in the home. On any given day, a backsplash must endure water splashes, splattering grease, rolling steam, acidic food spills, and the vigorous stirring of vibrant sauces.
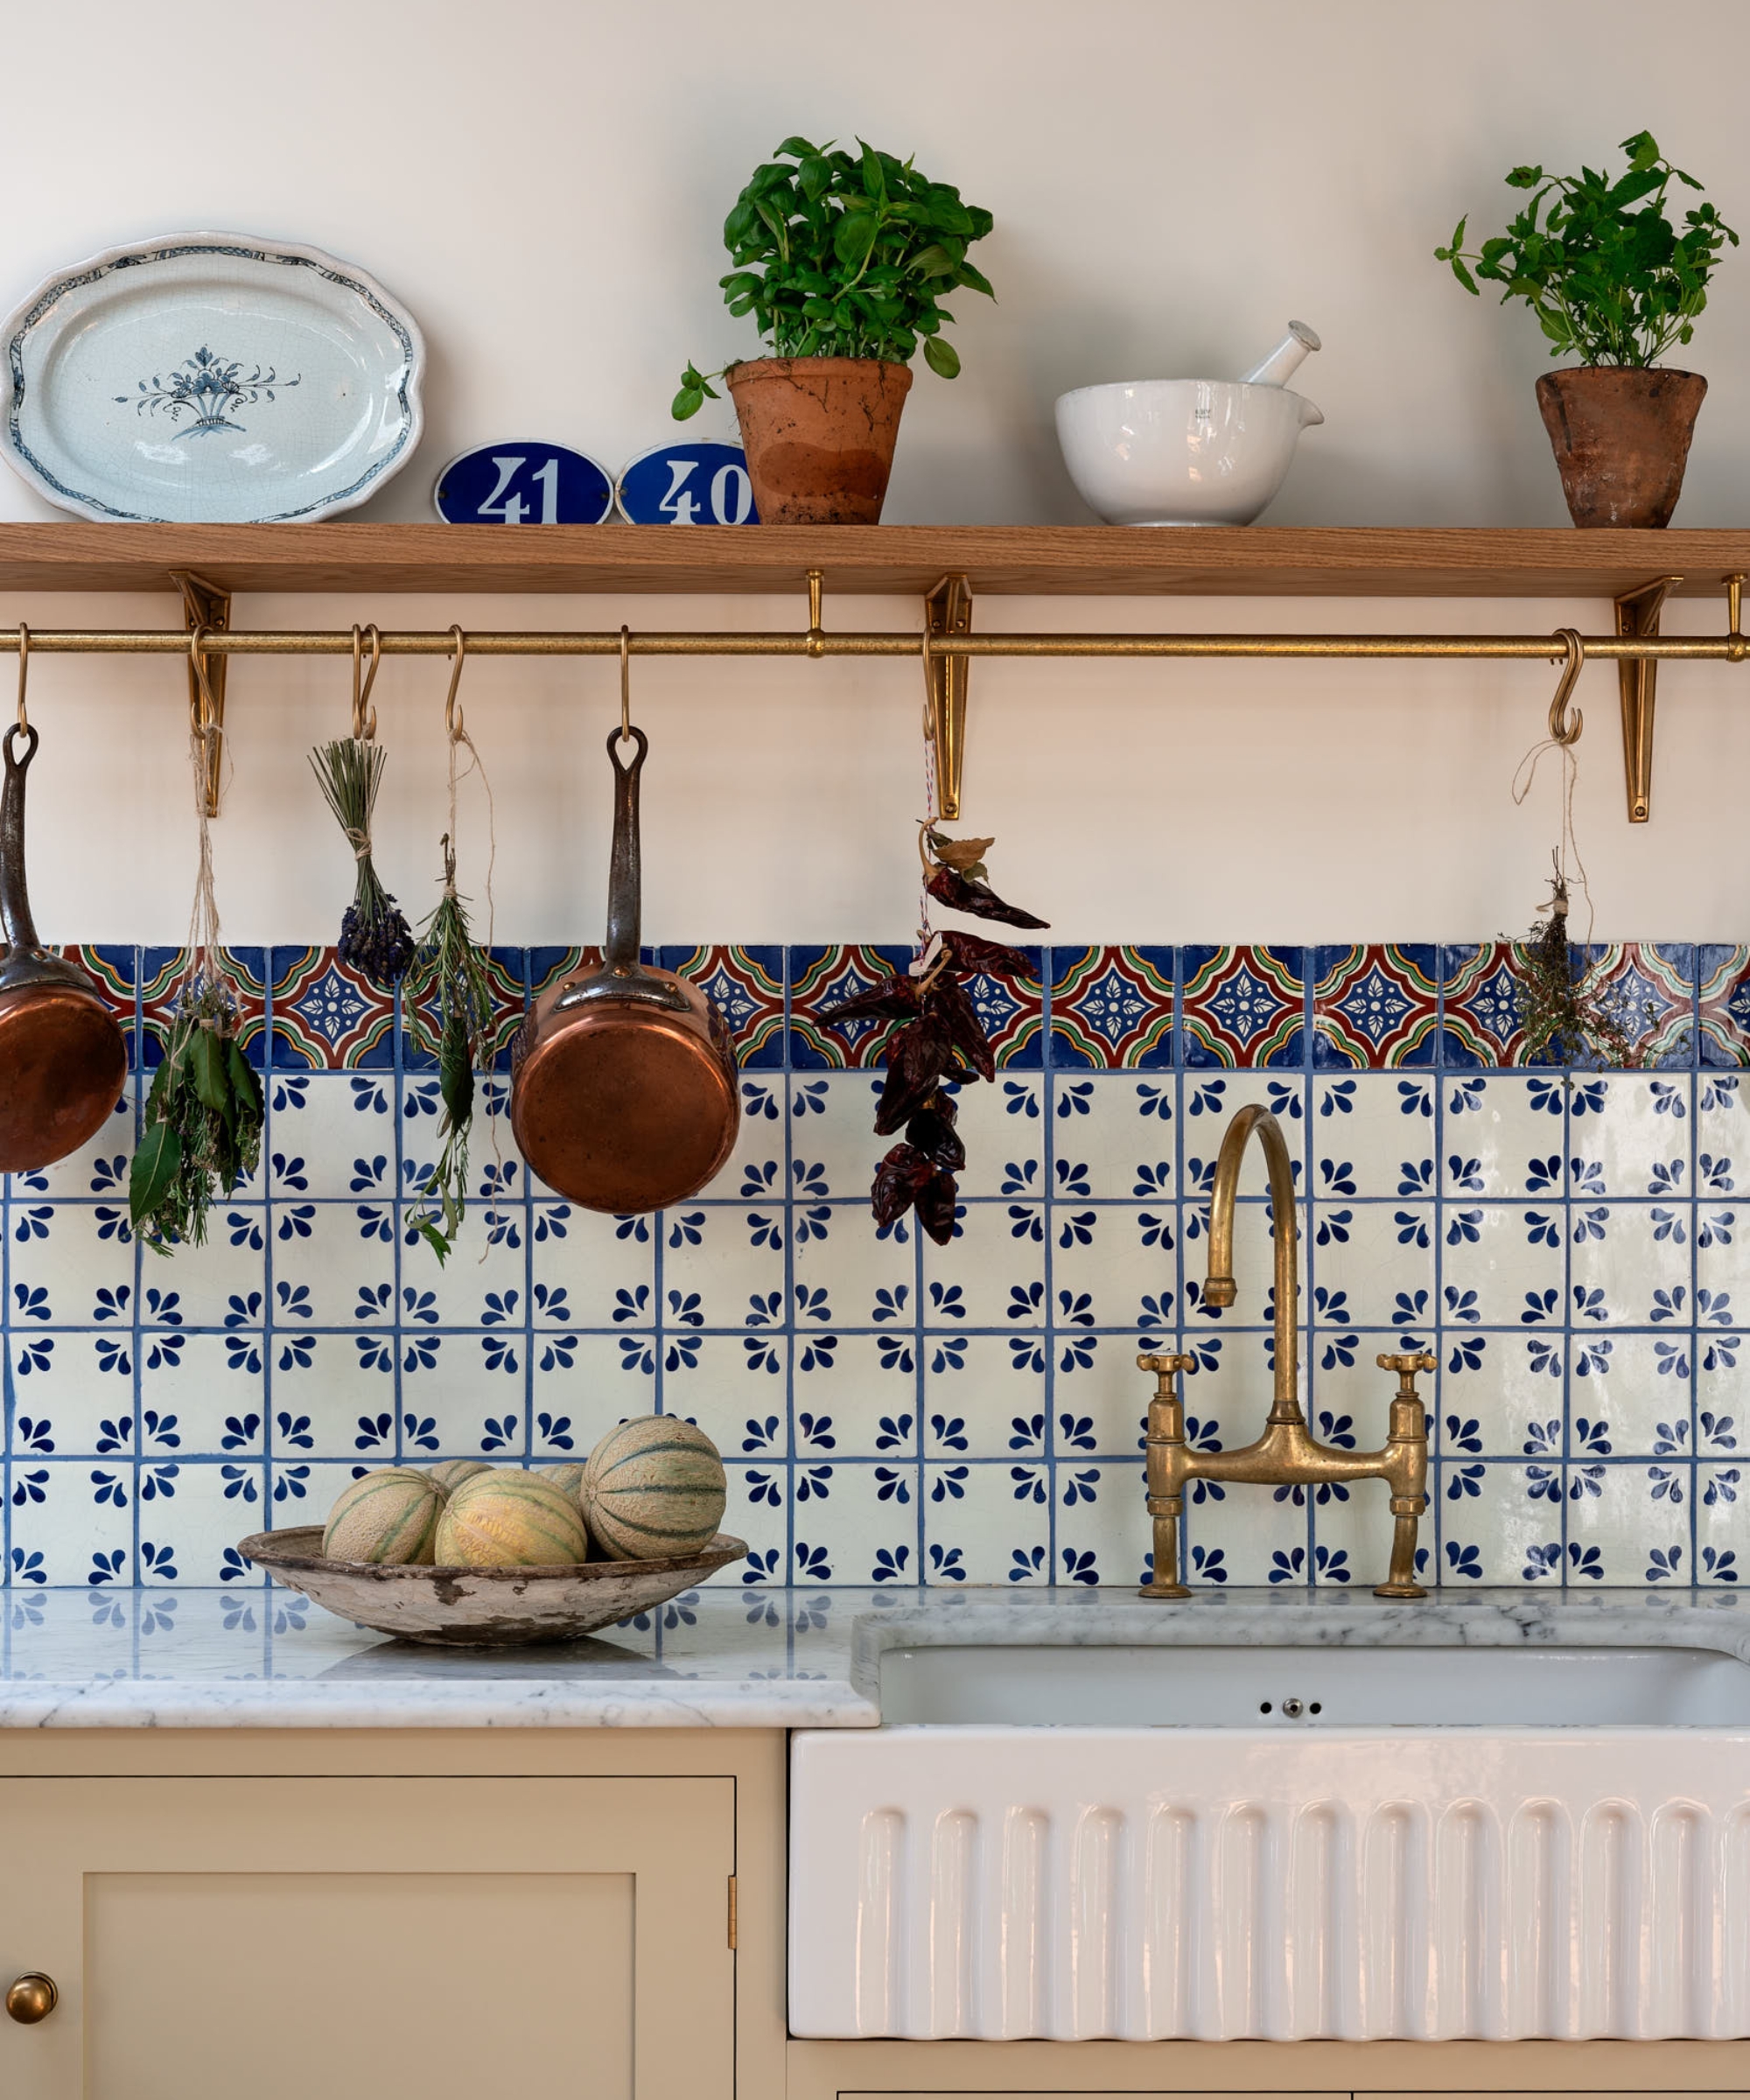
This tension between high visibility and hard use makes choosing a kitchen backsplash far more complex than simply falling in love with a tile sample. Material composition and surface finishes dictate how well the wall stands up to daily wear and tear, while dimensions, color, pattern, and grout alter its spatial impact. Furthermore, how the backsplash interfaces with surrounding architectural elements—windows, range hoods, and open shelving—dictates whether the finished kitchen feels cohesive or disjointed.
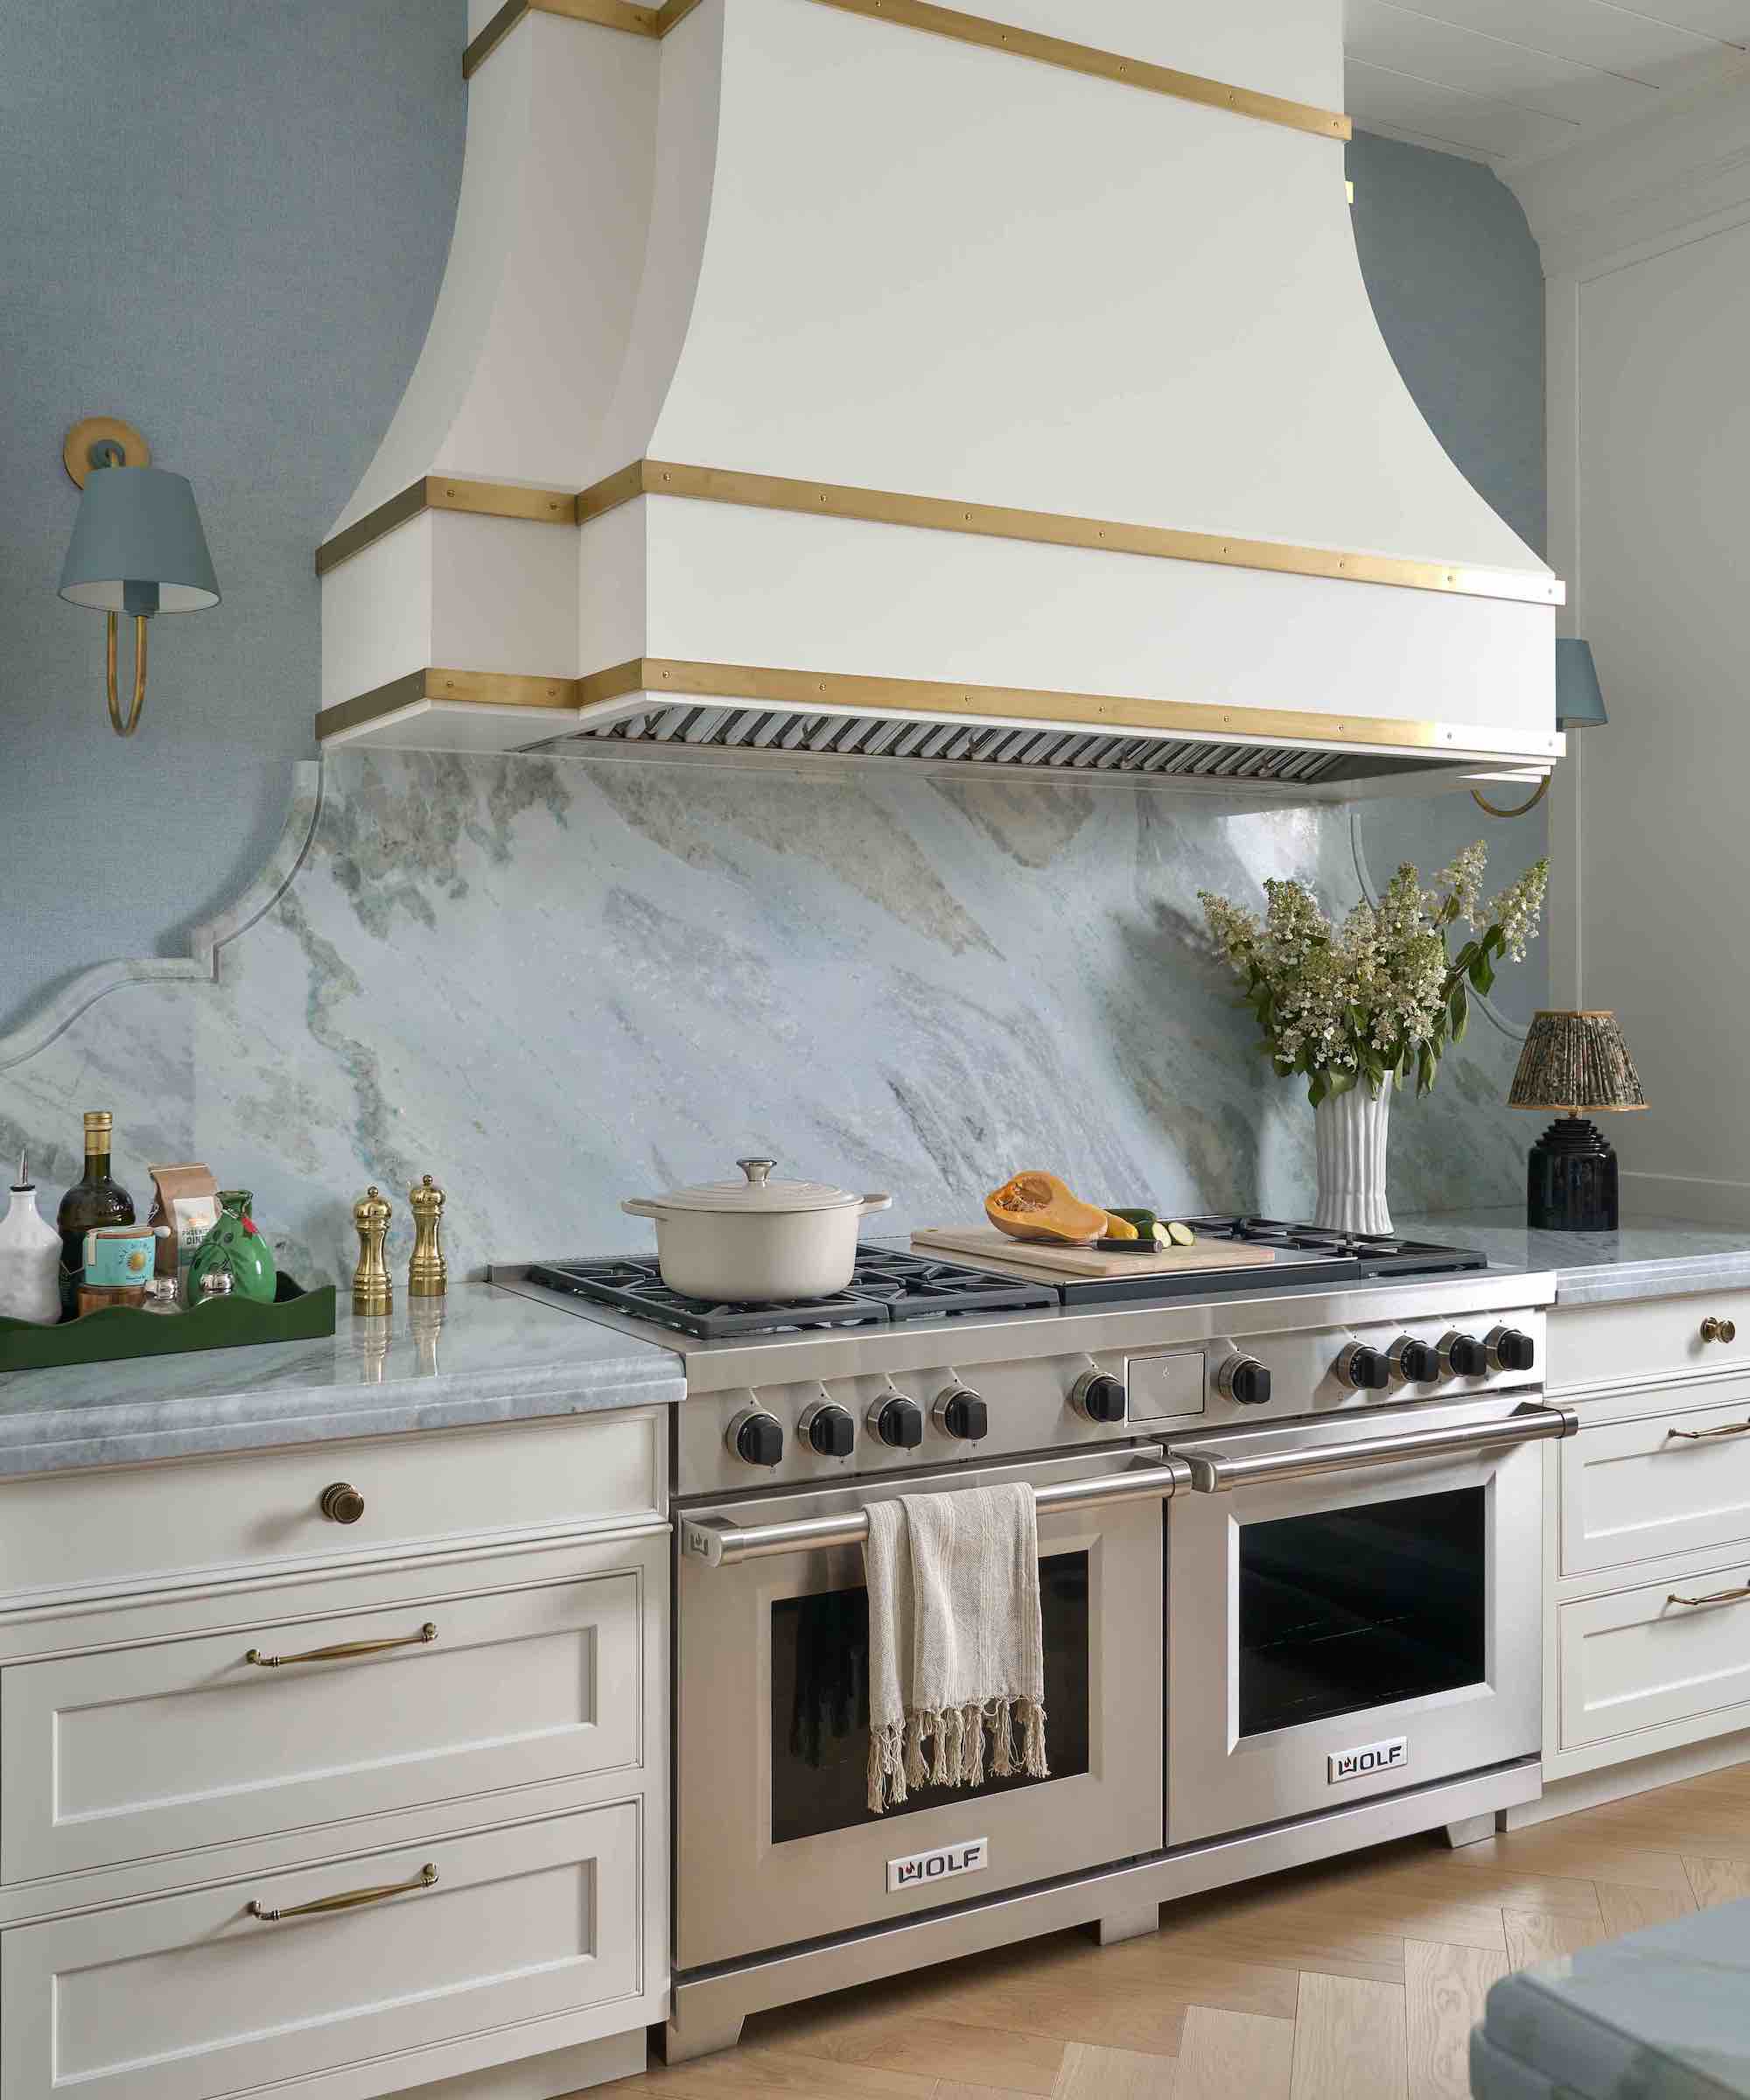
Chronology of the Design Process: A Logical Blueprint
To mitigate the guesswork involved in selecting and installing a backsplash, industry professionals recommend tackling the process in a strict, chronological sequence. Skipping steps or rushing into aesthetic choices before resolving practical requirements often leads to expensive installation errors.
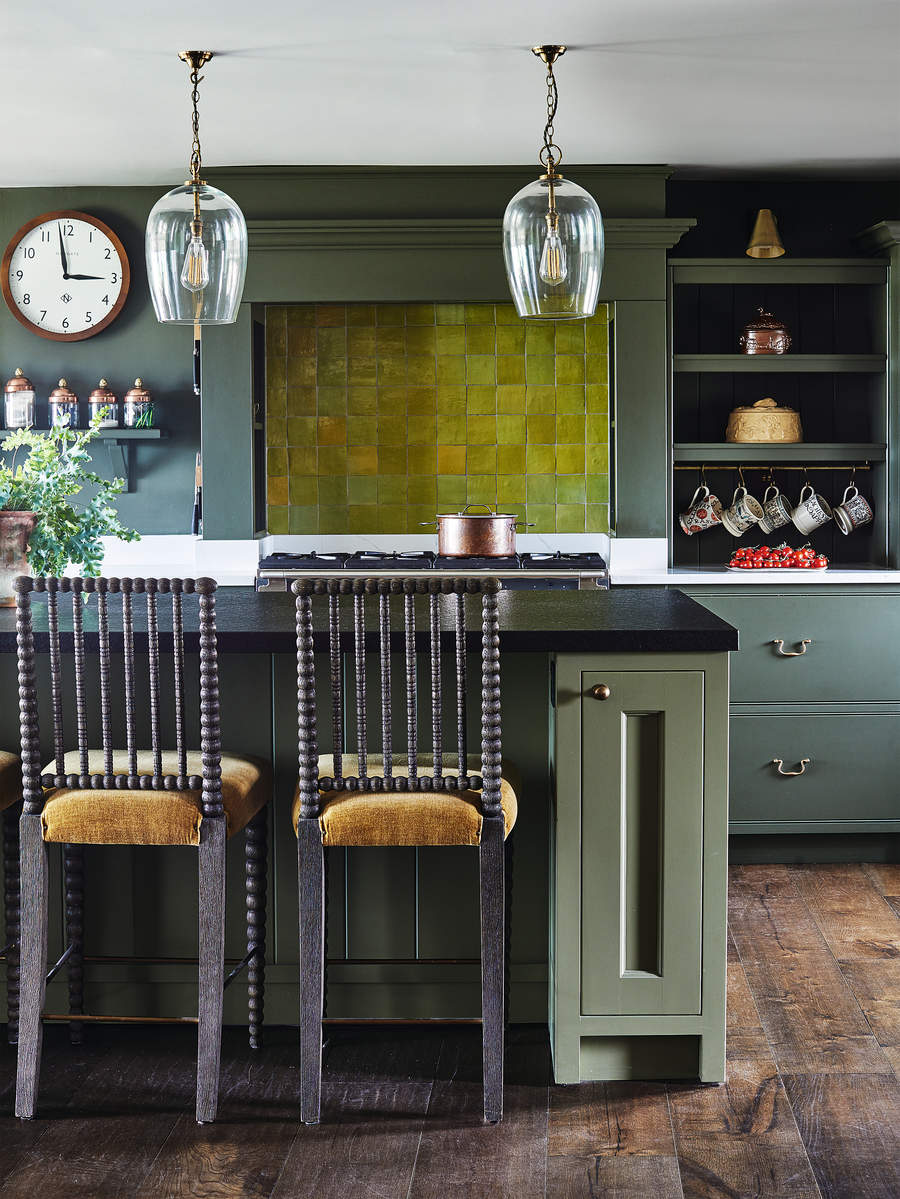
Phase 1: Assess Kitchen Functionality and Maintenance
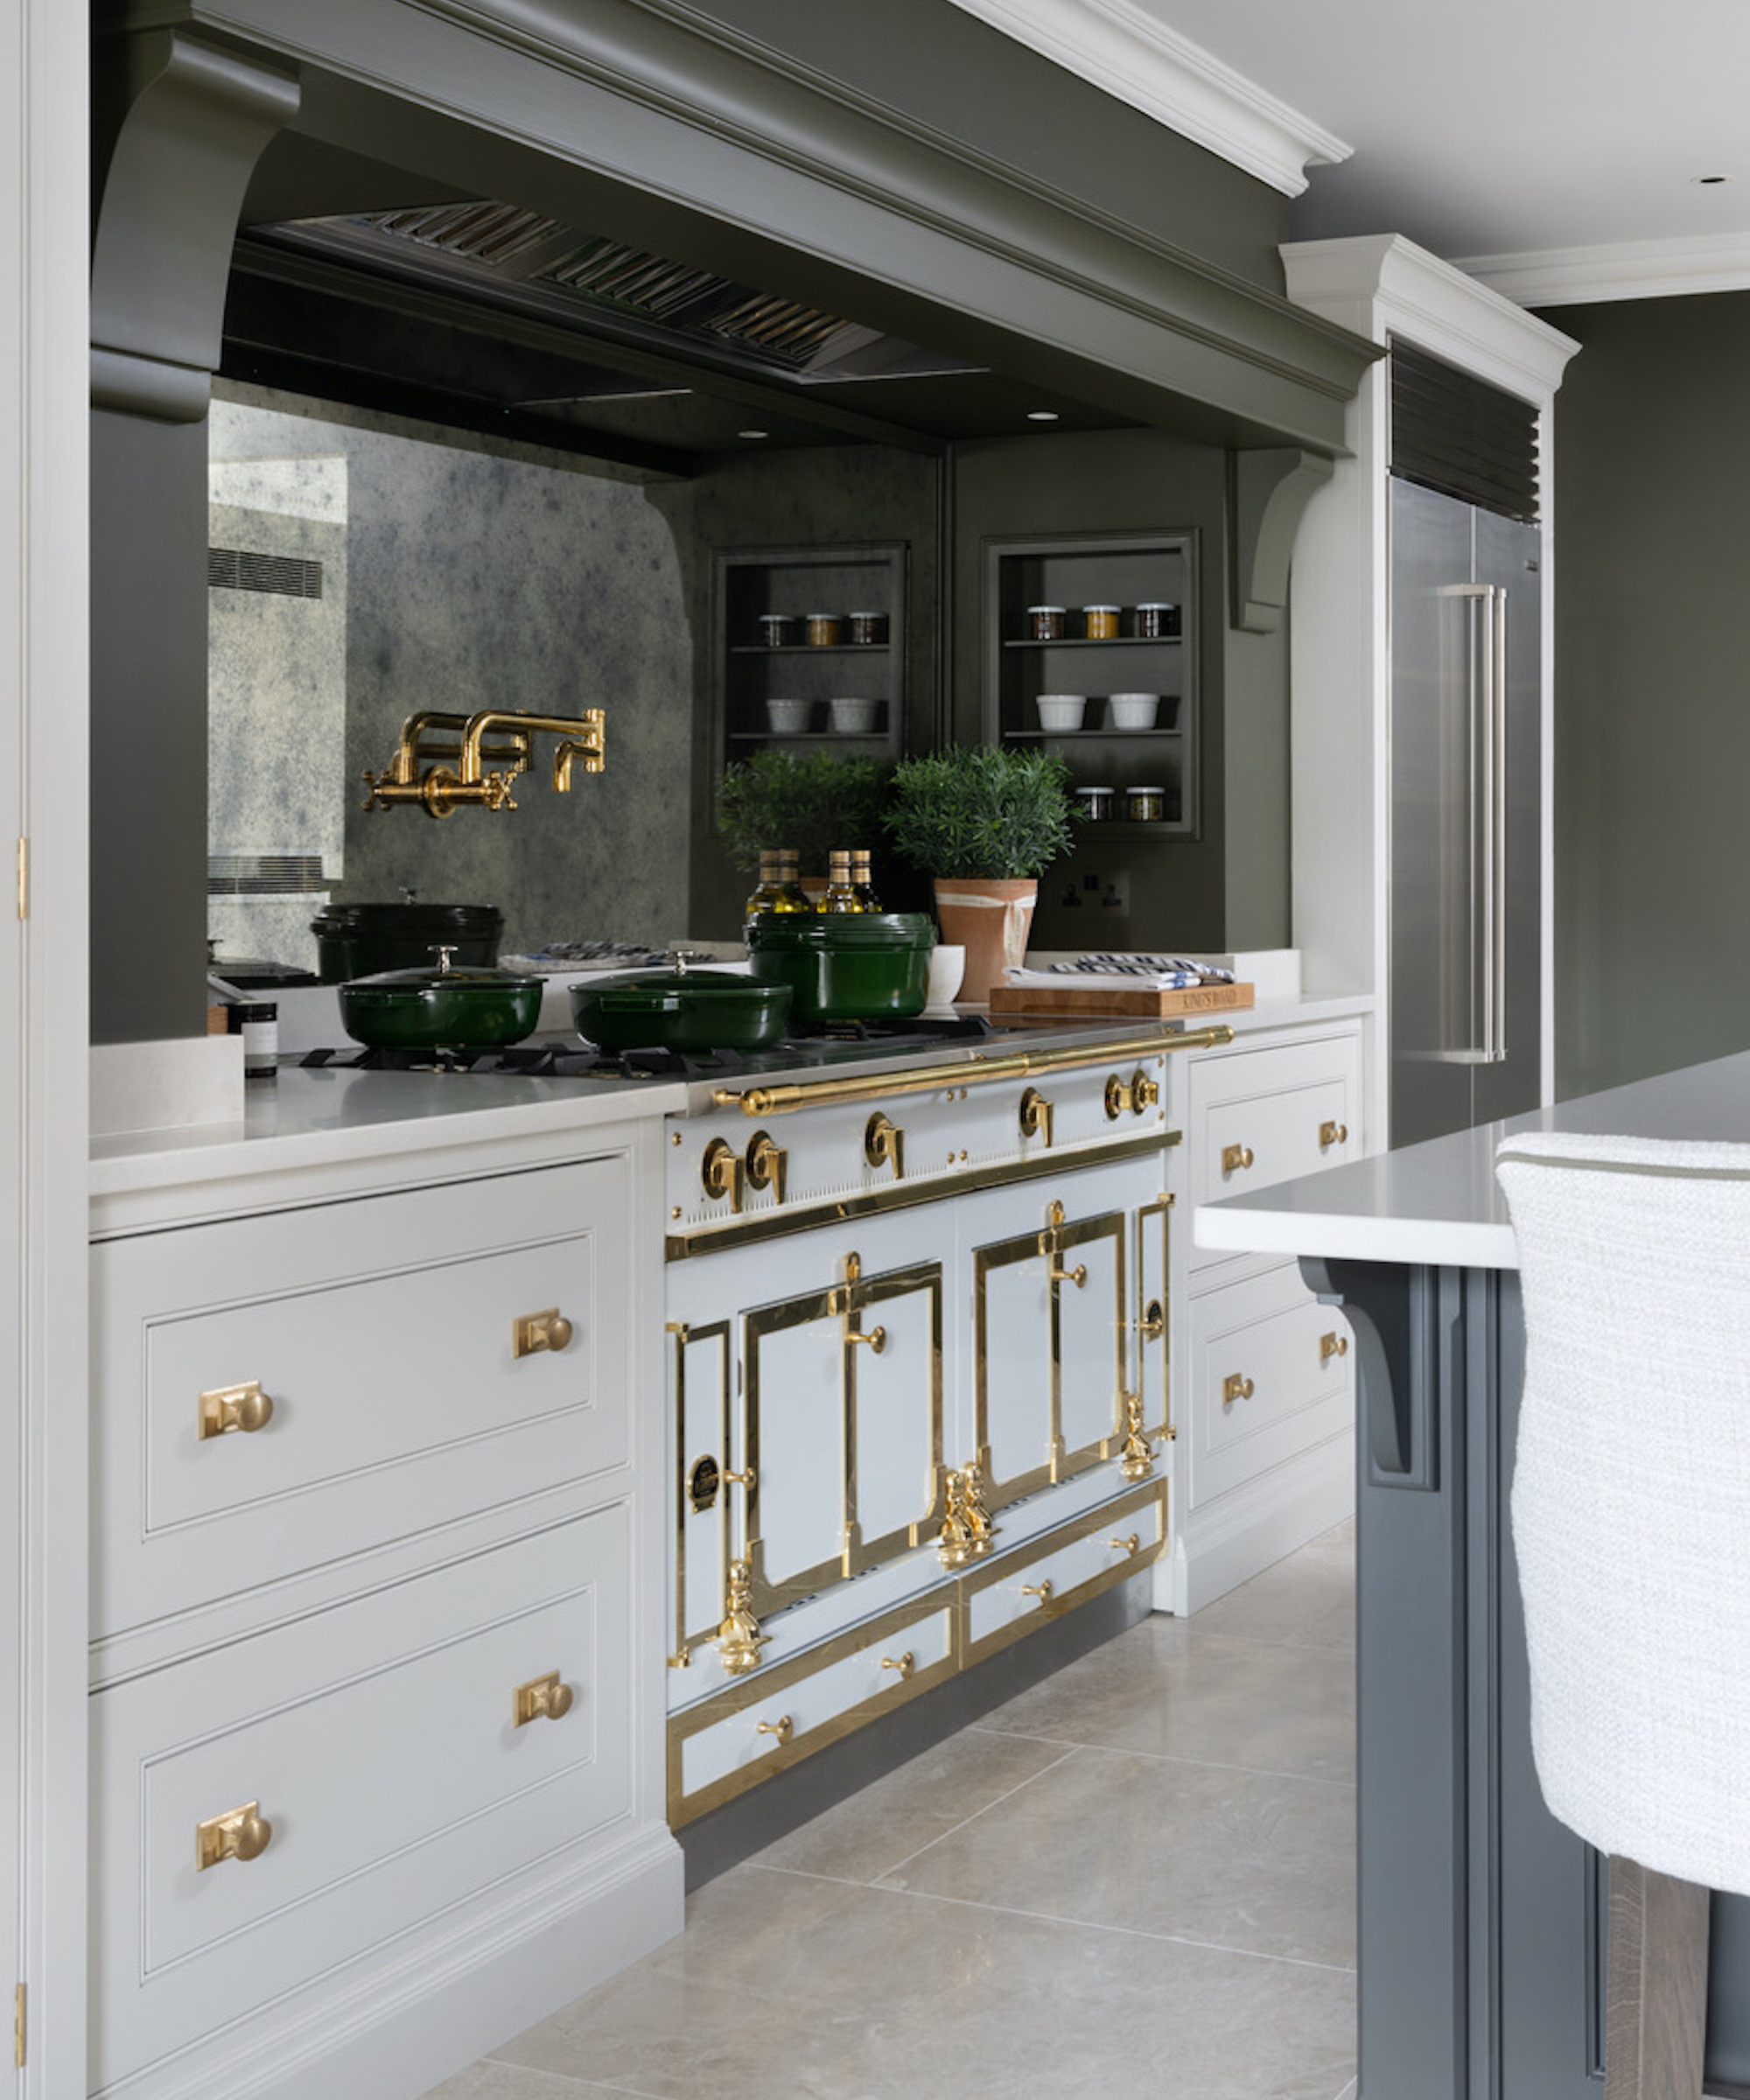
Before evaluating stone slabs or ceramic tiles, map out the hardest-working zones of your kitchen. The wall space directly behind a high-output range handles grease, high heat, and heavy splattering, requiring robust, non-porous performance. Conversely, a coffee station or a dry prep counter demands a different level of protection.
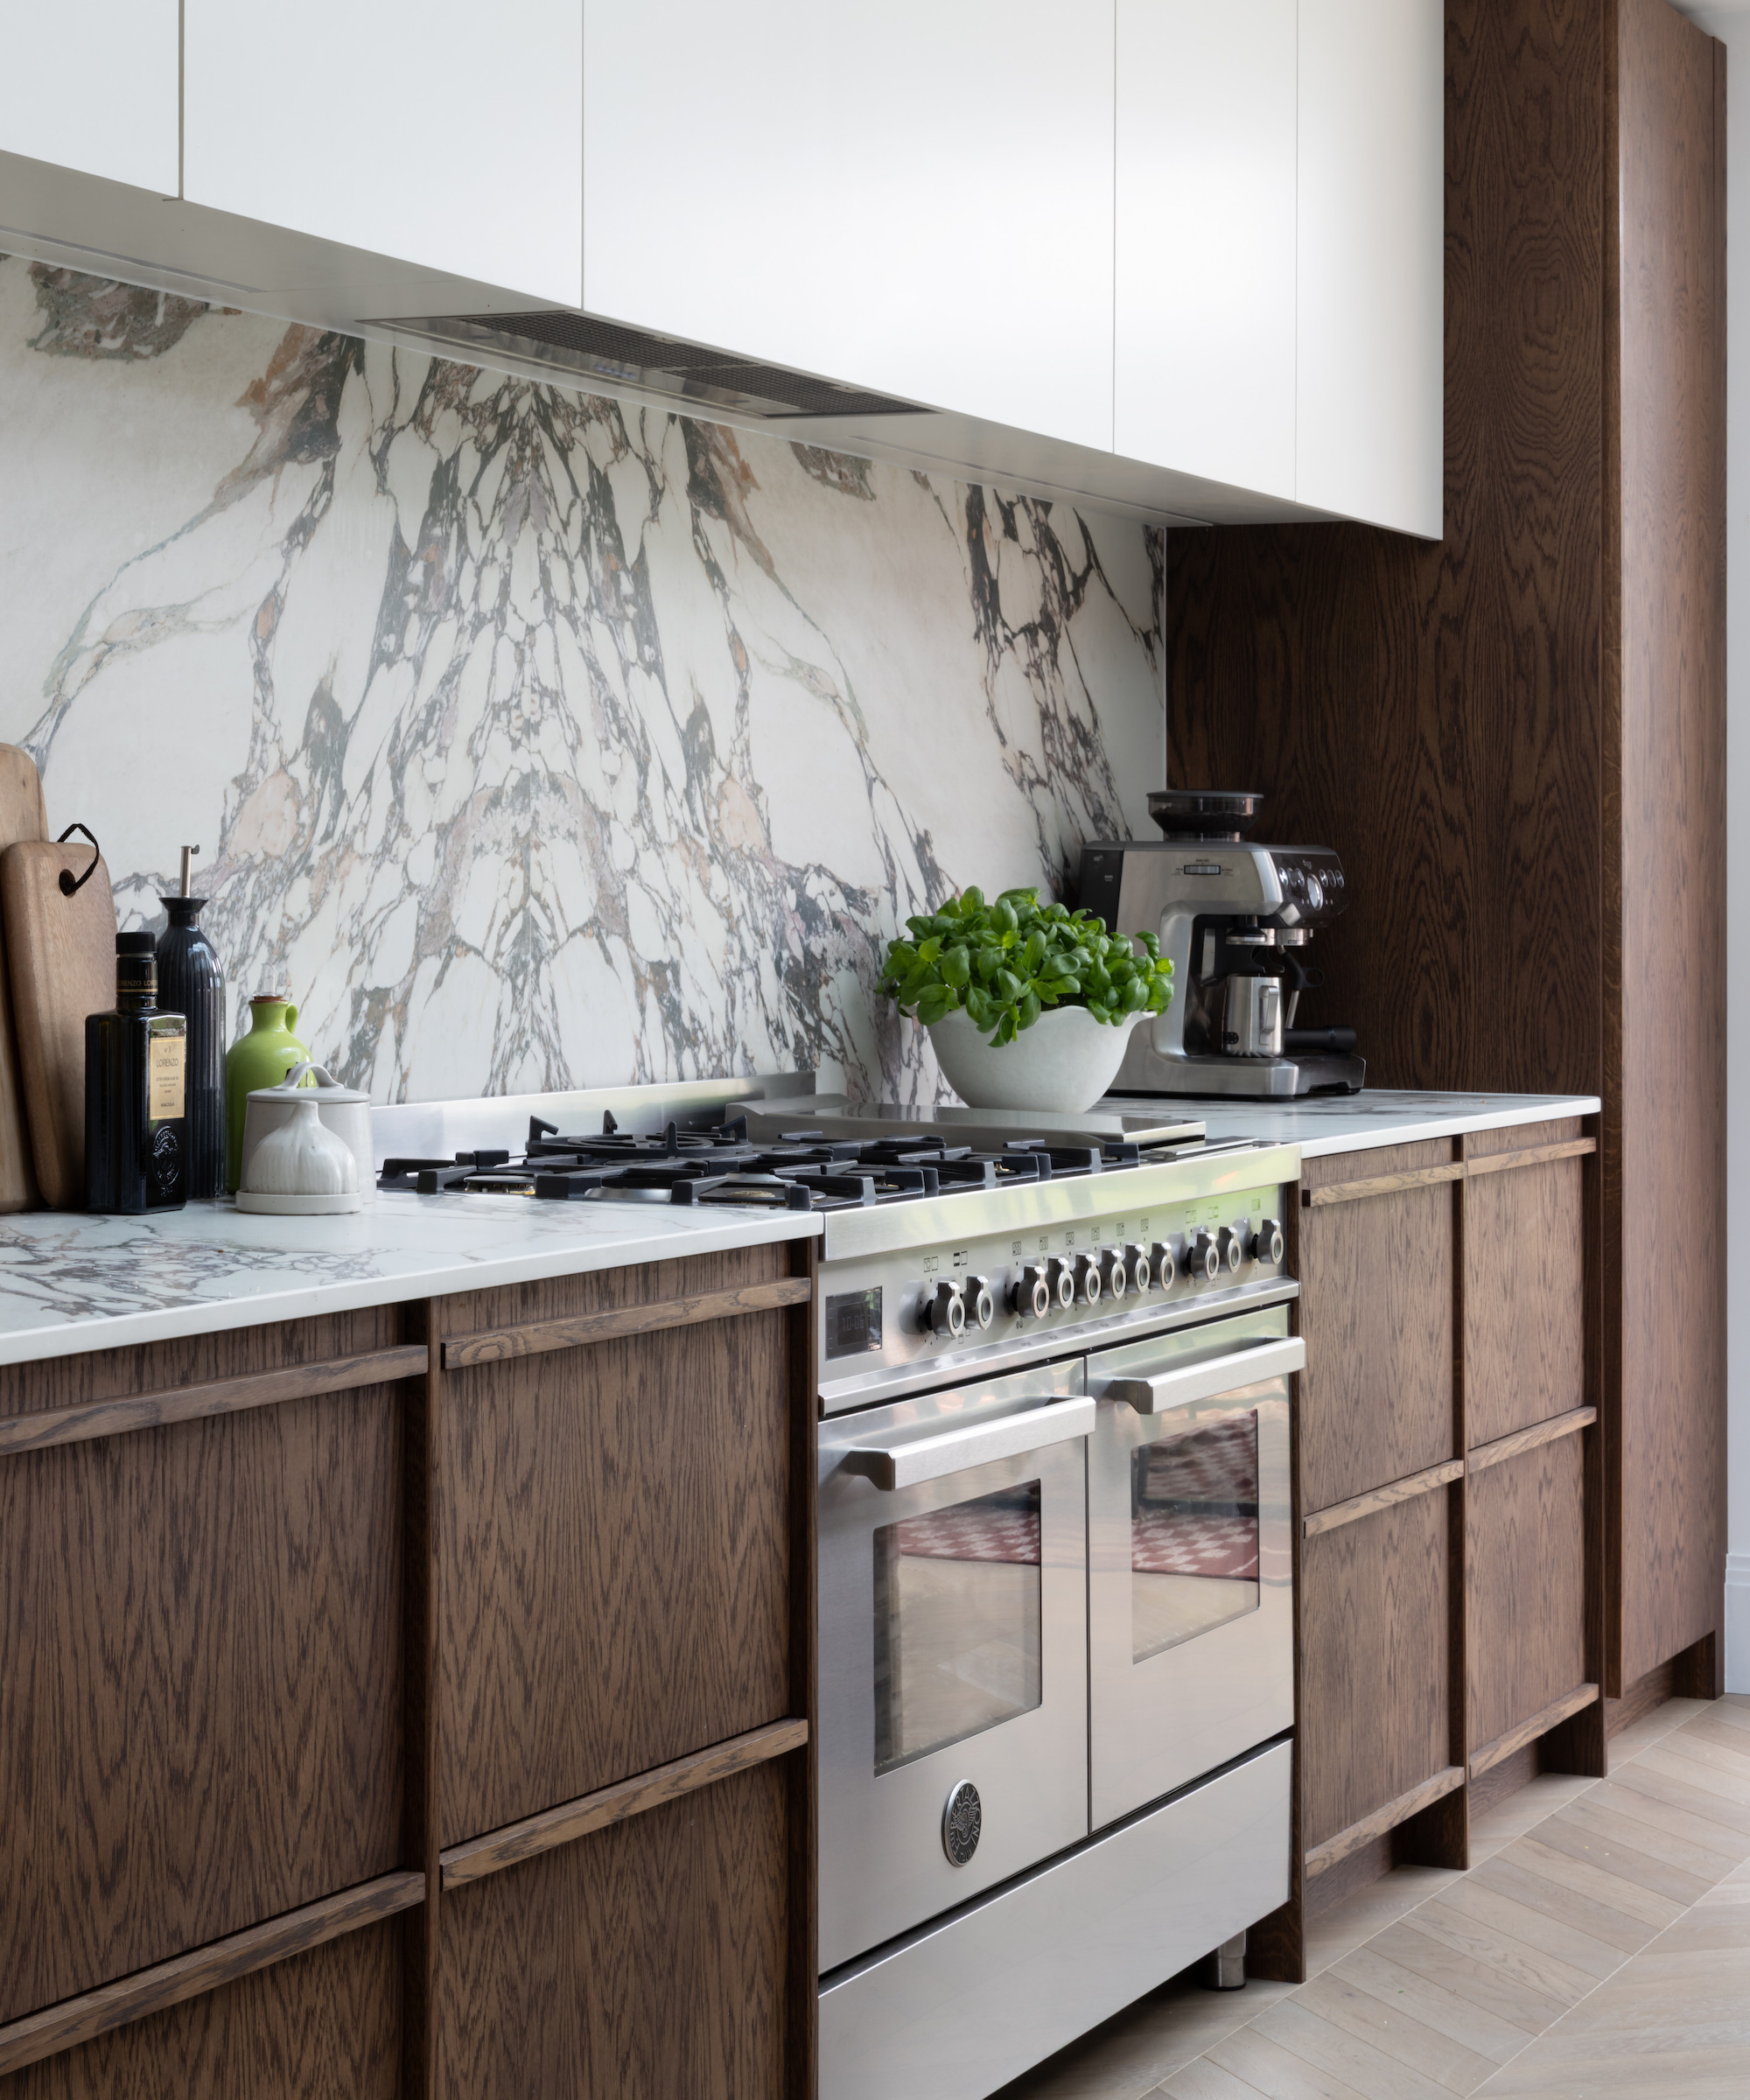
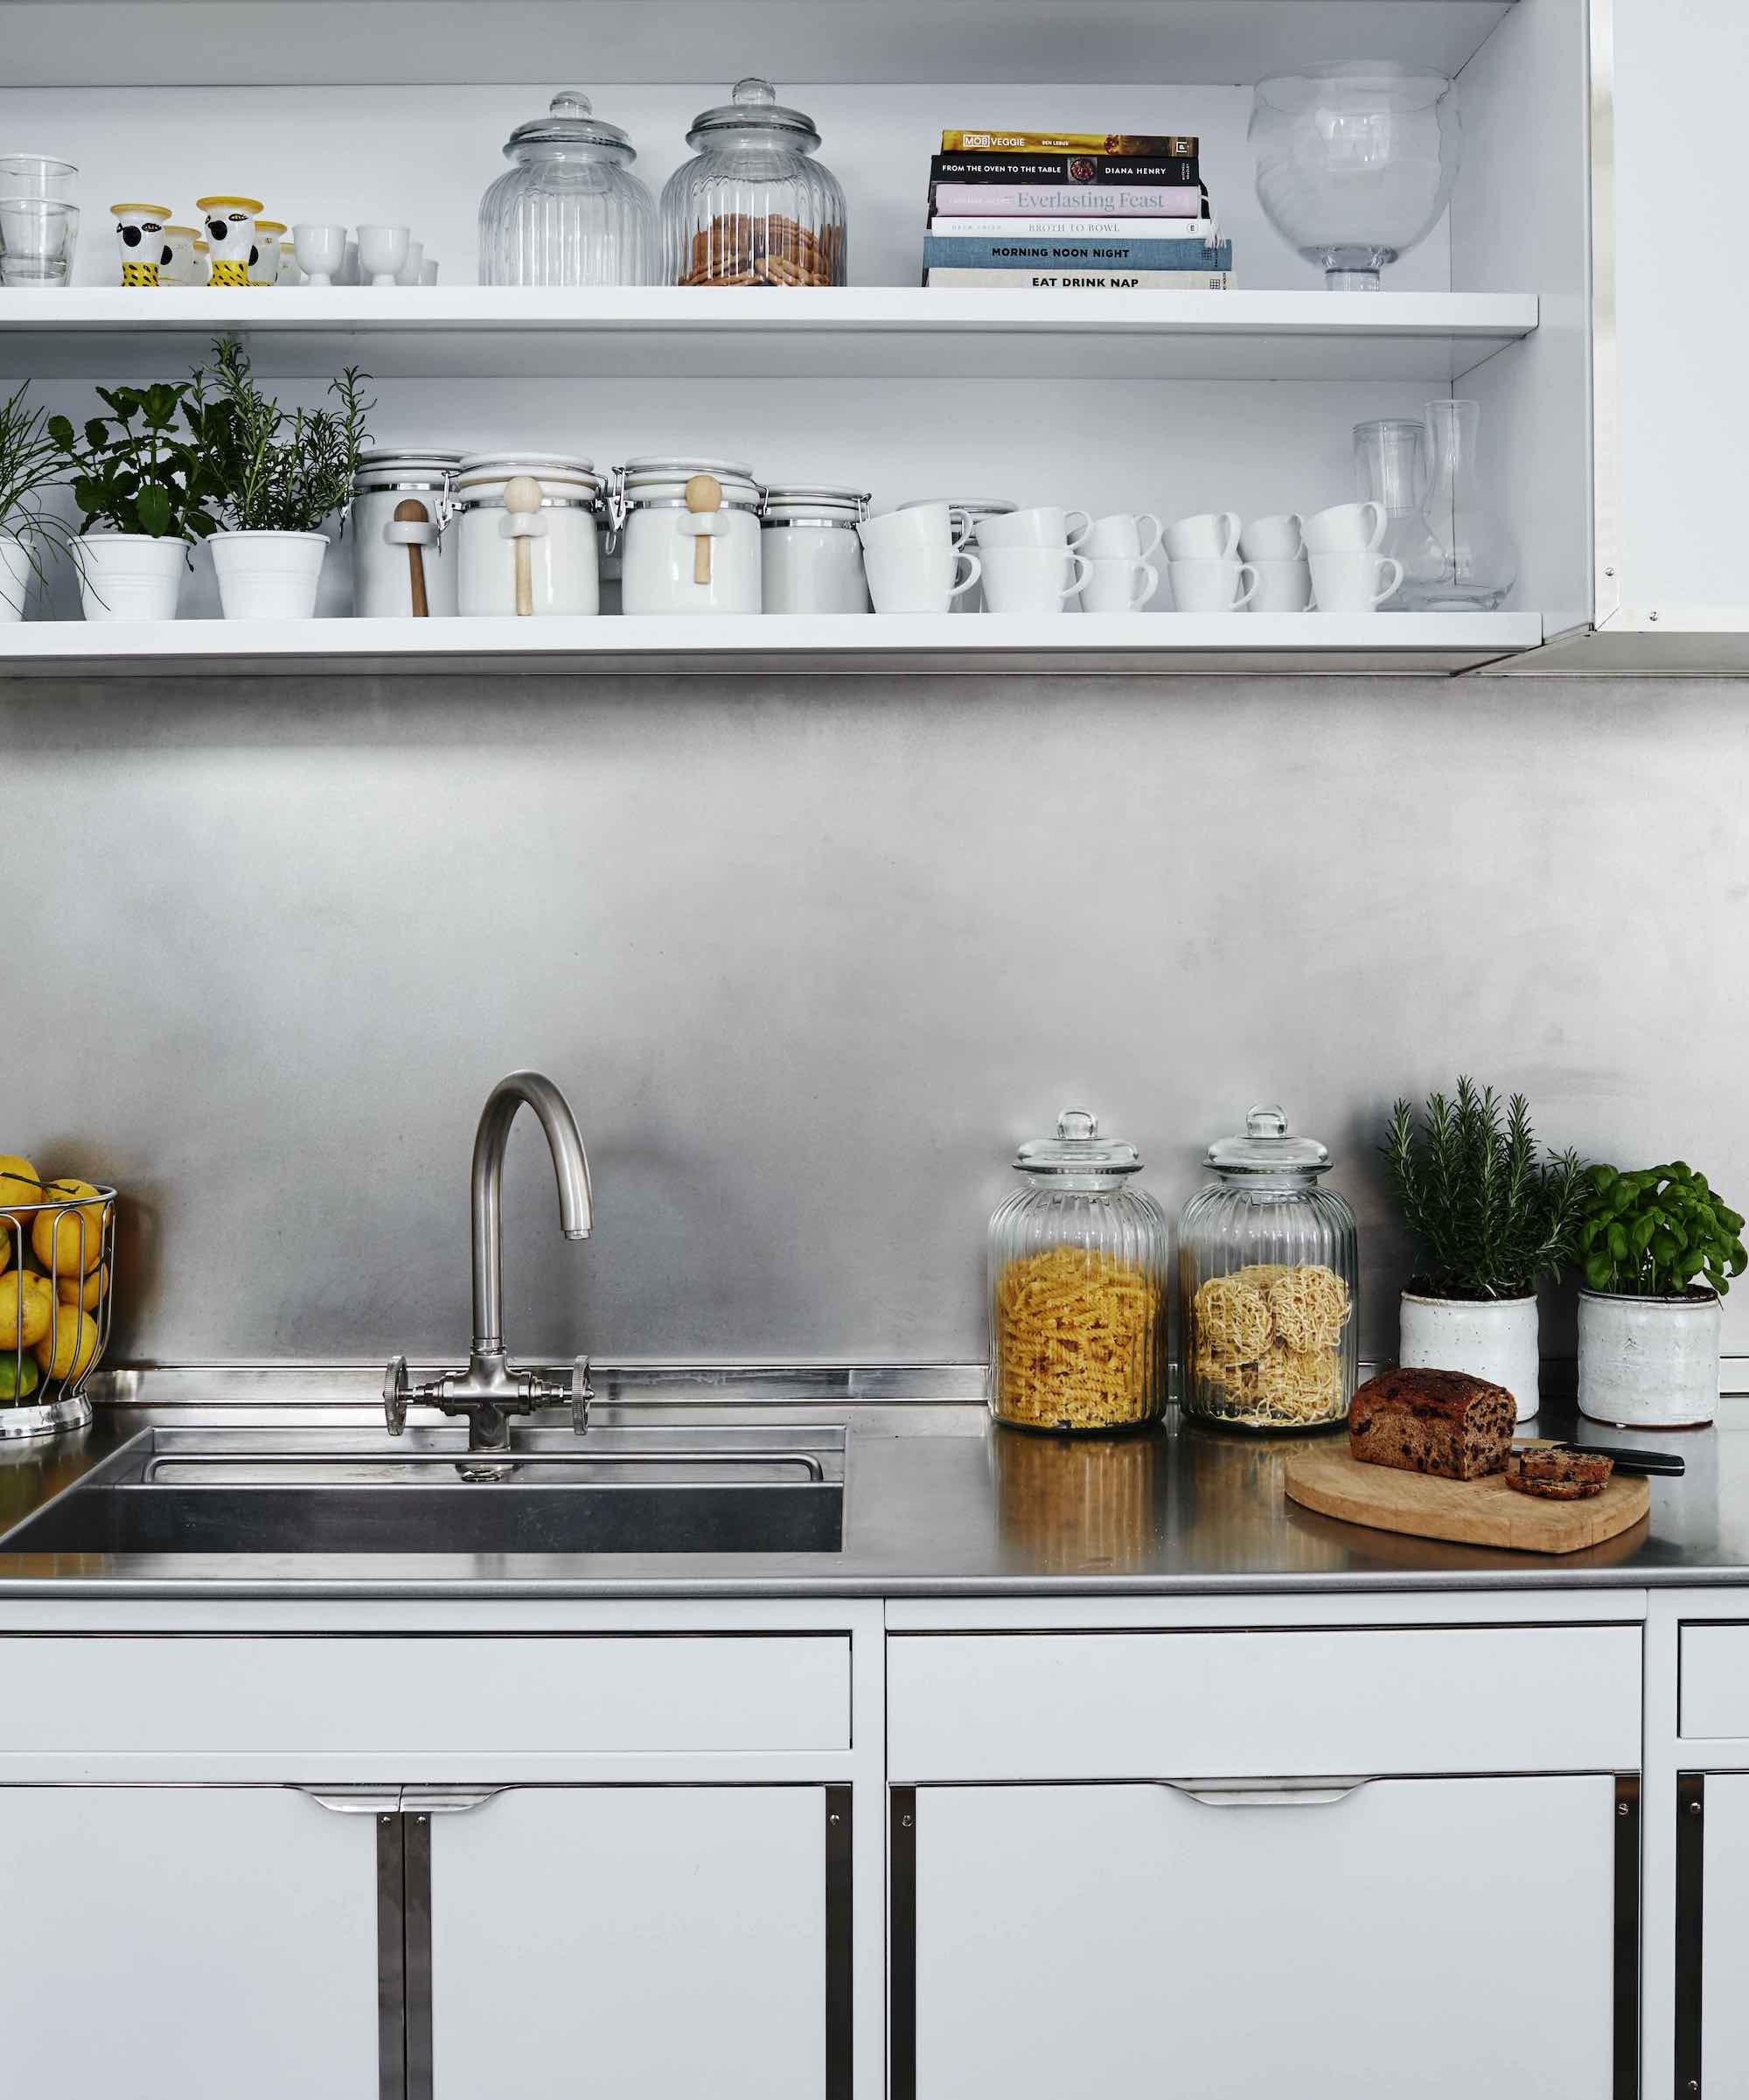
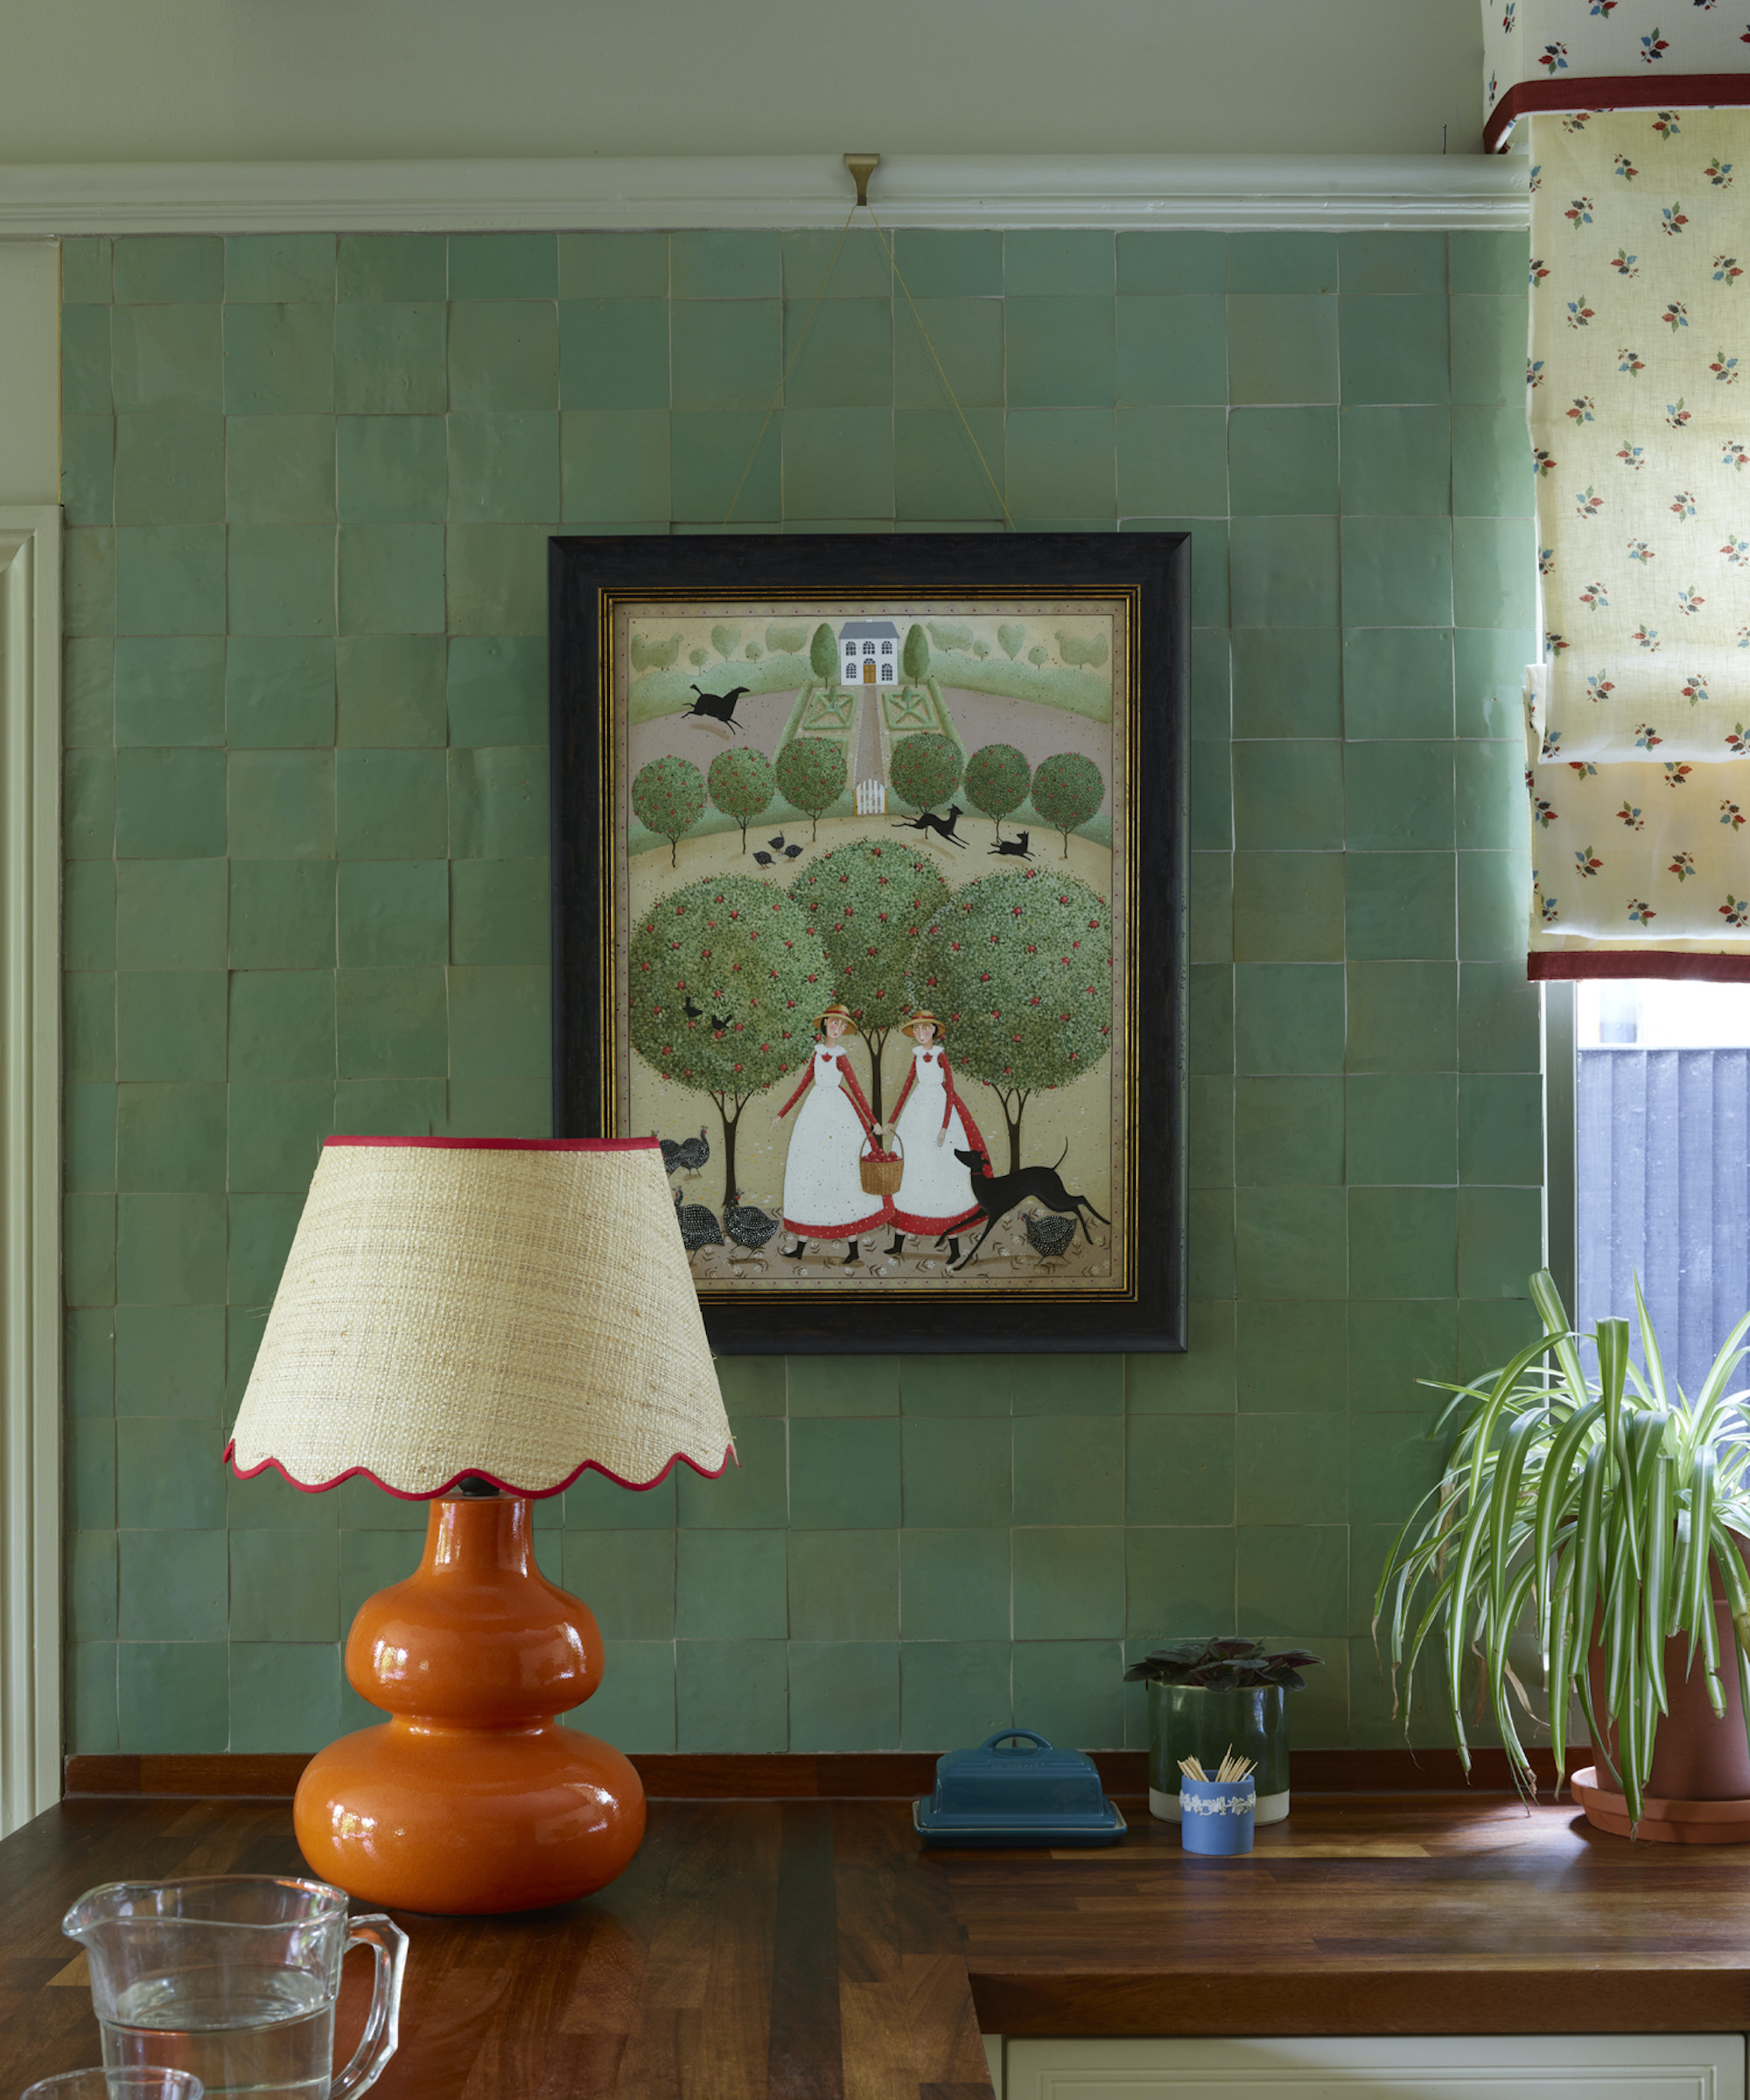
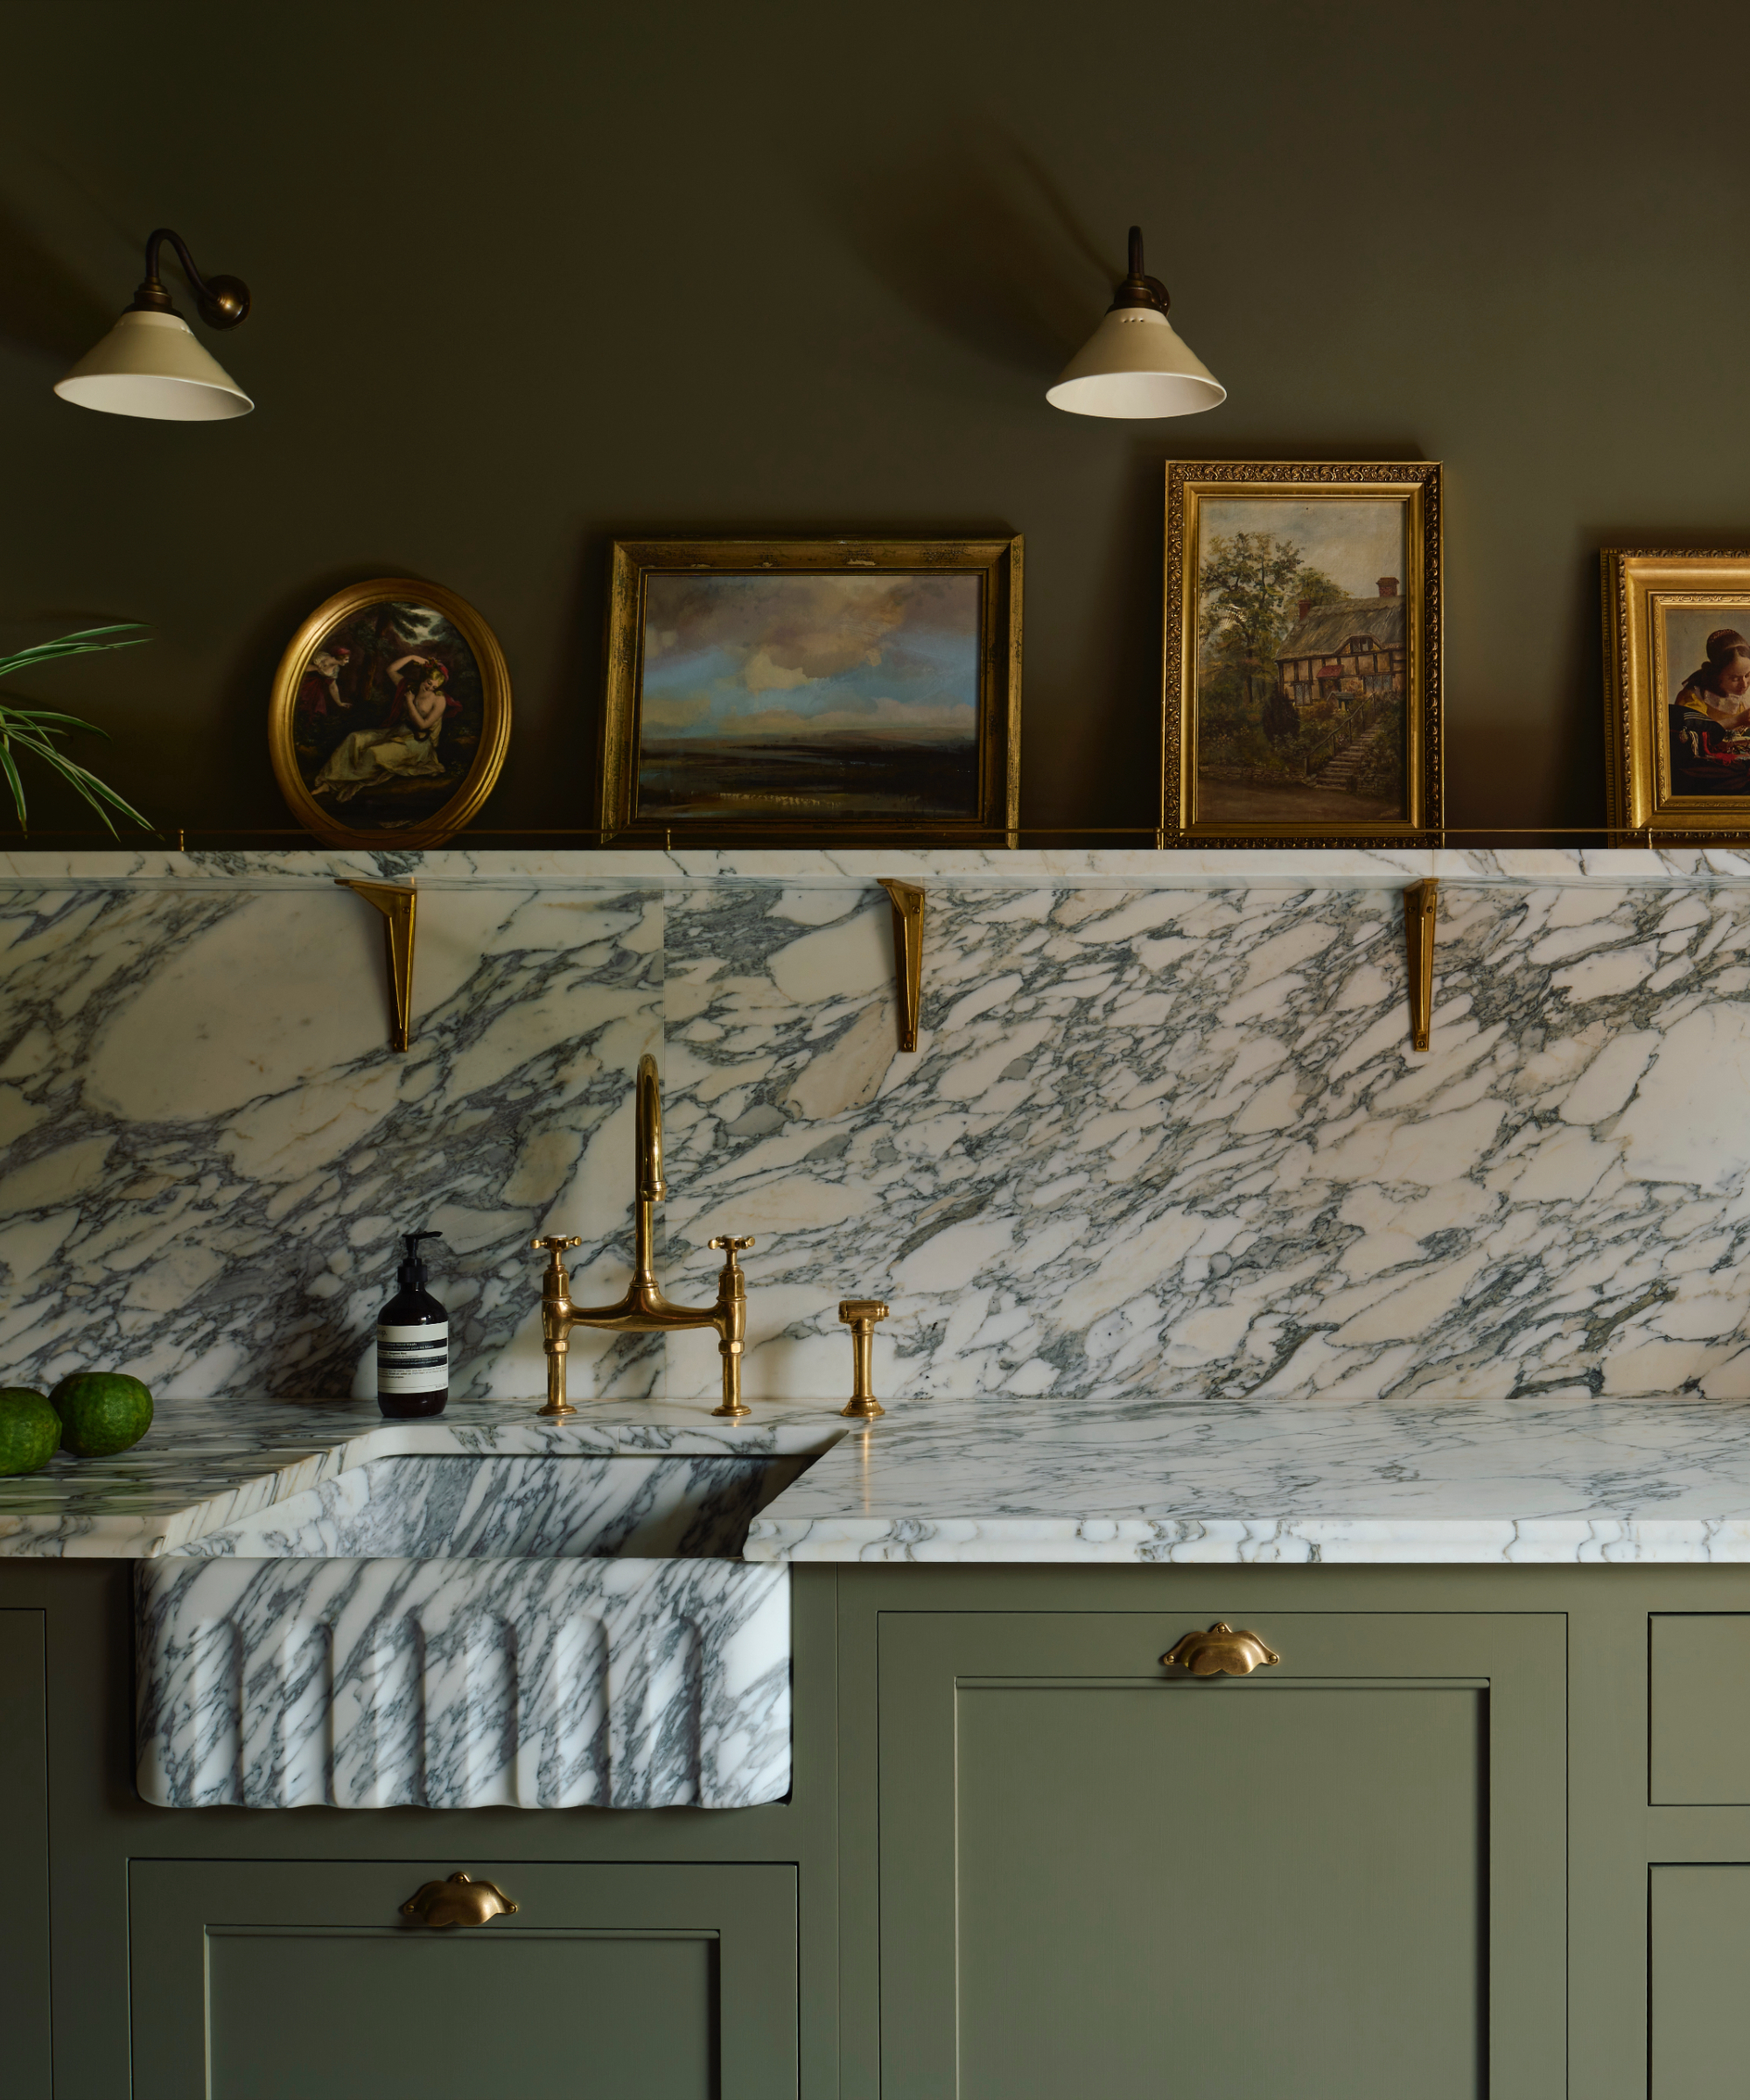
Homeowners must also evaluate their household’s tolerance for maintenance. Natural stones like marble and limestone require routine sealing and are susceptible to acid etching from lemons or vinegar. Stainless steel is exceptionally hygienic around cooking areas but readily displays fingerprints and fine scratches. Meanwhile, handmade tiles offer wonderful character but feature irregular surfaces that catch grease differently than smooth glass or porcelain sheets.
Phase 2: Material Selection and Specifications
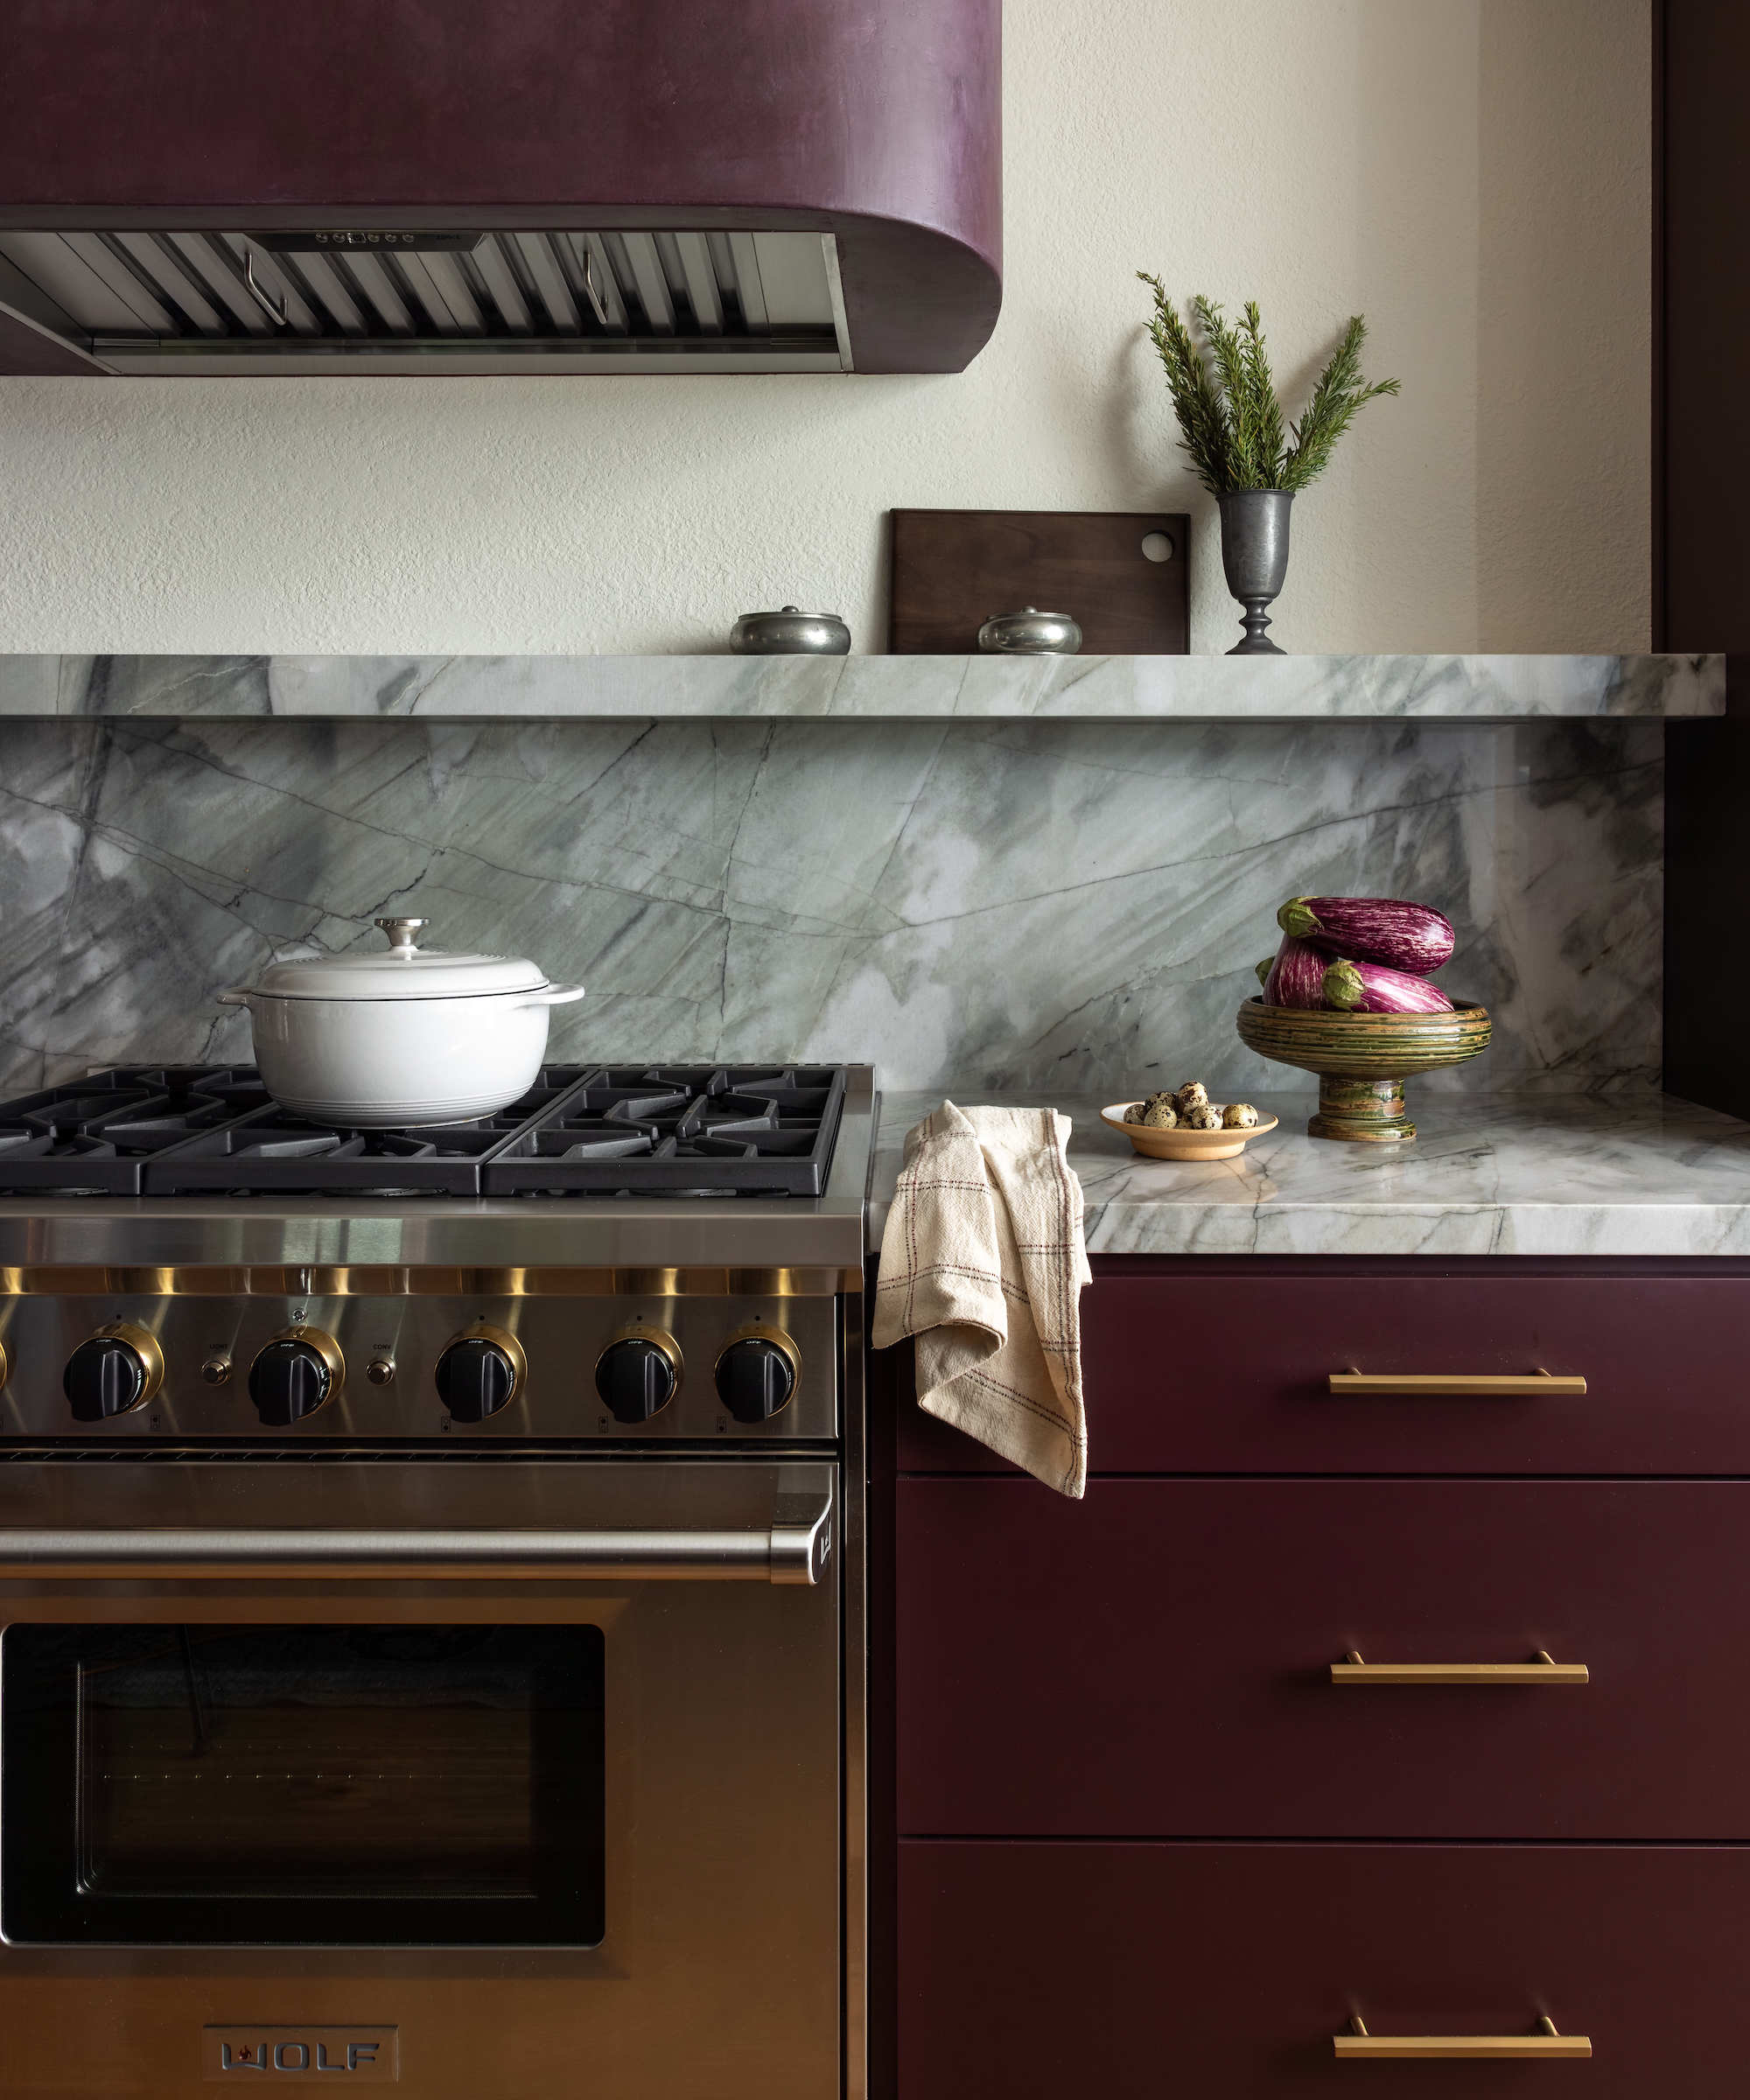
Once functional requirements are understood, homeowners move on to material selection. The market offers a wide spectrum of options, ranging from traditional ceramic and dense porcelain to natural quartzite, engineered quartz, sintered stone, toughened glass, and living-finish metals.
Phase 3: Coverage and Extent
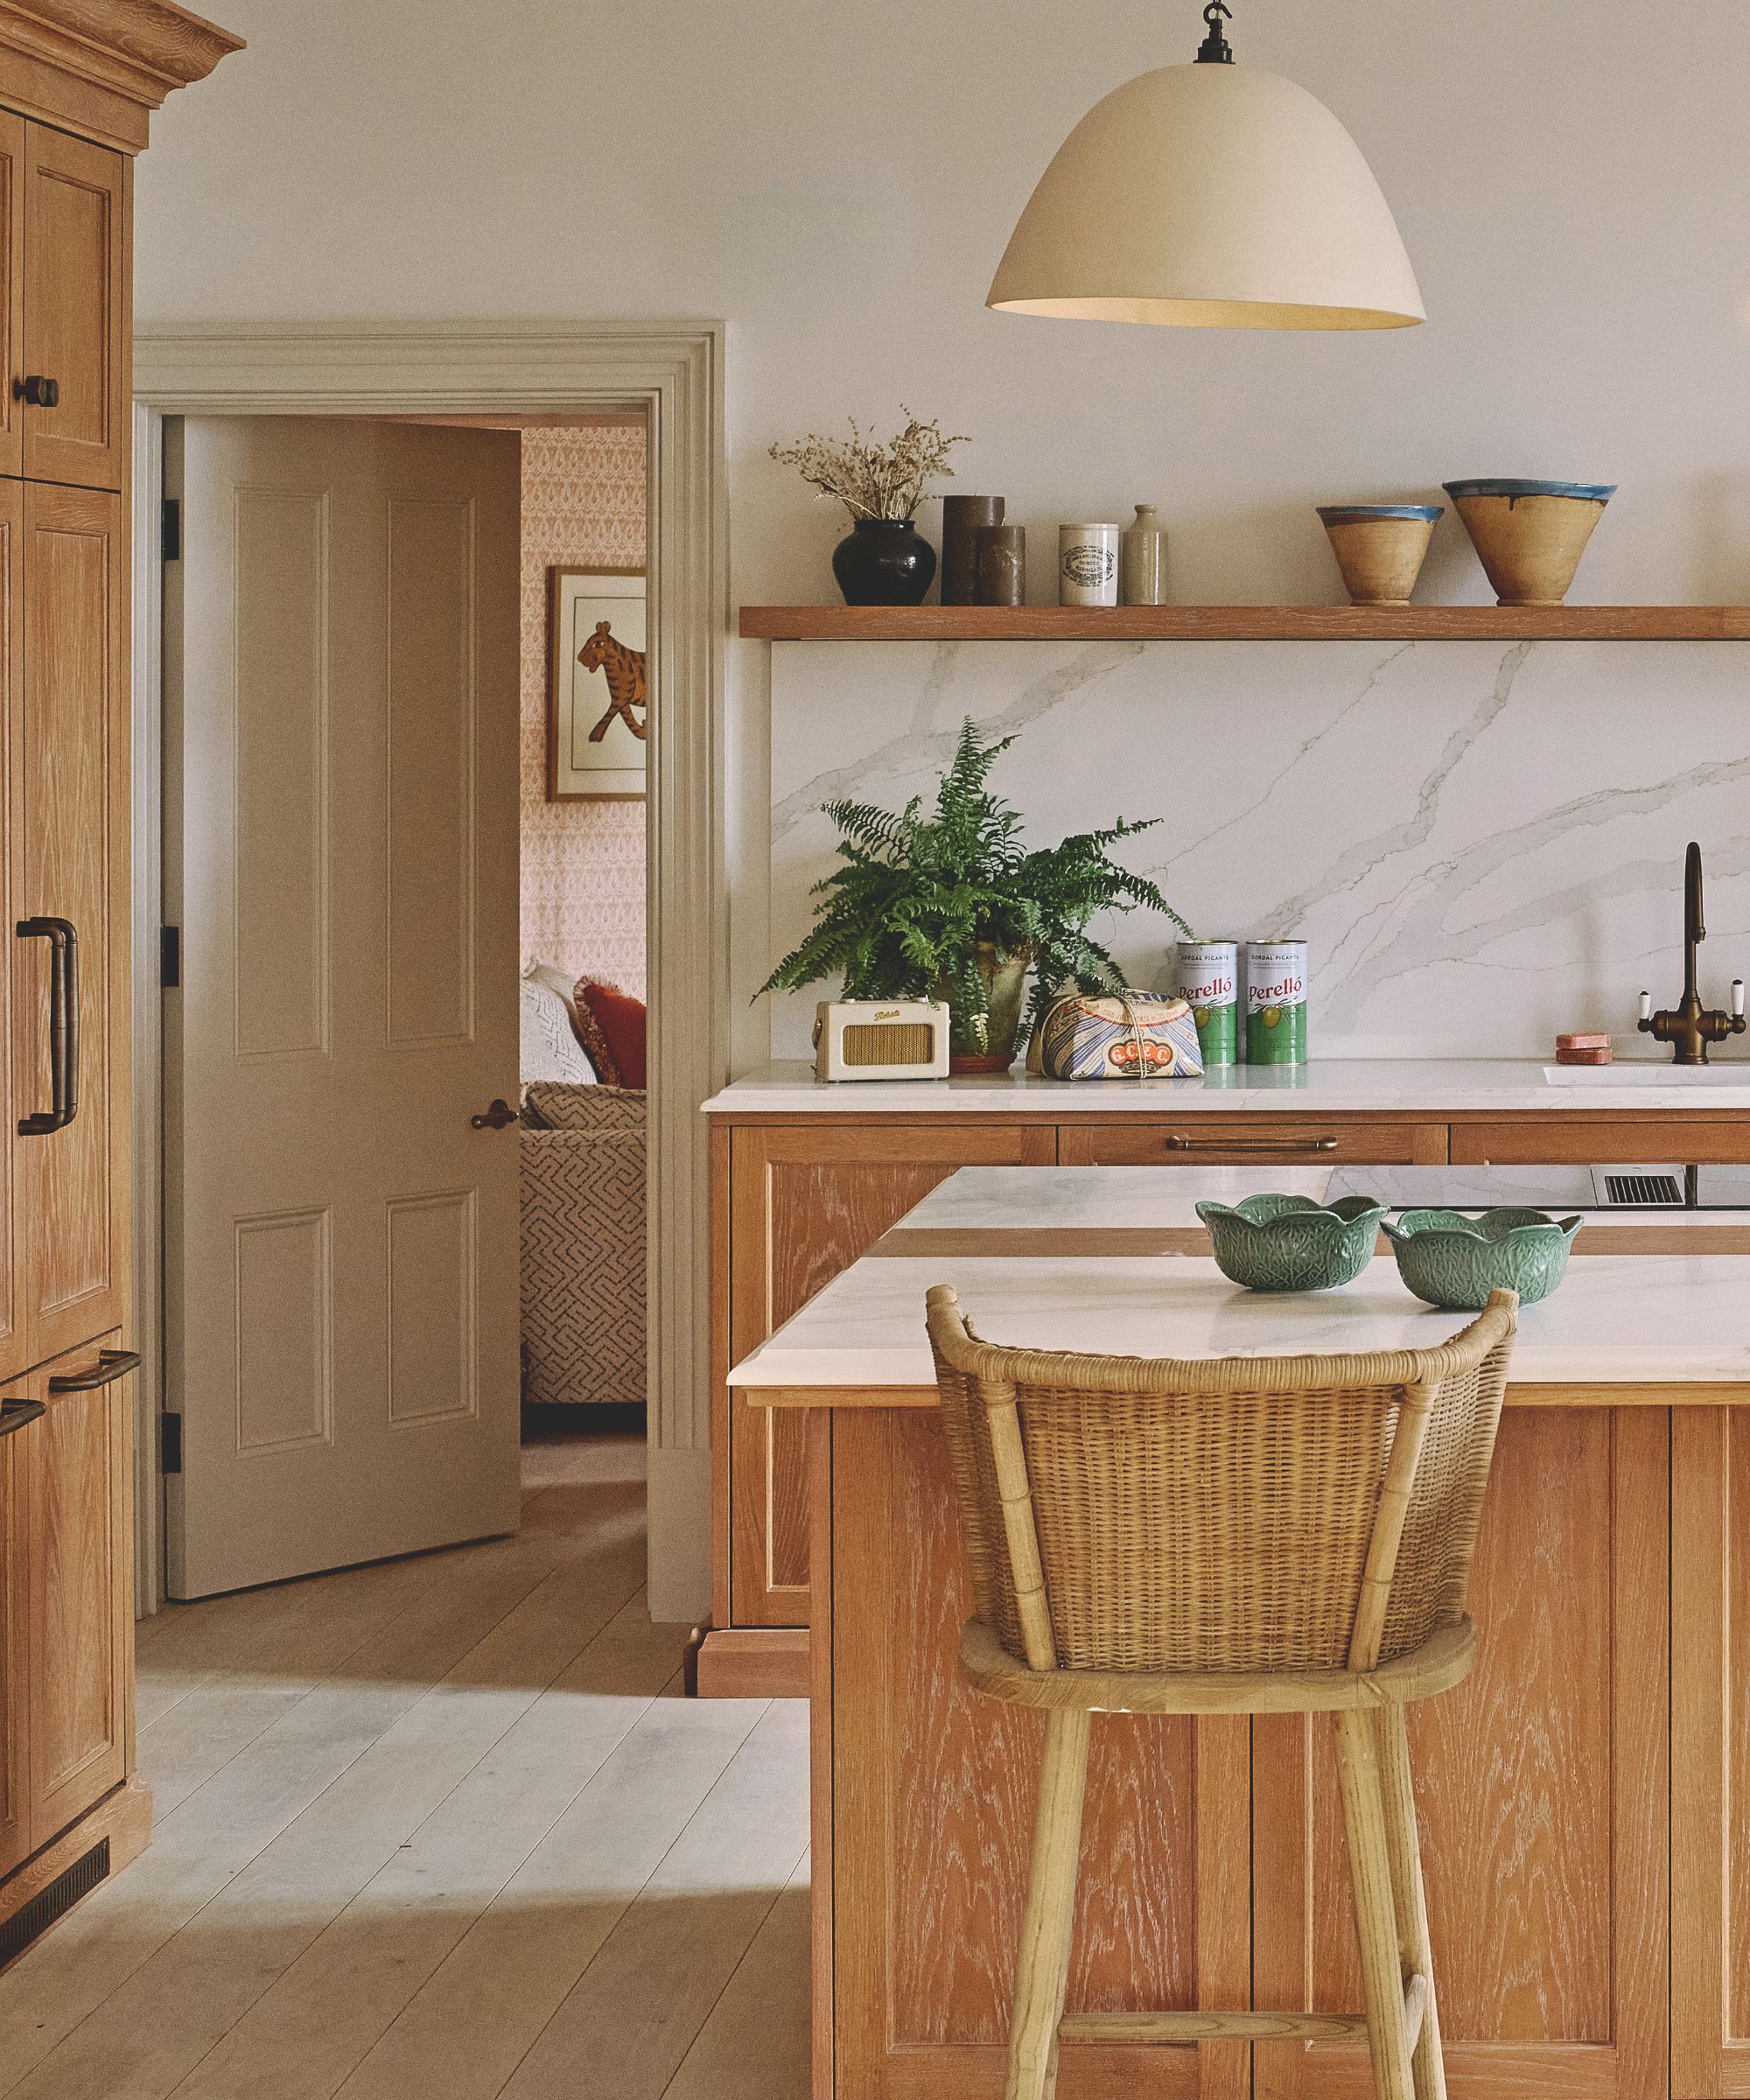
Deciding how much wall to cover is the next critical milestone. Options range from a modest four-inch upstand to full-height slabs running from the countertop to the ceiling. This decision must be made by reviewing kitchen elevations on paper rather than improvising during installation.

Phase 4: Layout, Pattern, and Grout Detailing
With the physical boundaries established, designers determine tile orientation (vertical versus horizontal), installation patterns (stacked, running bond, or herringbone), and grout specifications. Grout is frequently overlooked until the final hour, yet its color, joint width, and chemical composition dictate both visual rhythm and long-term cleanliness.
Supporting Data: Backsplash Materials at a Glance
When comparing materials, evaluating maintenance needs alongside heat and splash suitability prevents costly mistakes.
| Material | Maintenance Level | Heat & Splash Suitability |
|---|---|---|
| Ceramic Tile | Low | Highly versatile; verify specific product ratings |
| Porcelain Tile | Very Low | Excellent general kitchen performance; dense and durable |
| Natural Stone | Moderate | Varies significantly by stone; requires regular sealing |
| Engineered Quartz | Low | Good splash resistance; verify high-heat appliance guidelines |
| Sintered/Ultra-Compact | Very Low | Exceptional for demanding, high-heat cooking zones |
| Glass | Low | Seamless, easy-clean surface; requires precise templating |
| Stainless Steel | Low | Superior heat and moisture tolerance around cooktops |
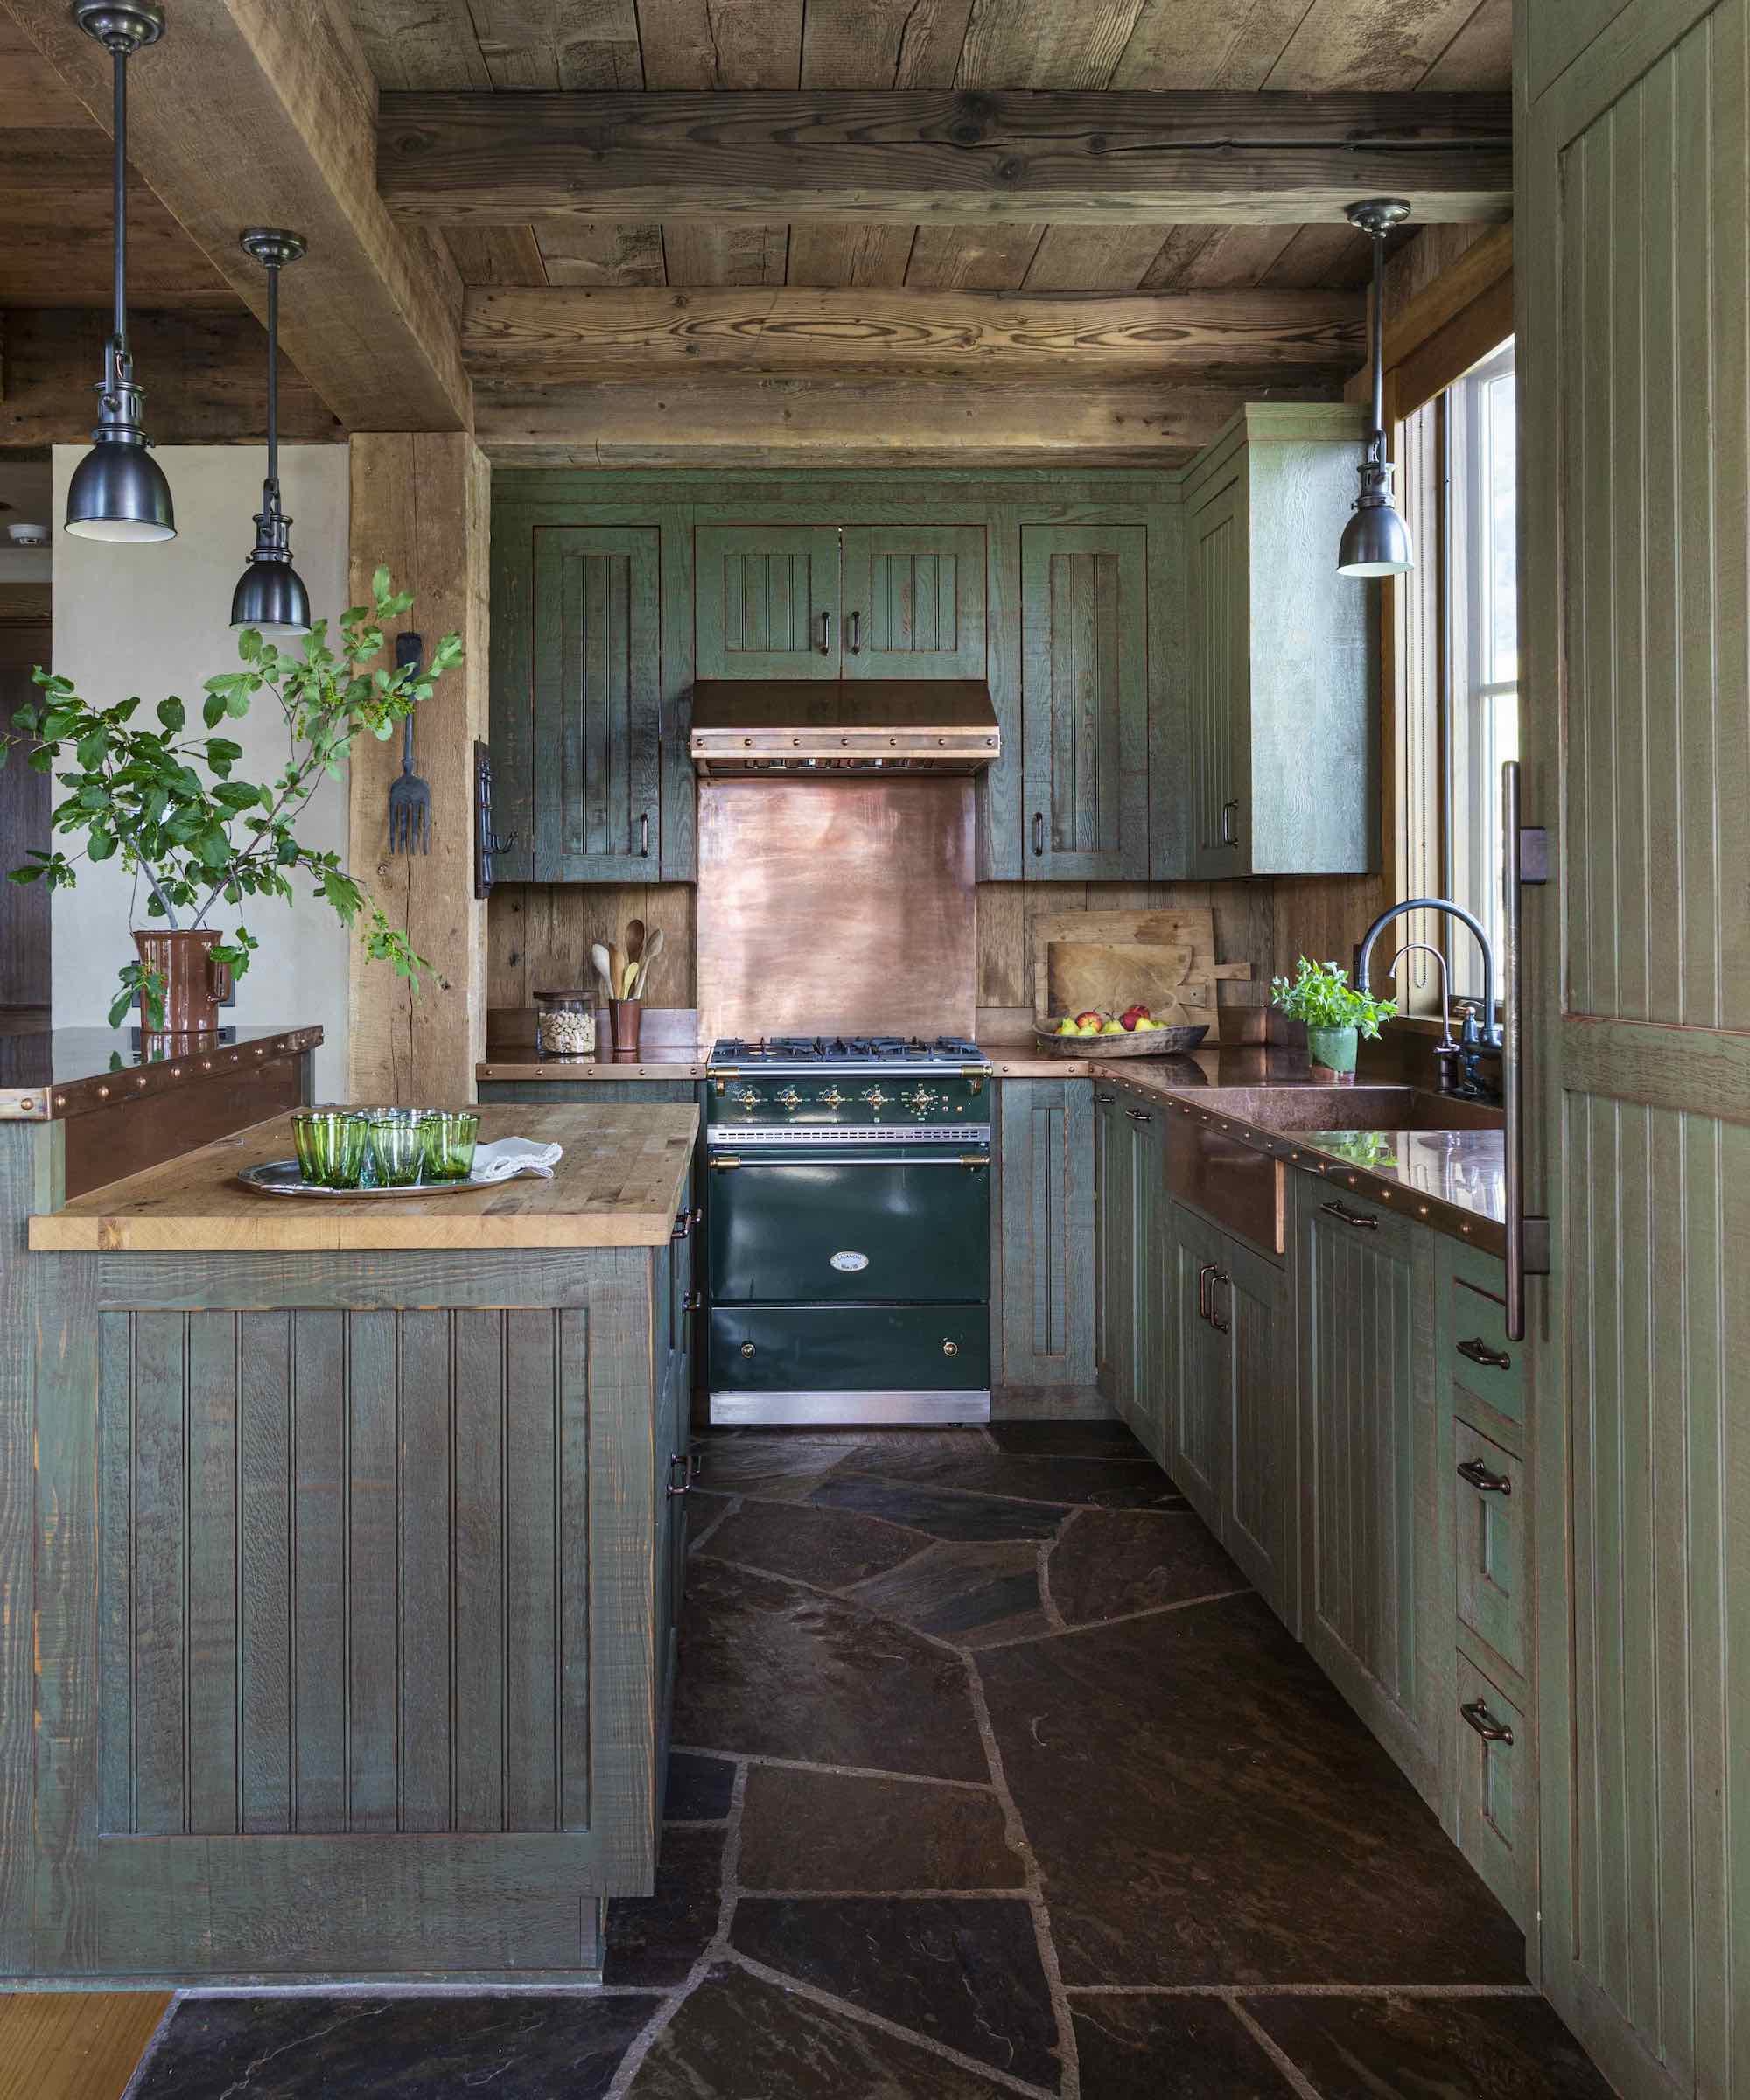
| Living Metals (Copper/Brass) | Moderate | Develops a natural patina over time; highly reactive to acids |
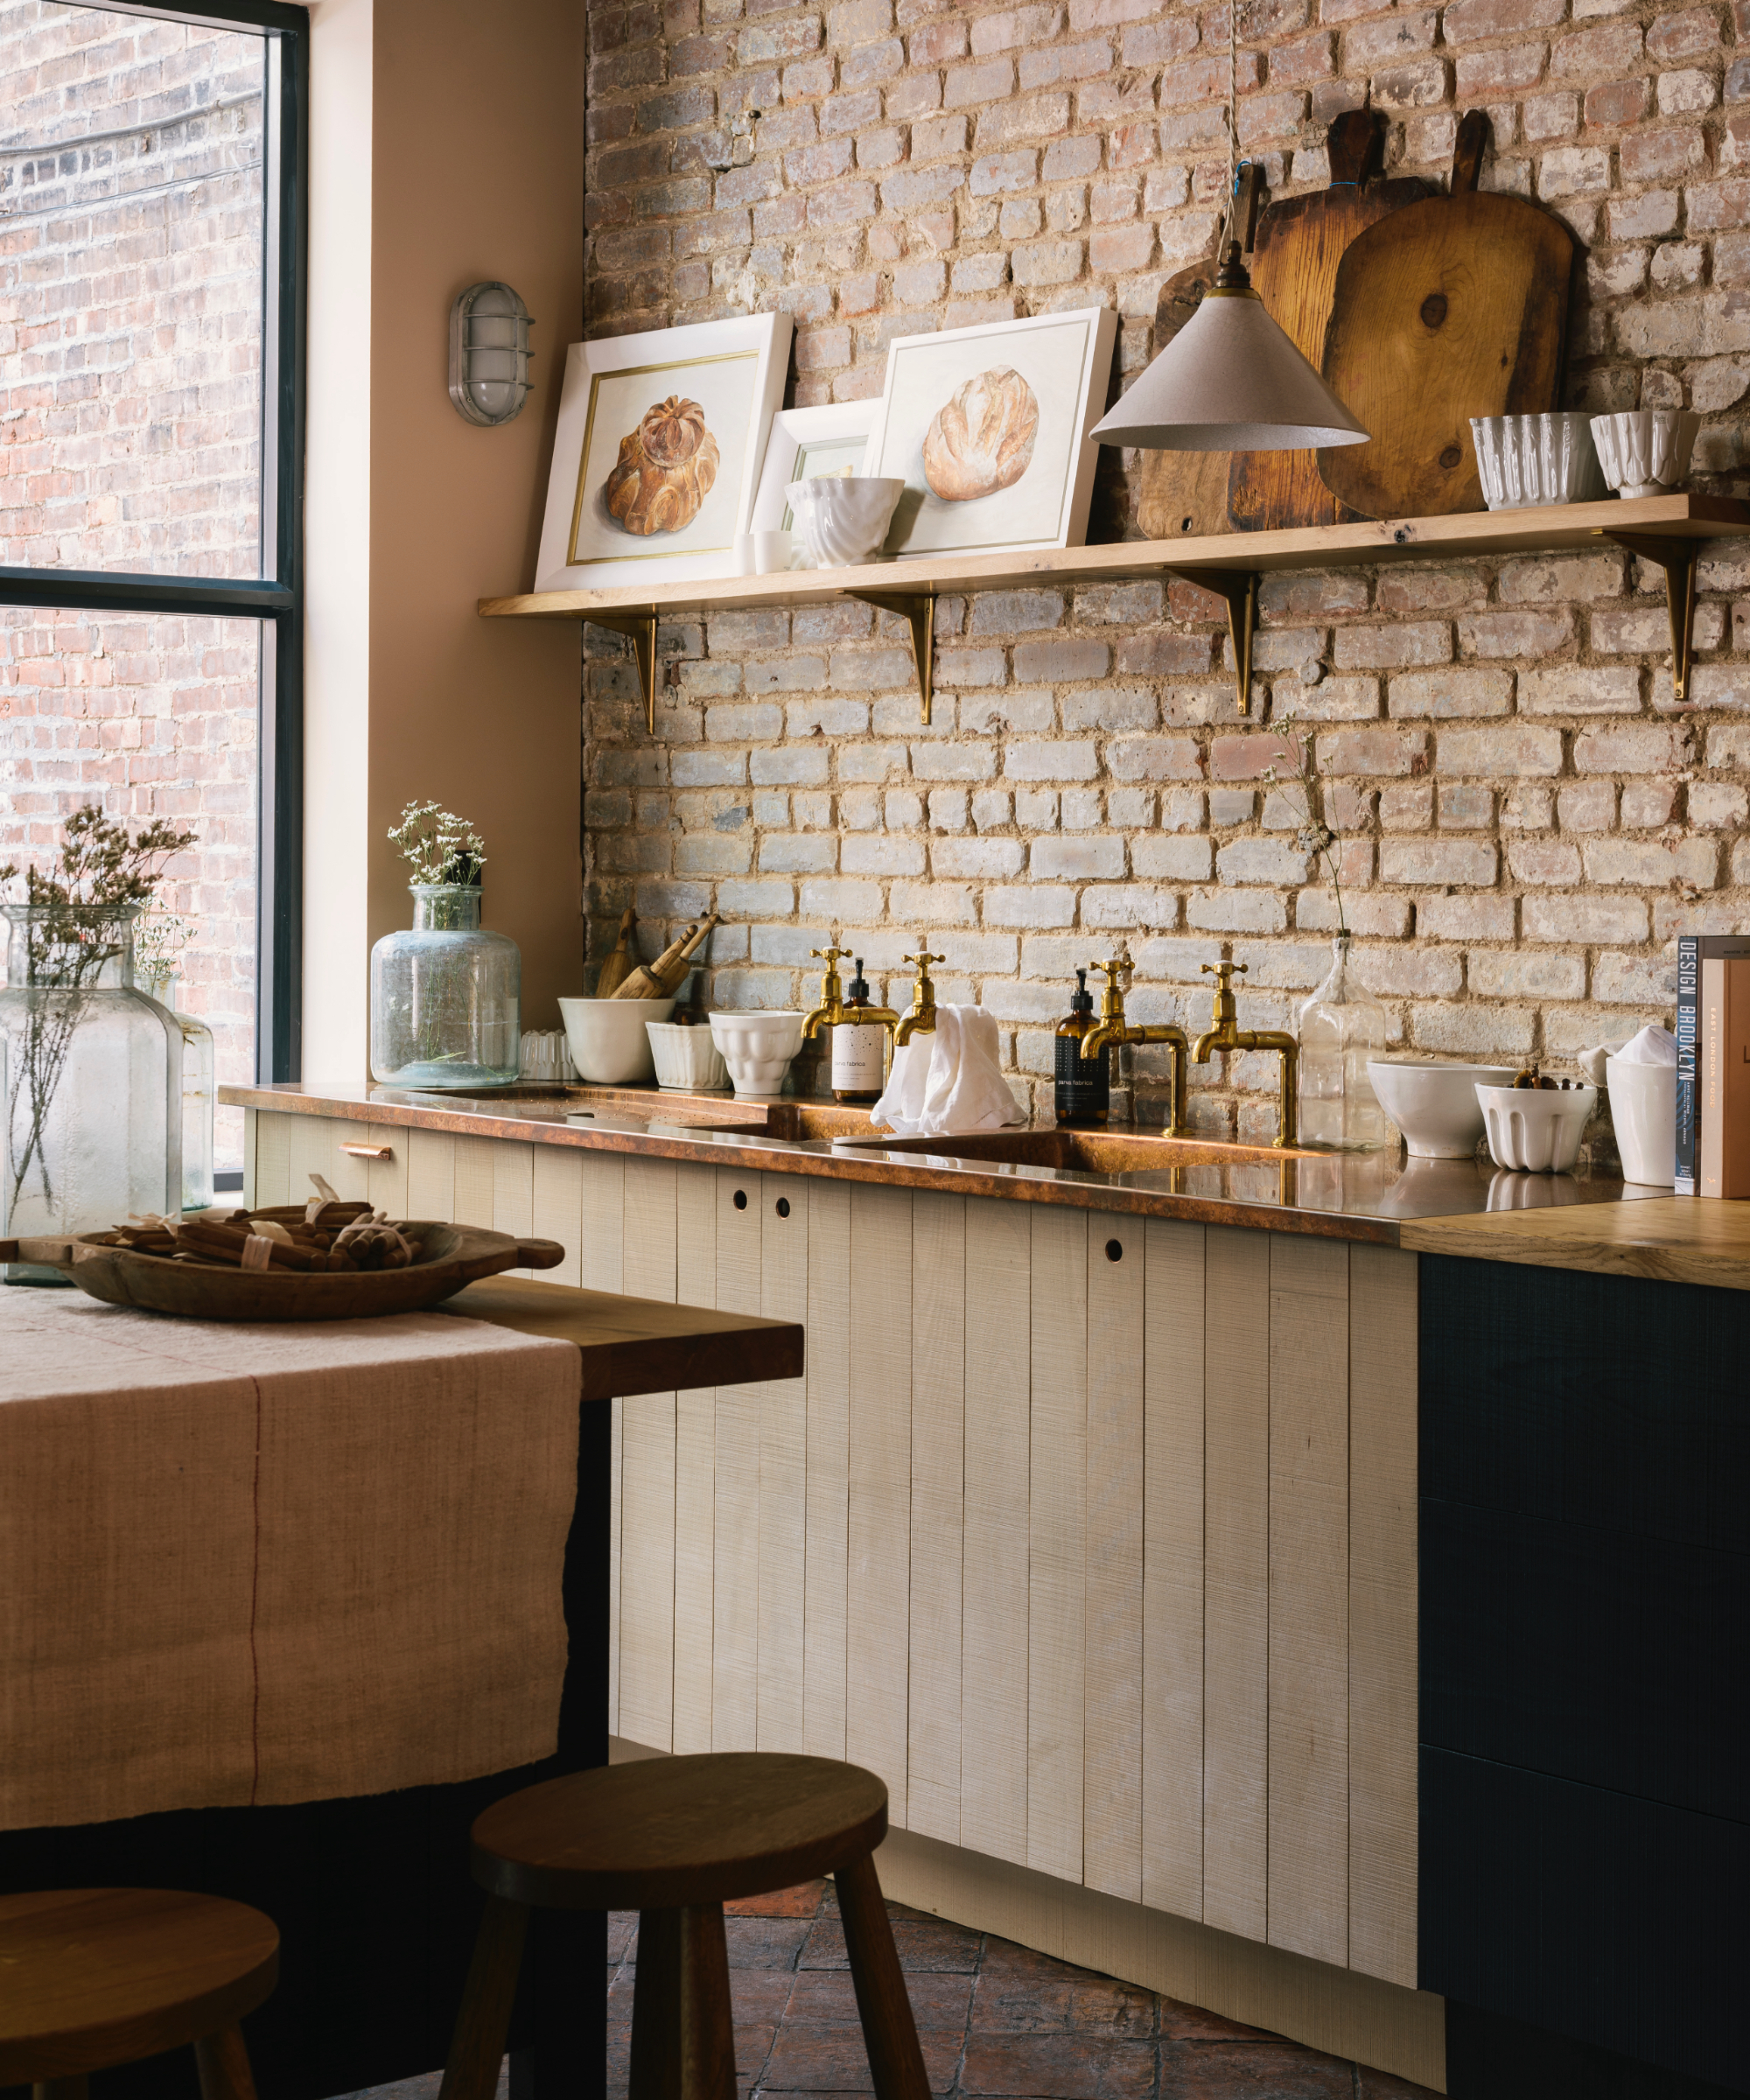
| Brick / Brick Slips | Moderate | Porous nature demands thorough sealing in wet zones |
| Timber / Wood-Look | Varies | Requires scrubbable paint or protective sintered stone alternatives |
Note: According to industry data sourced via HomeAdvisor, the typical cost for a professionally installed backsplash ranges from $480 to $1,500, with an average benchmark of $1,000. However, labor complexity, premium materials, and wall preparation can push expenditures significantly higher.
Official Responses and Expert Insights
Industry-leading designers and architects emphasize that a successful backsplash requires meticulous advance planning and a clear understanding of spatial geometry.
-
Avoiding Awkward Terminations:
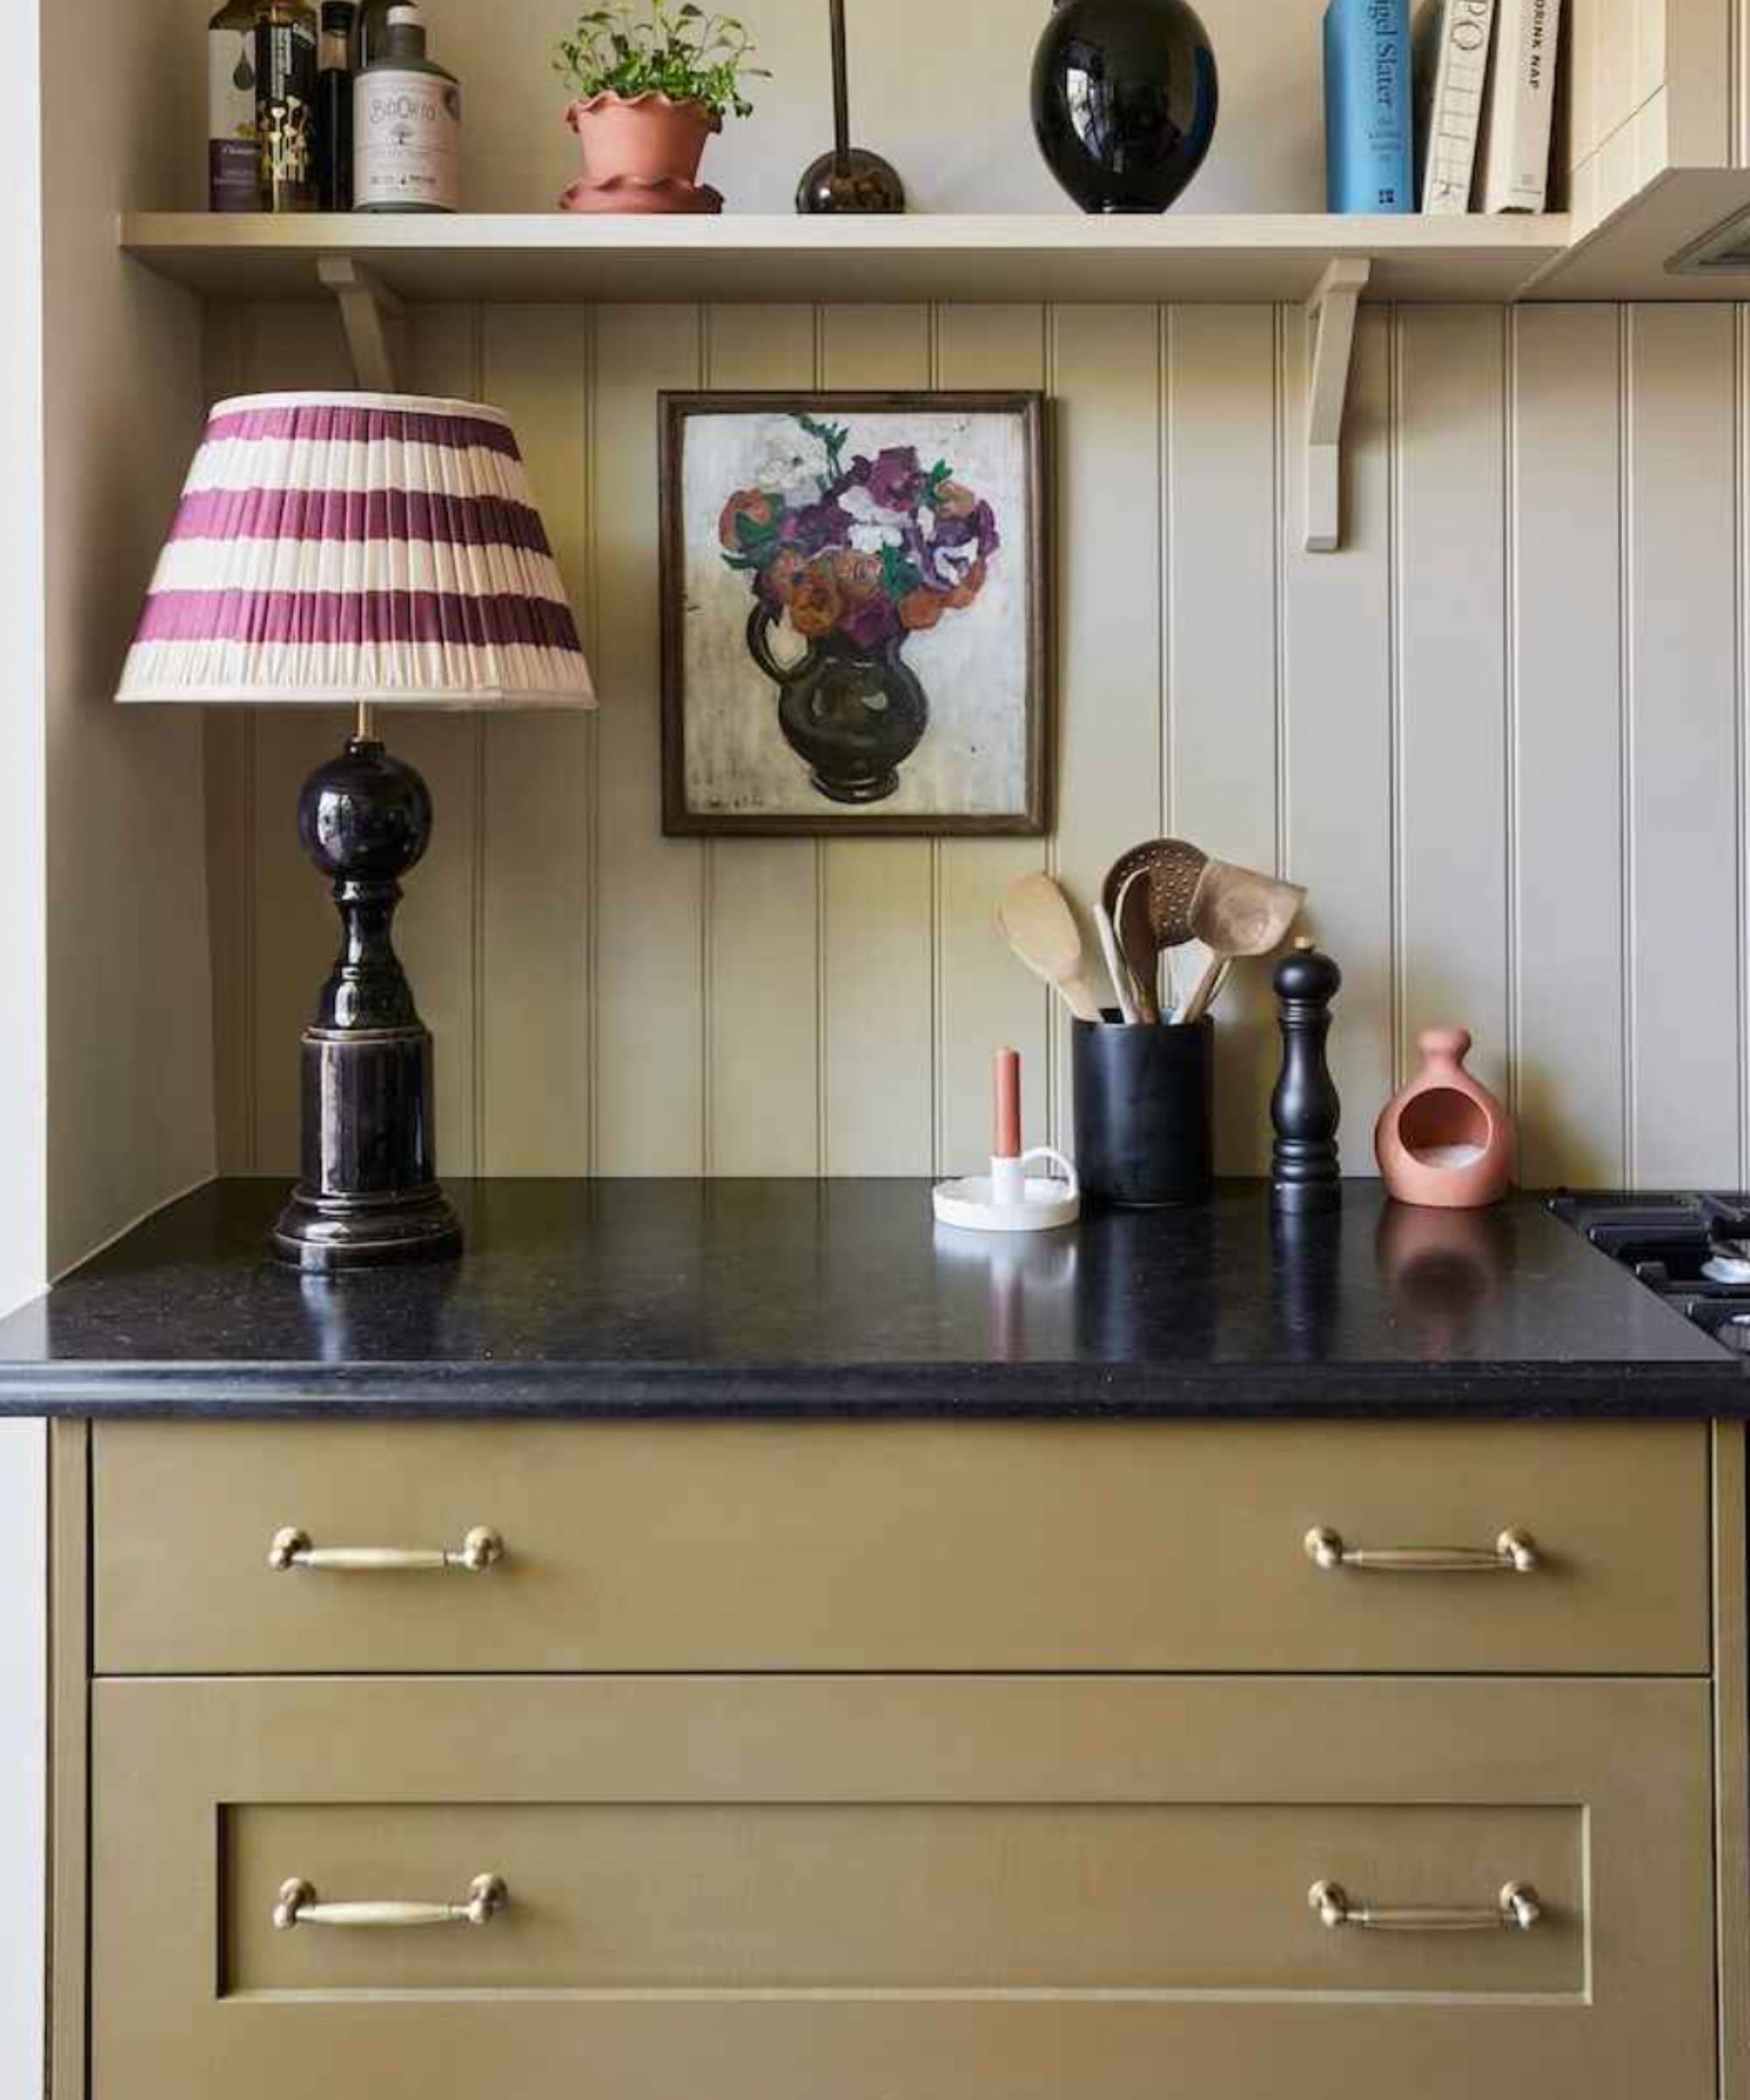
"Even a high-end backsplash can look bad if it hasn’t been properly planned around windows, open shelves, cabinet edges, or range hoods. There’s nothing more annoying than walking into your kitchen every morning and seeing a backsplash that sticks out or overlaps awkwardly—what an eyesore!"
— Nancy Vu, Co-founder of M&S Construction Group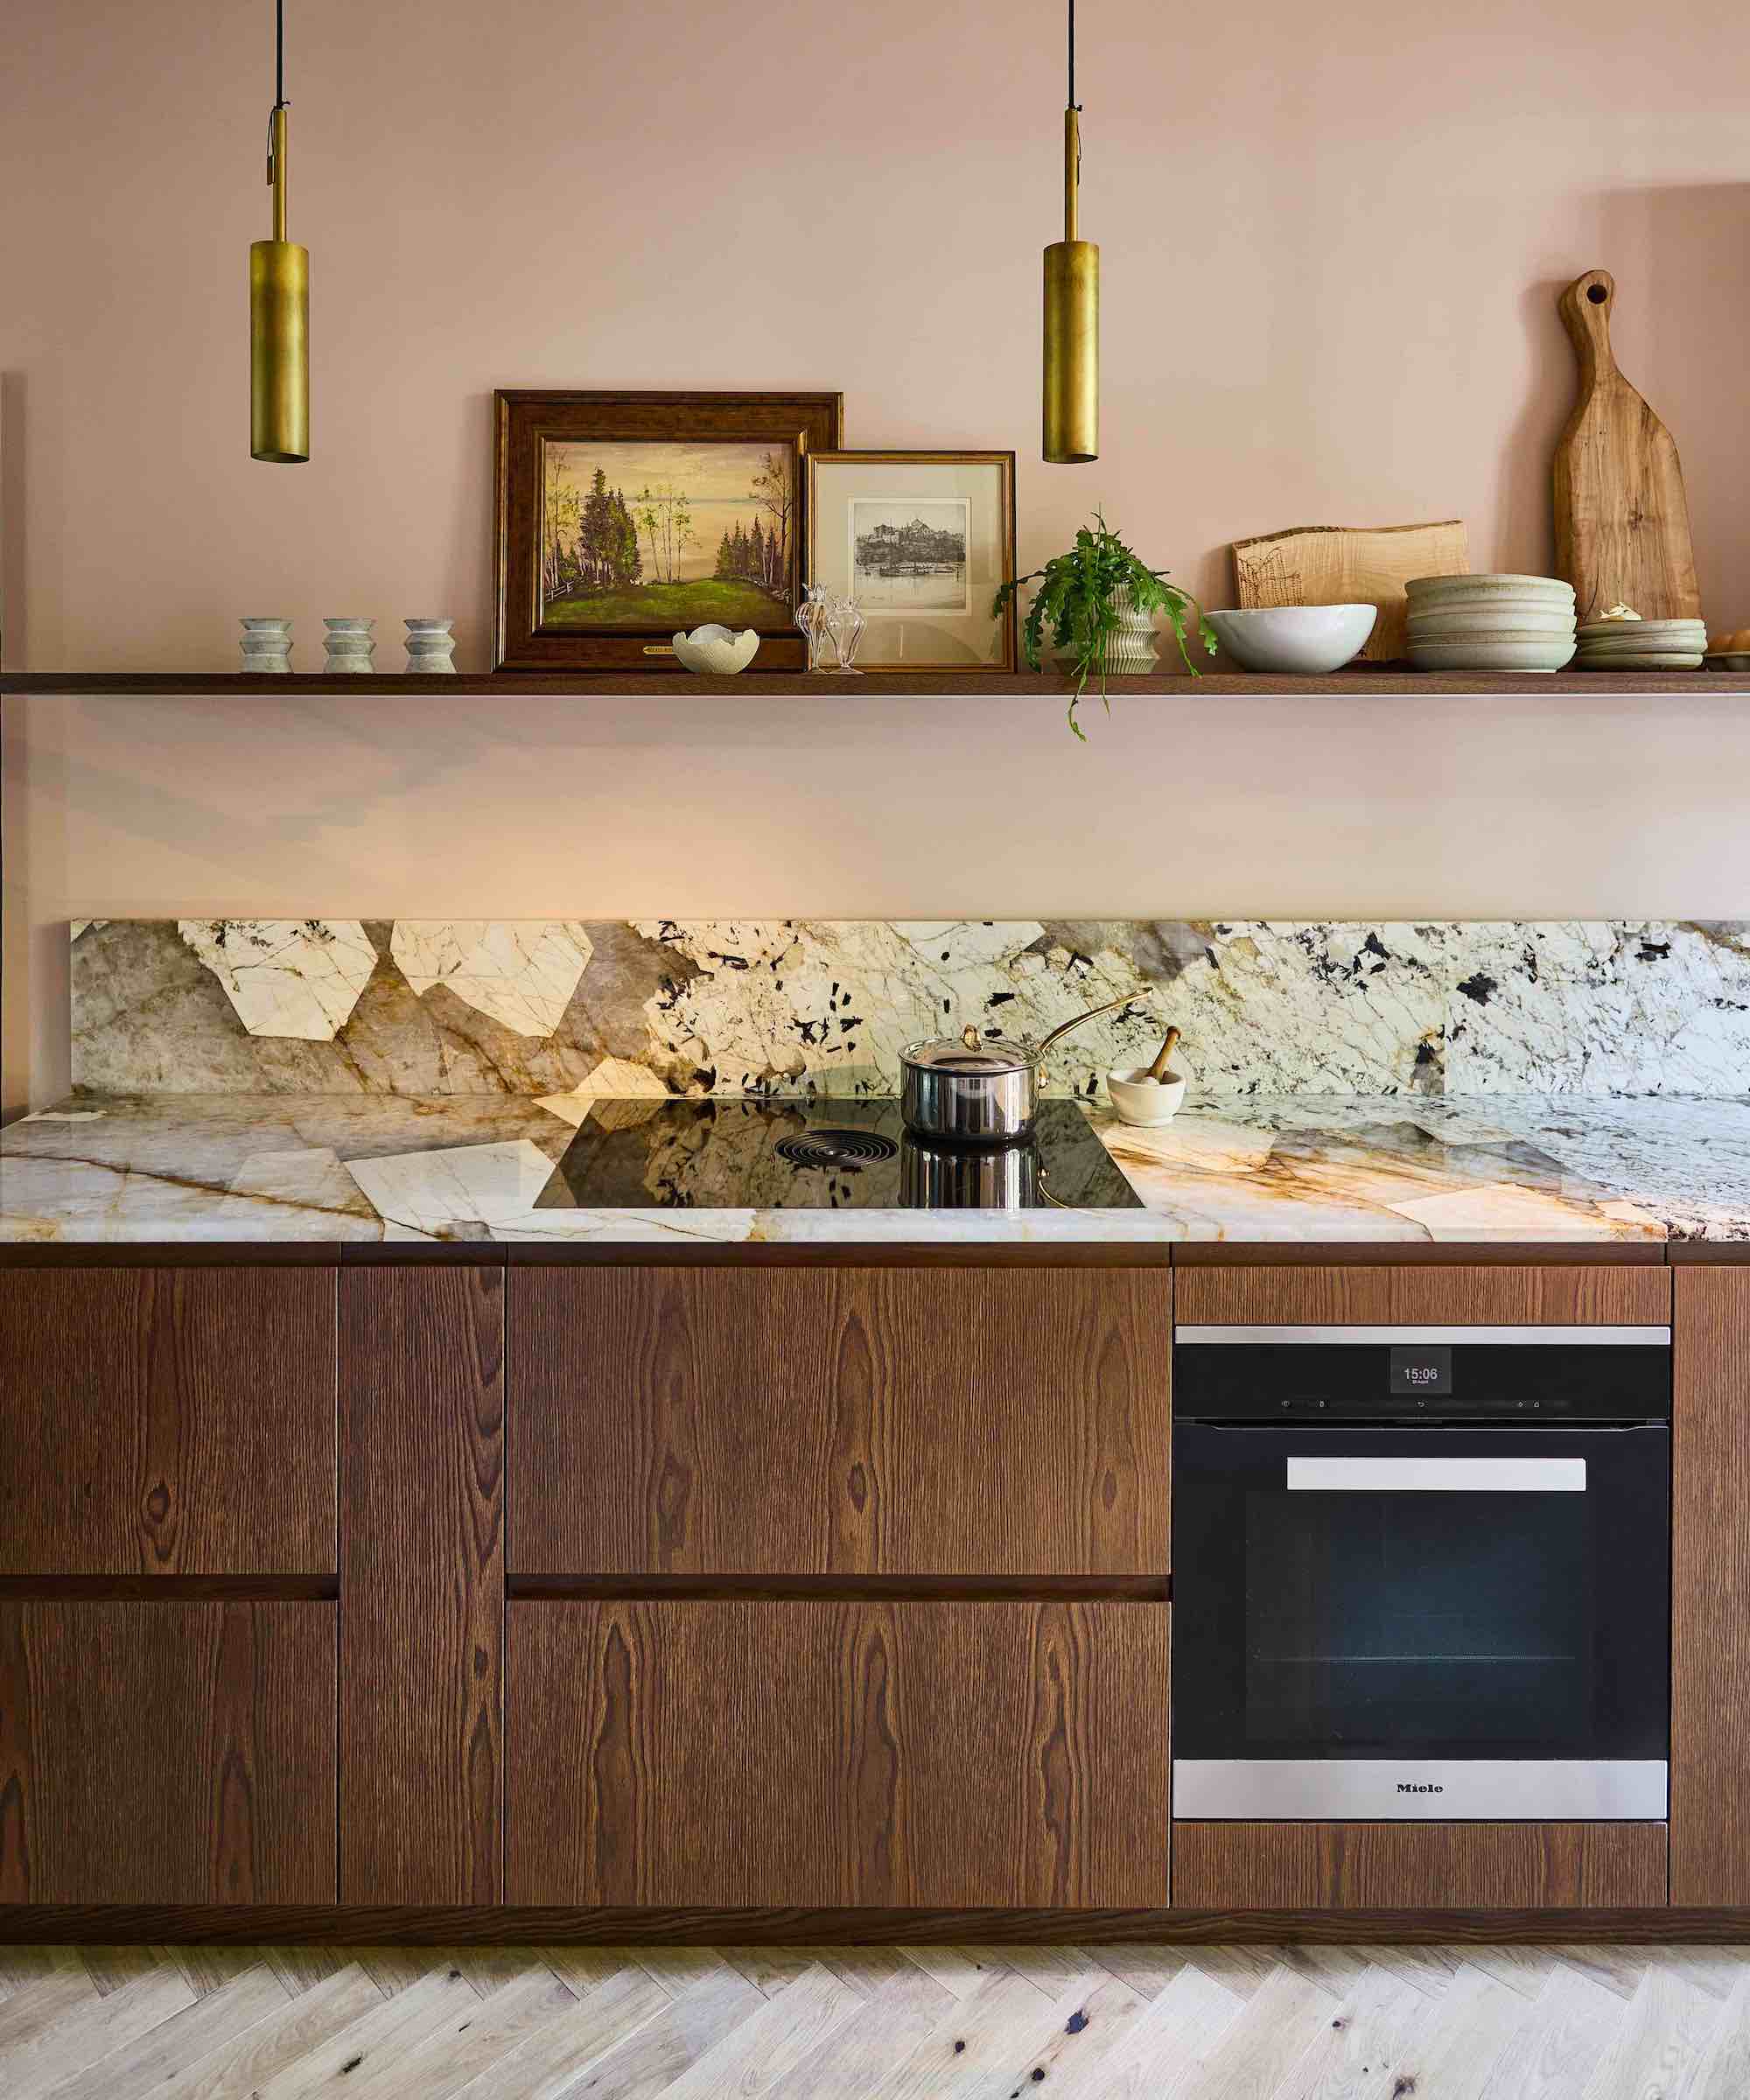
-
Prioritizing High-Use Zones:
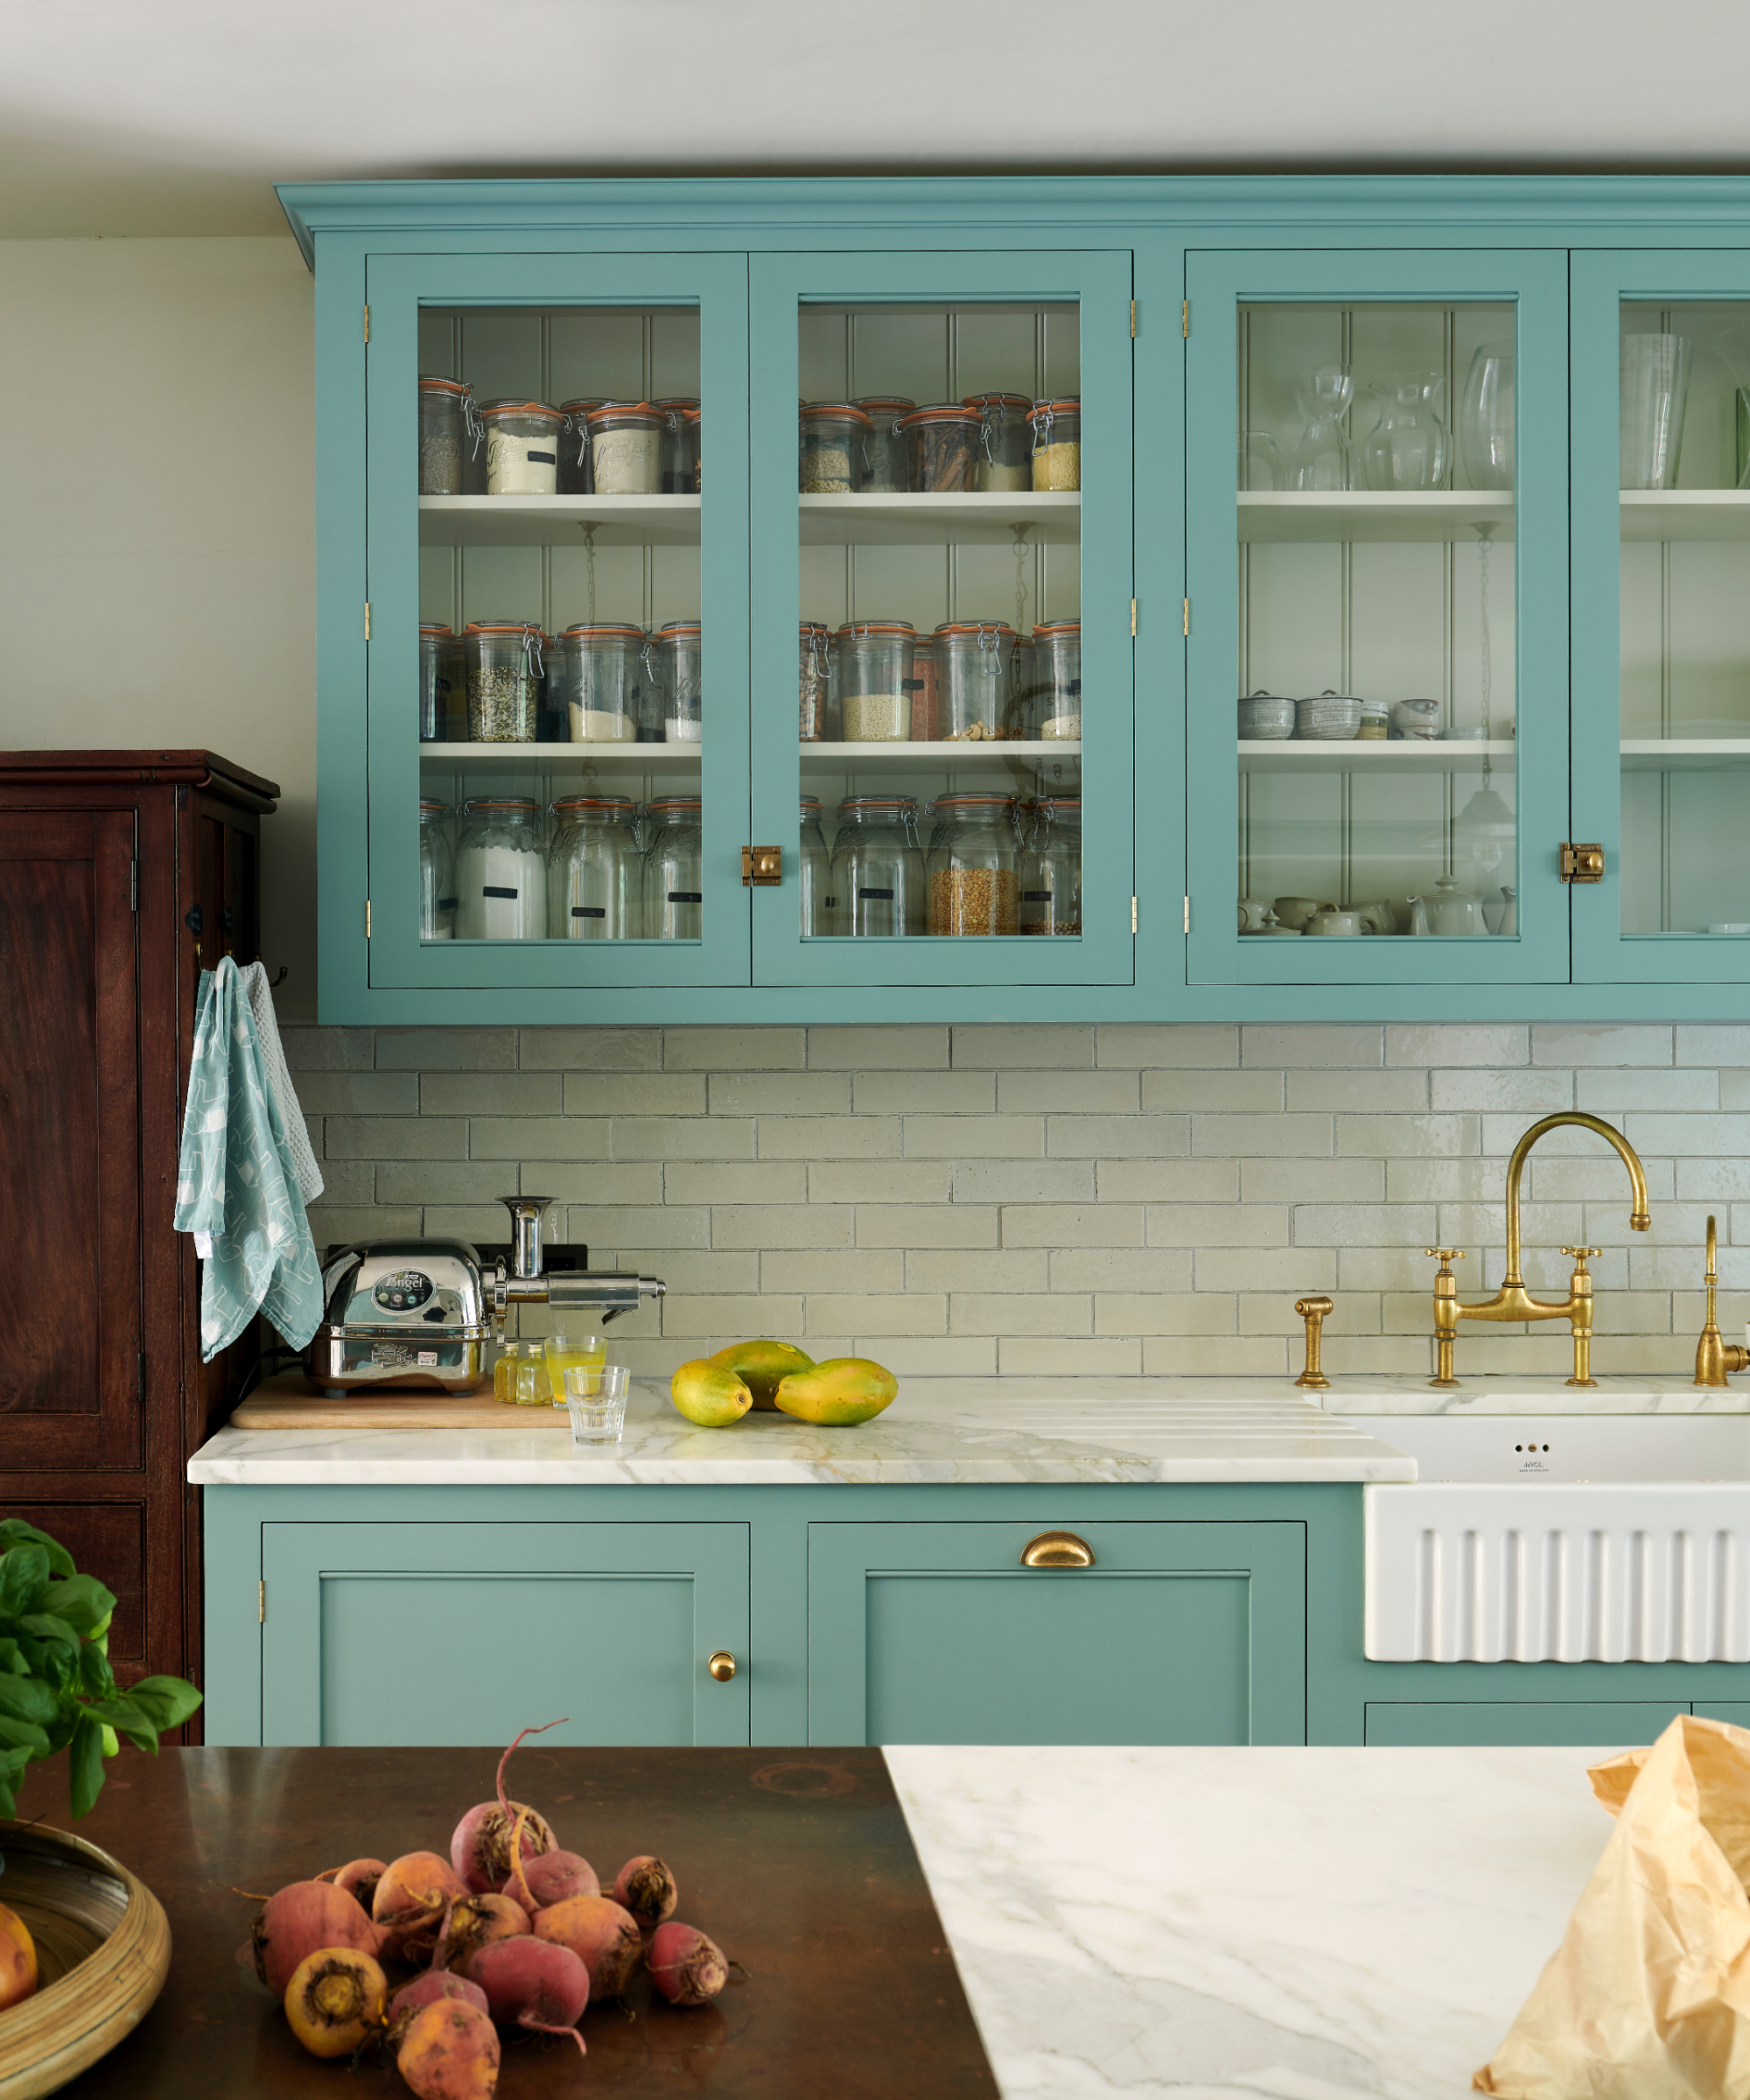
"The first thing I identify is which parts of the backsplash will work hardest. The surface directly behind a busy range or sink may need to meet quite different practical requirements from a quieter section of wall. In those high-use areas, I prioritize materials that are durable, easy to clean, and resistant to moisture."
— Swati Goorha, Founder and Principal Designer at Swati Goorha Designs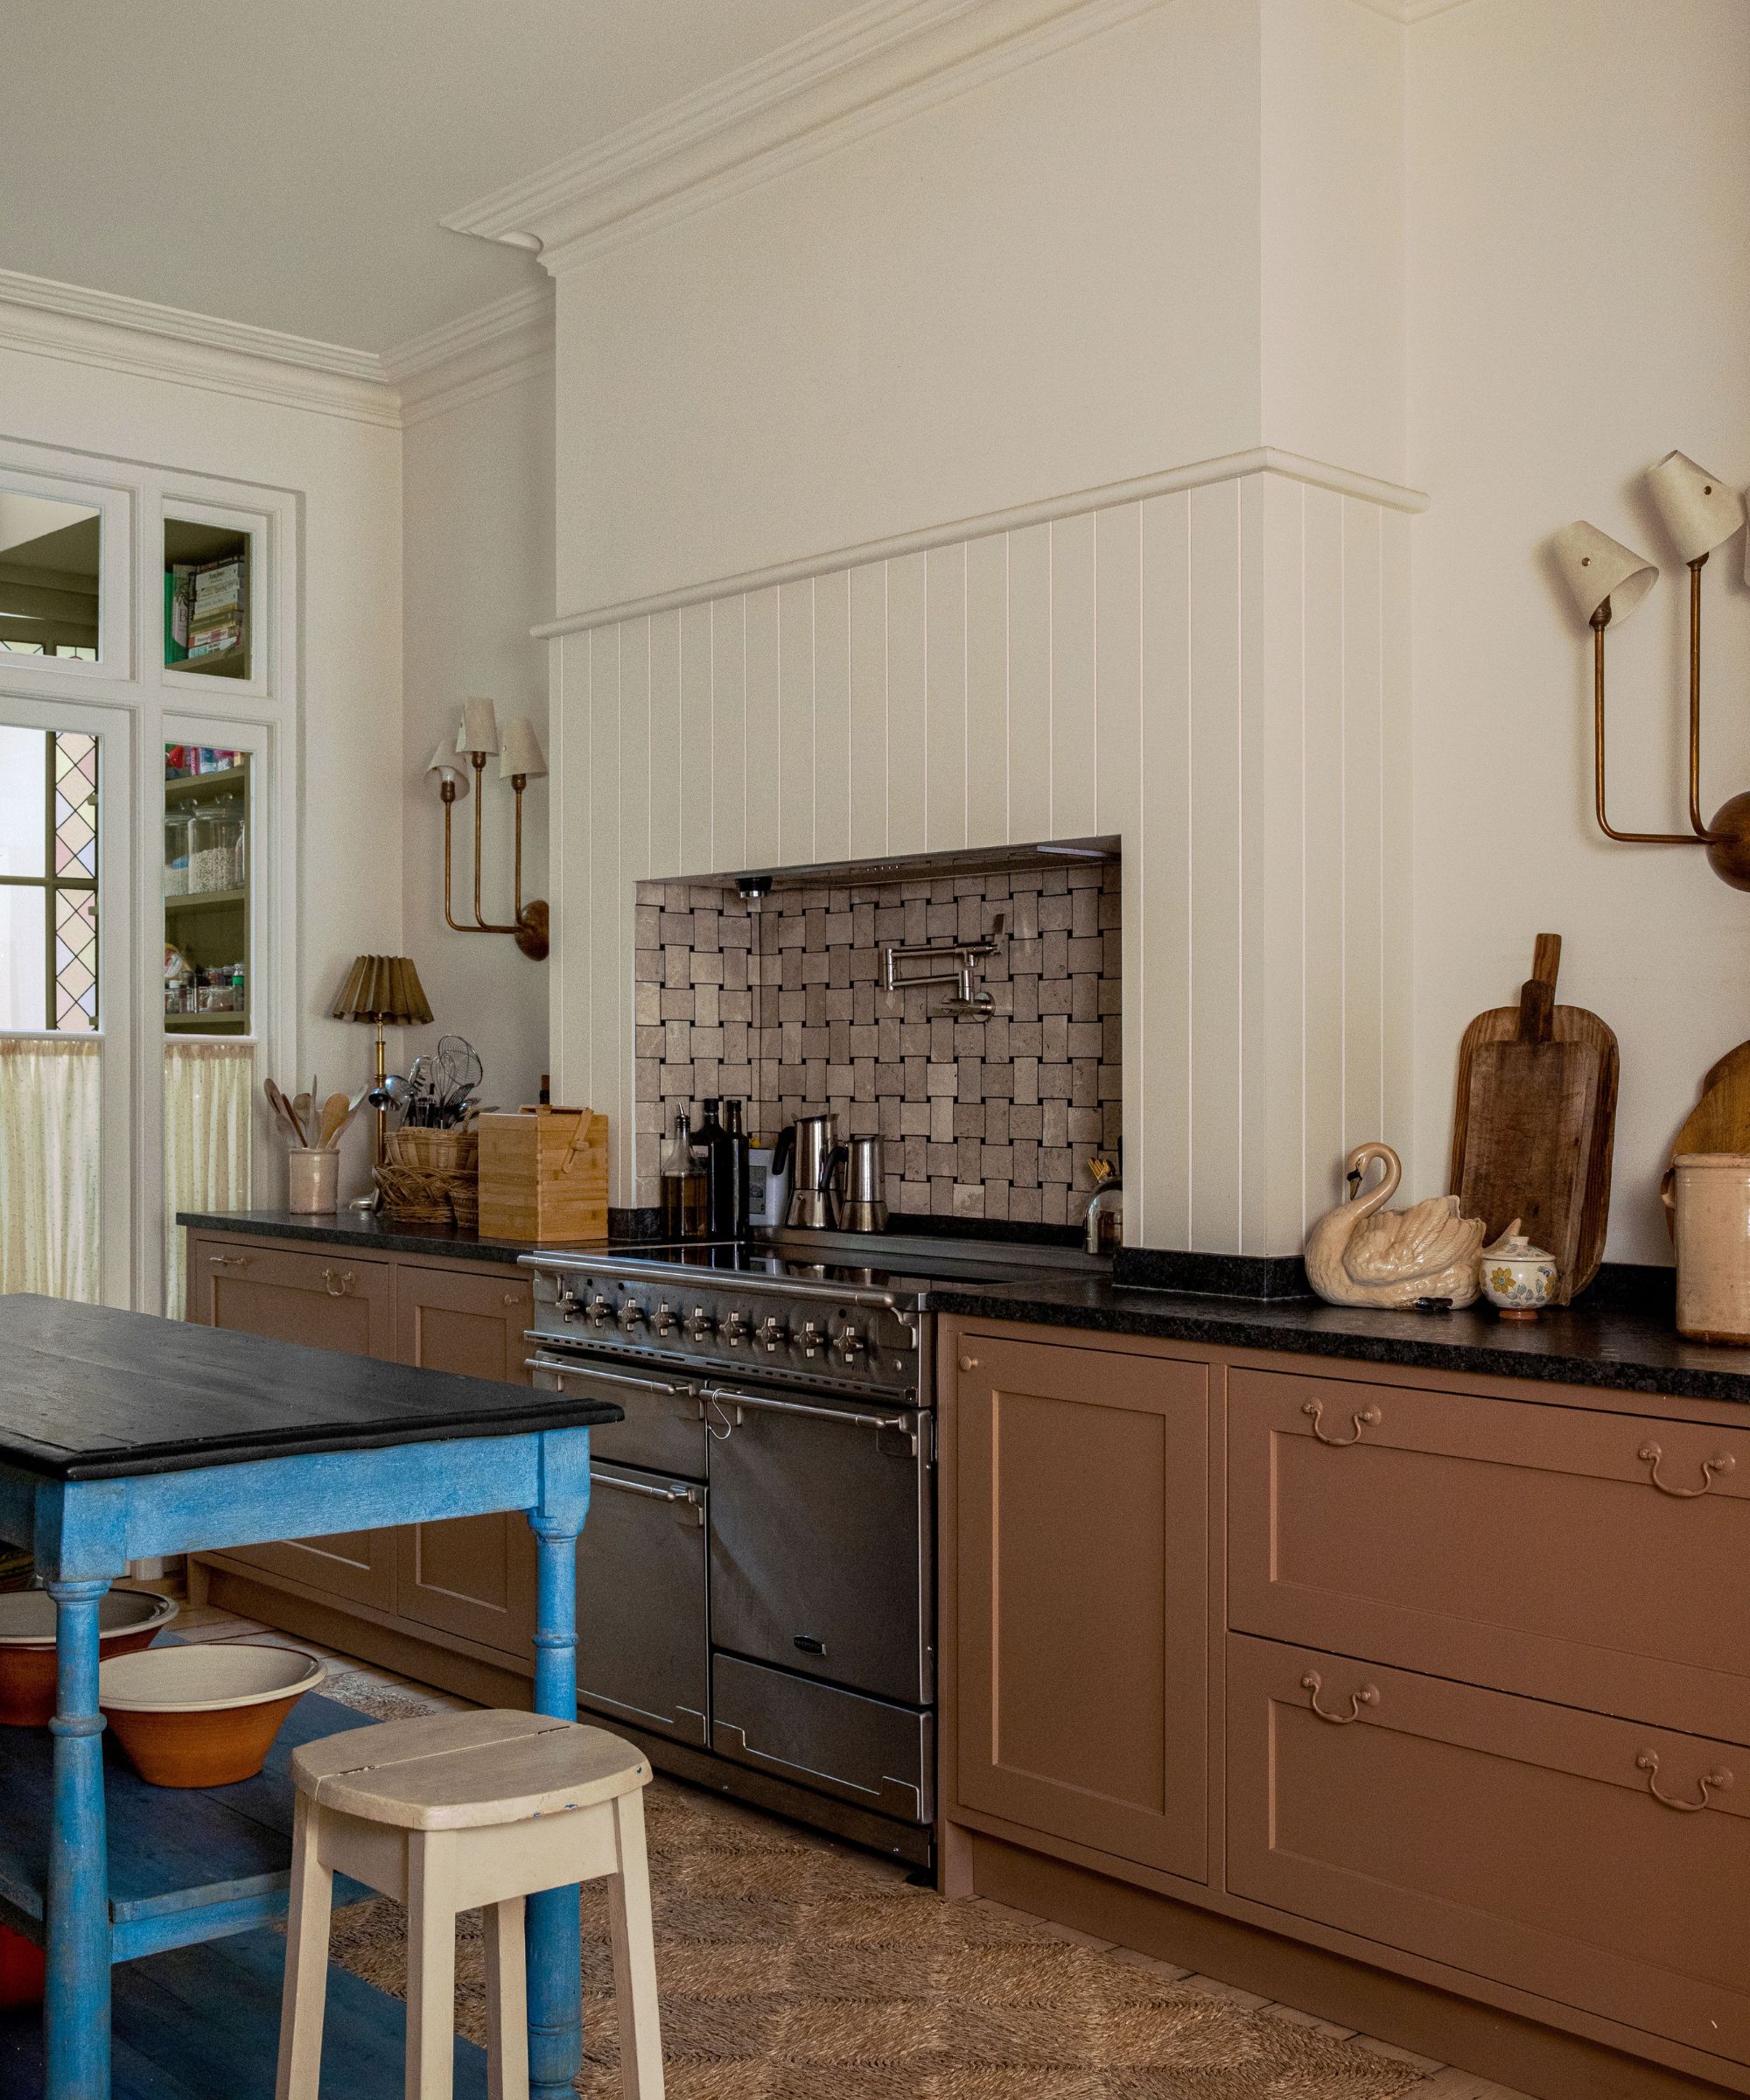
-
Balancing Stone Softness and Durability:
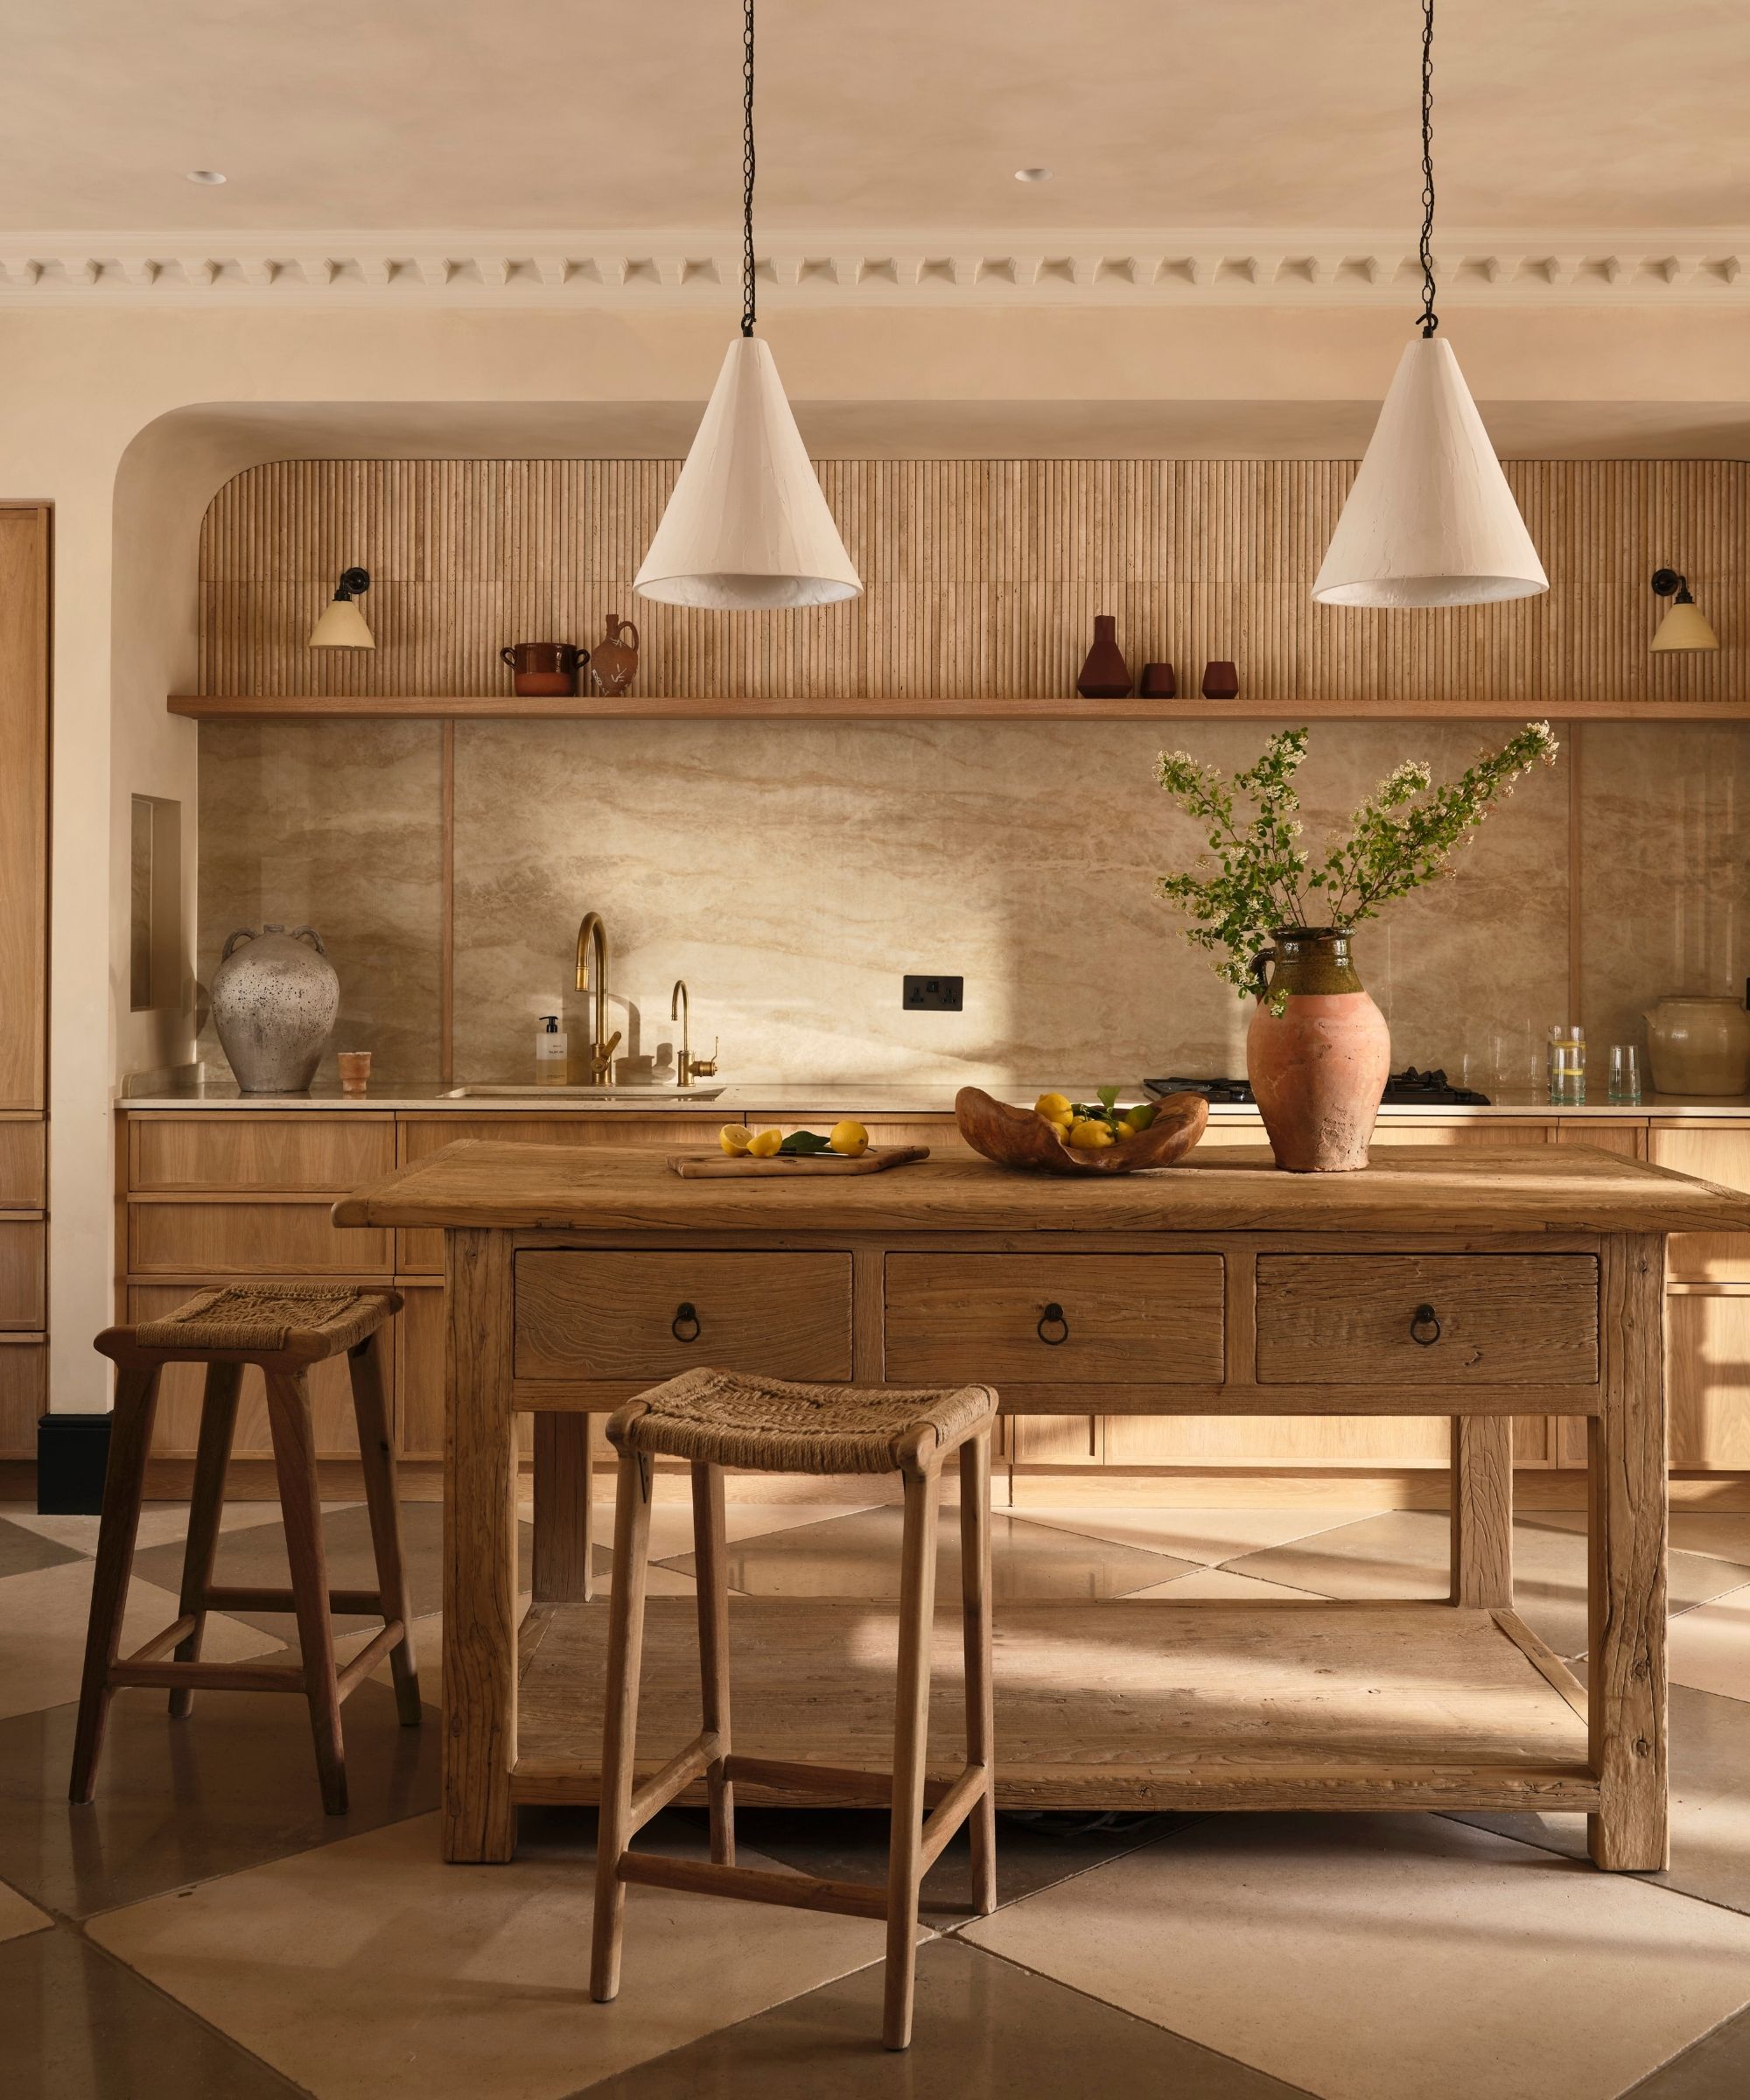
"Homeowners need to understand that some natural stones are more work than others. Marble and limestone are softer and require more care, but are totally worth it. Quartzite is a natural stone I love using as it’s very durable, beautiful, and requires minimal to no care."
— Harmony Weihs, Designer and Owner of Design Harmony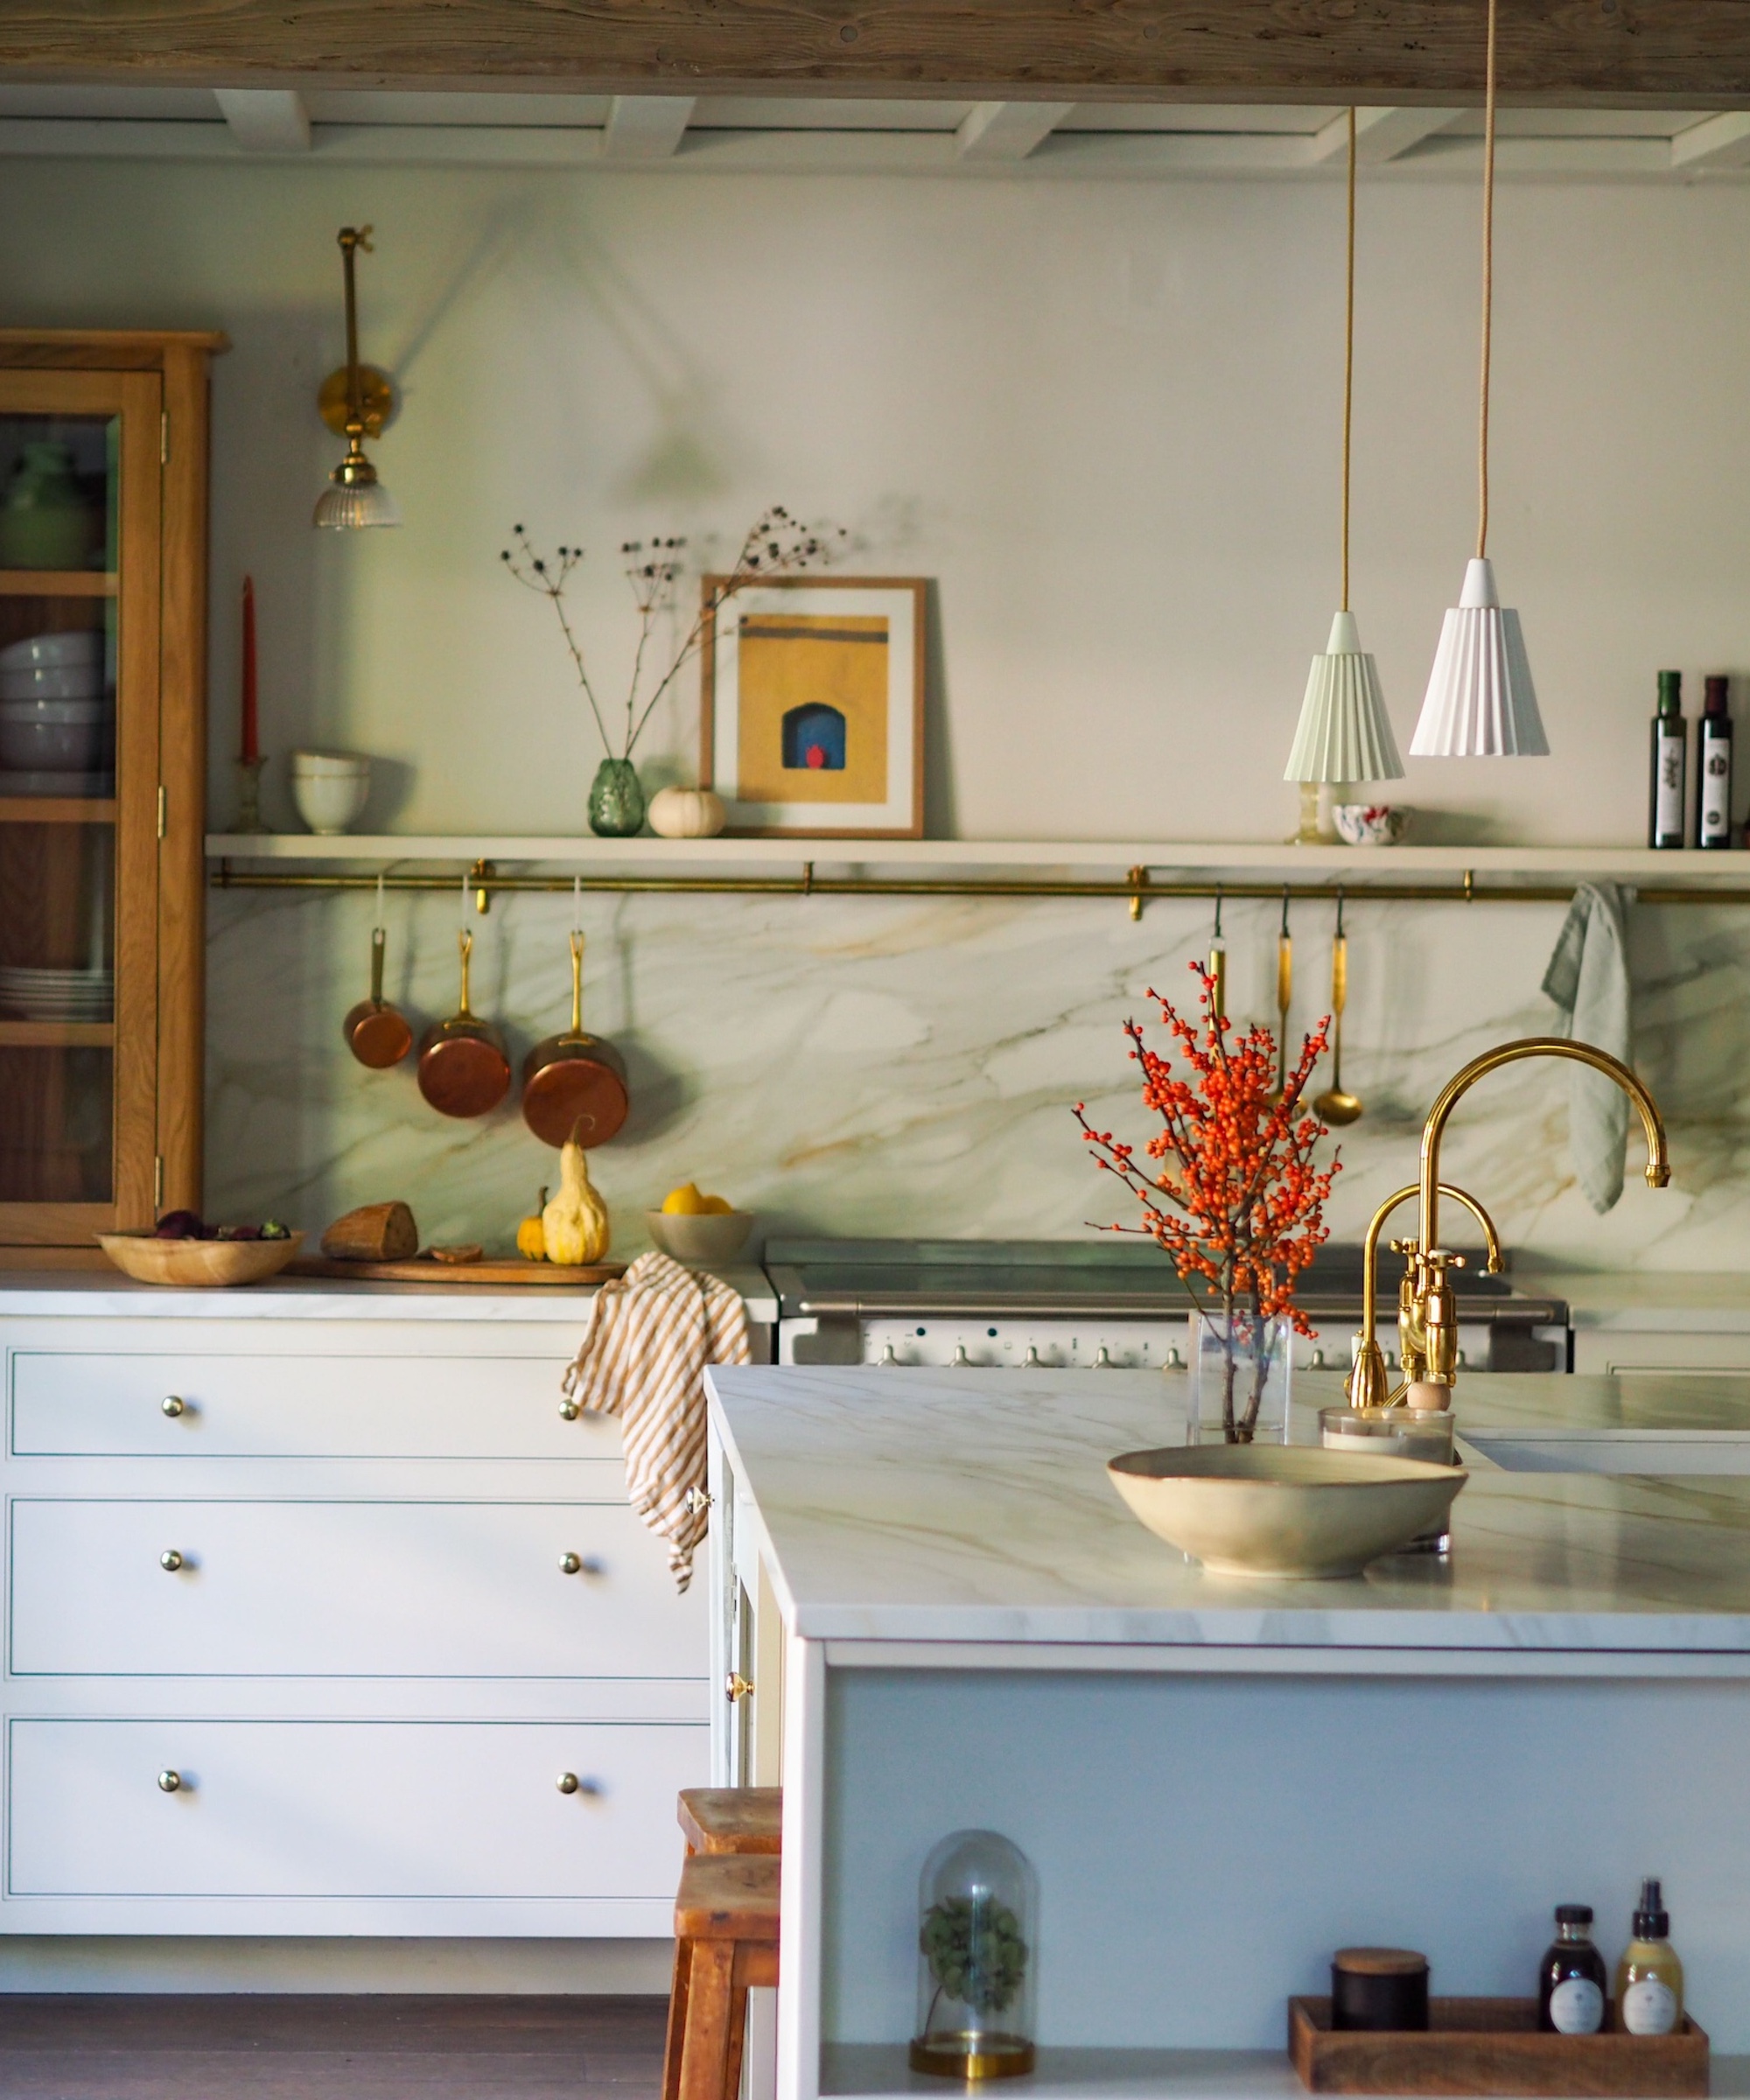
-
Precision Layouts to Avoid Scraps:
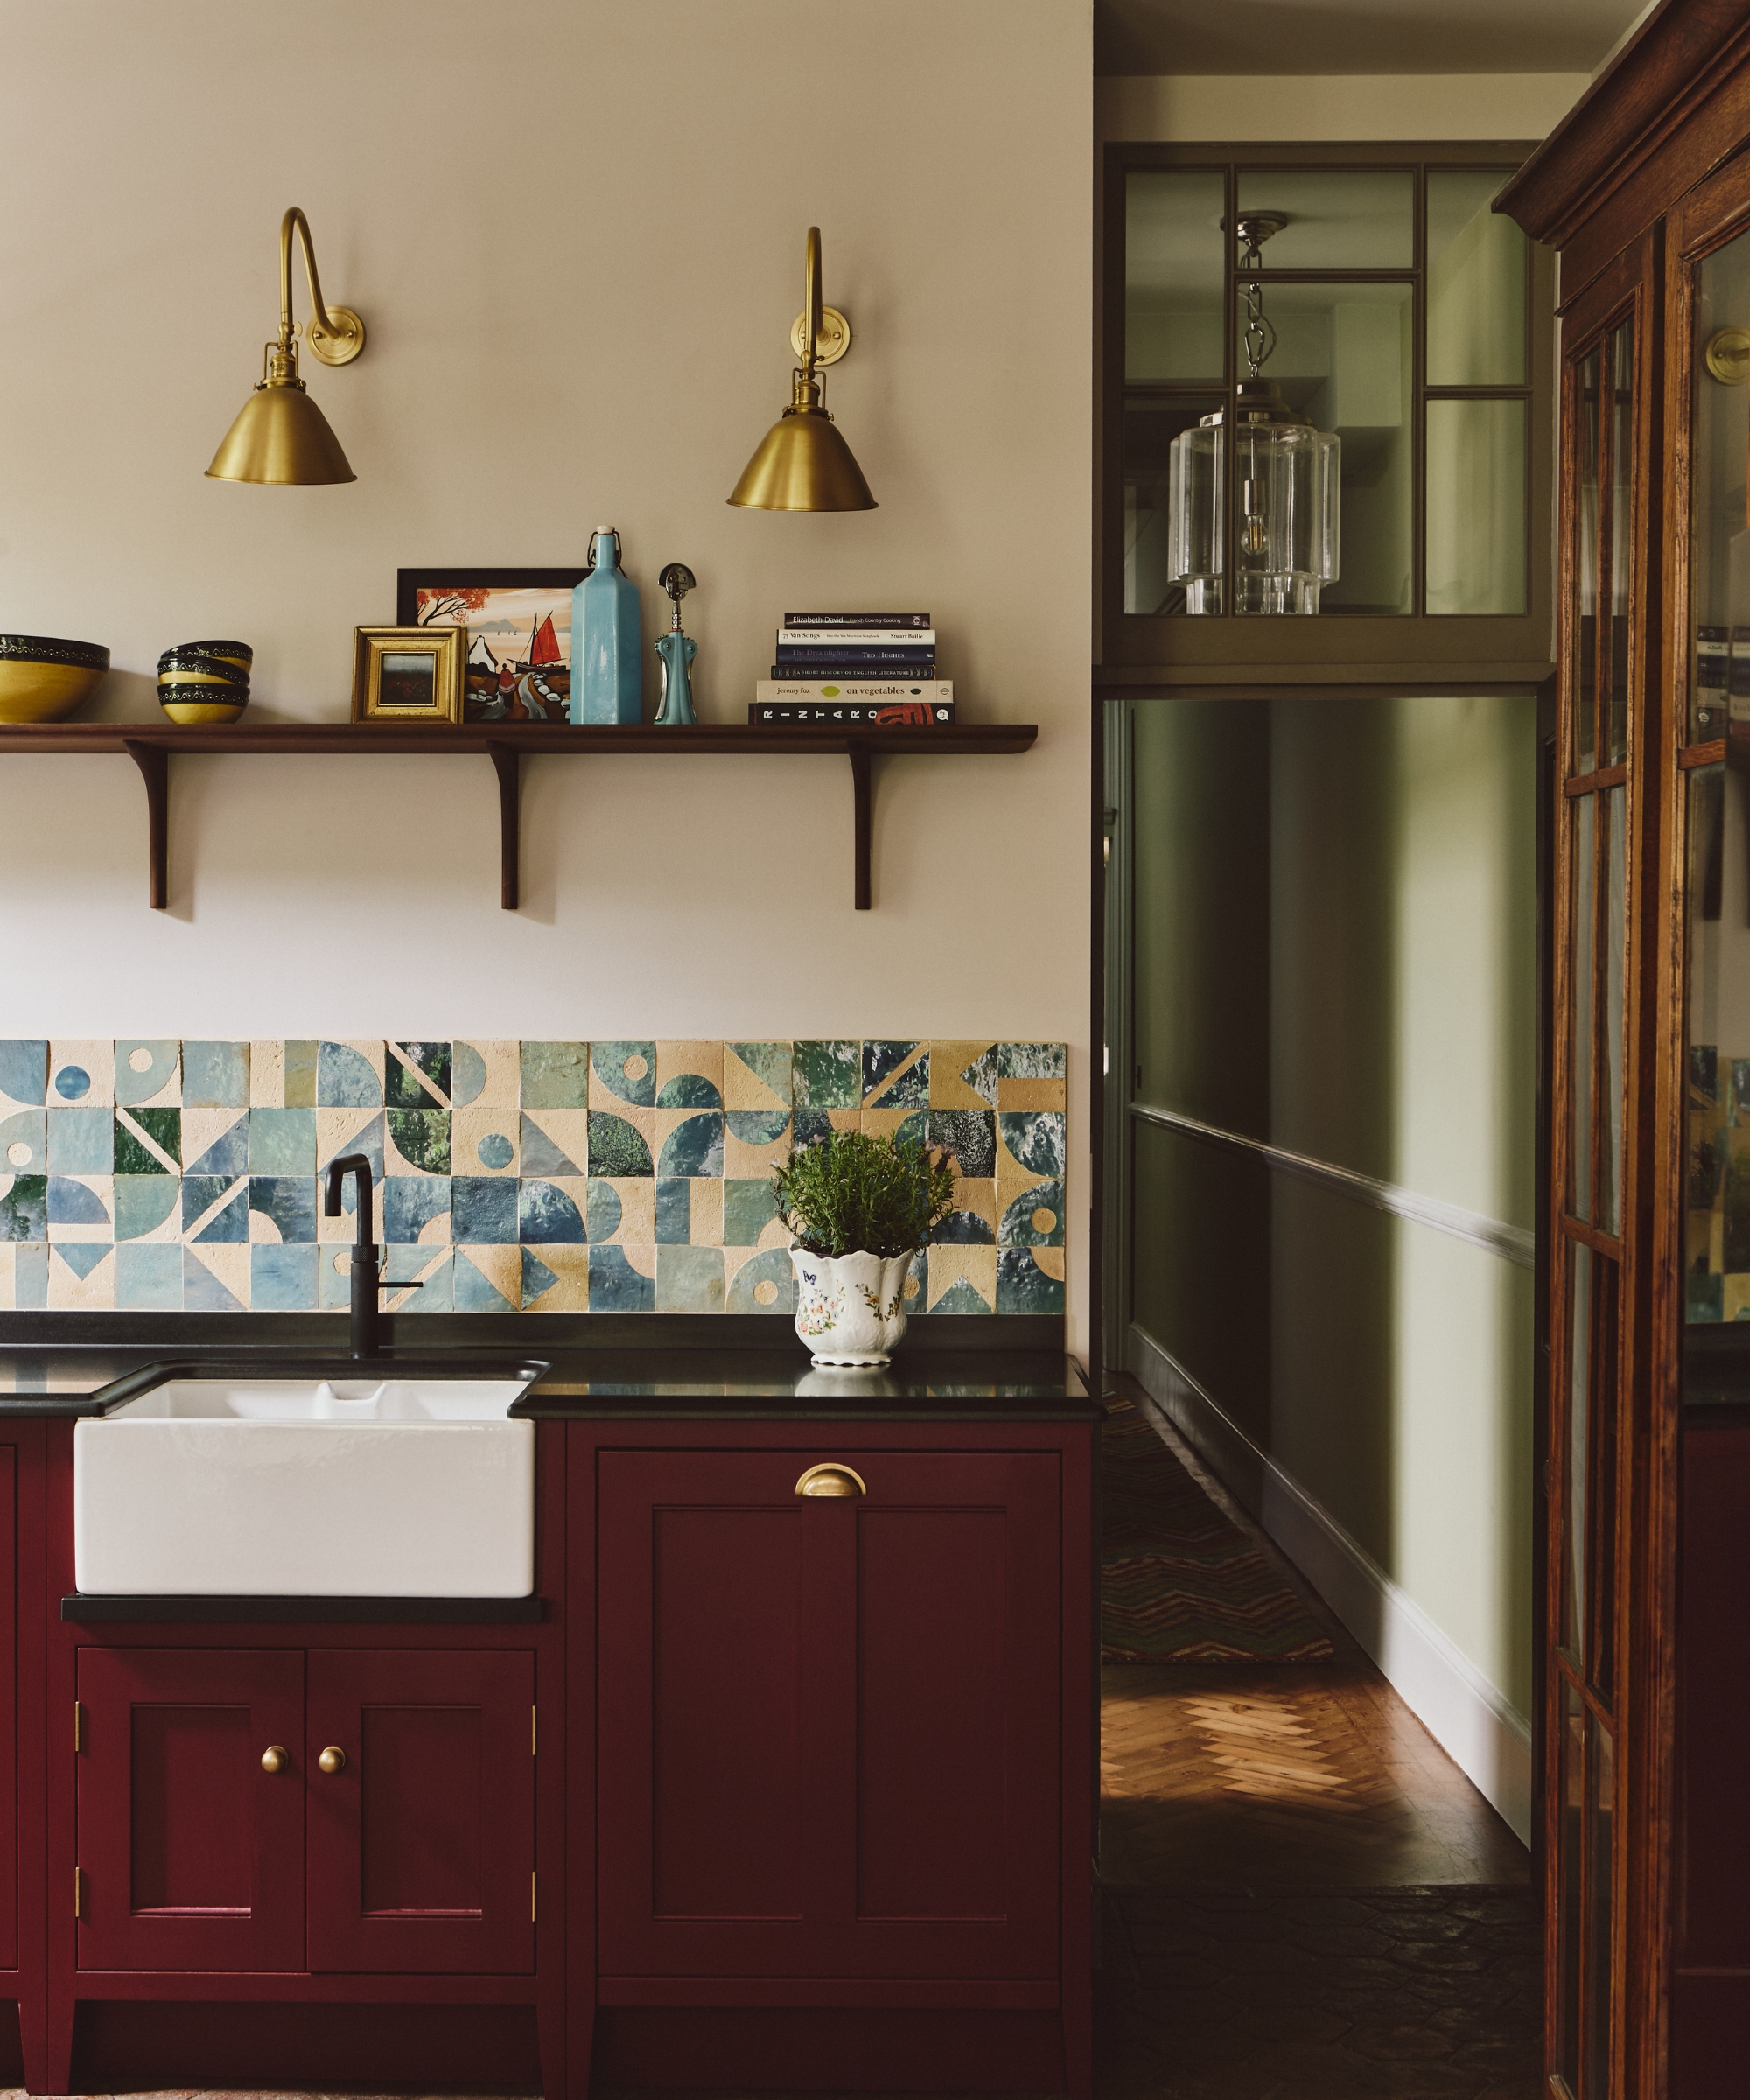
"My first priority is to lay out my tiles after determining the measurements of my cabinets. Laying out my tiles at the start helps me to avoid buying the wrong amount of material, and ensures that I do not end up with small, odd-shaped tile cuts that are less than an inch in size."
— Mike Belk, Founder of BELK Tile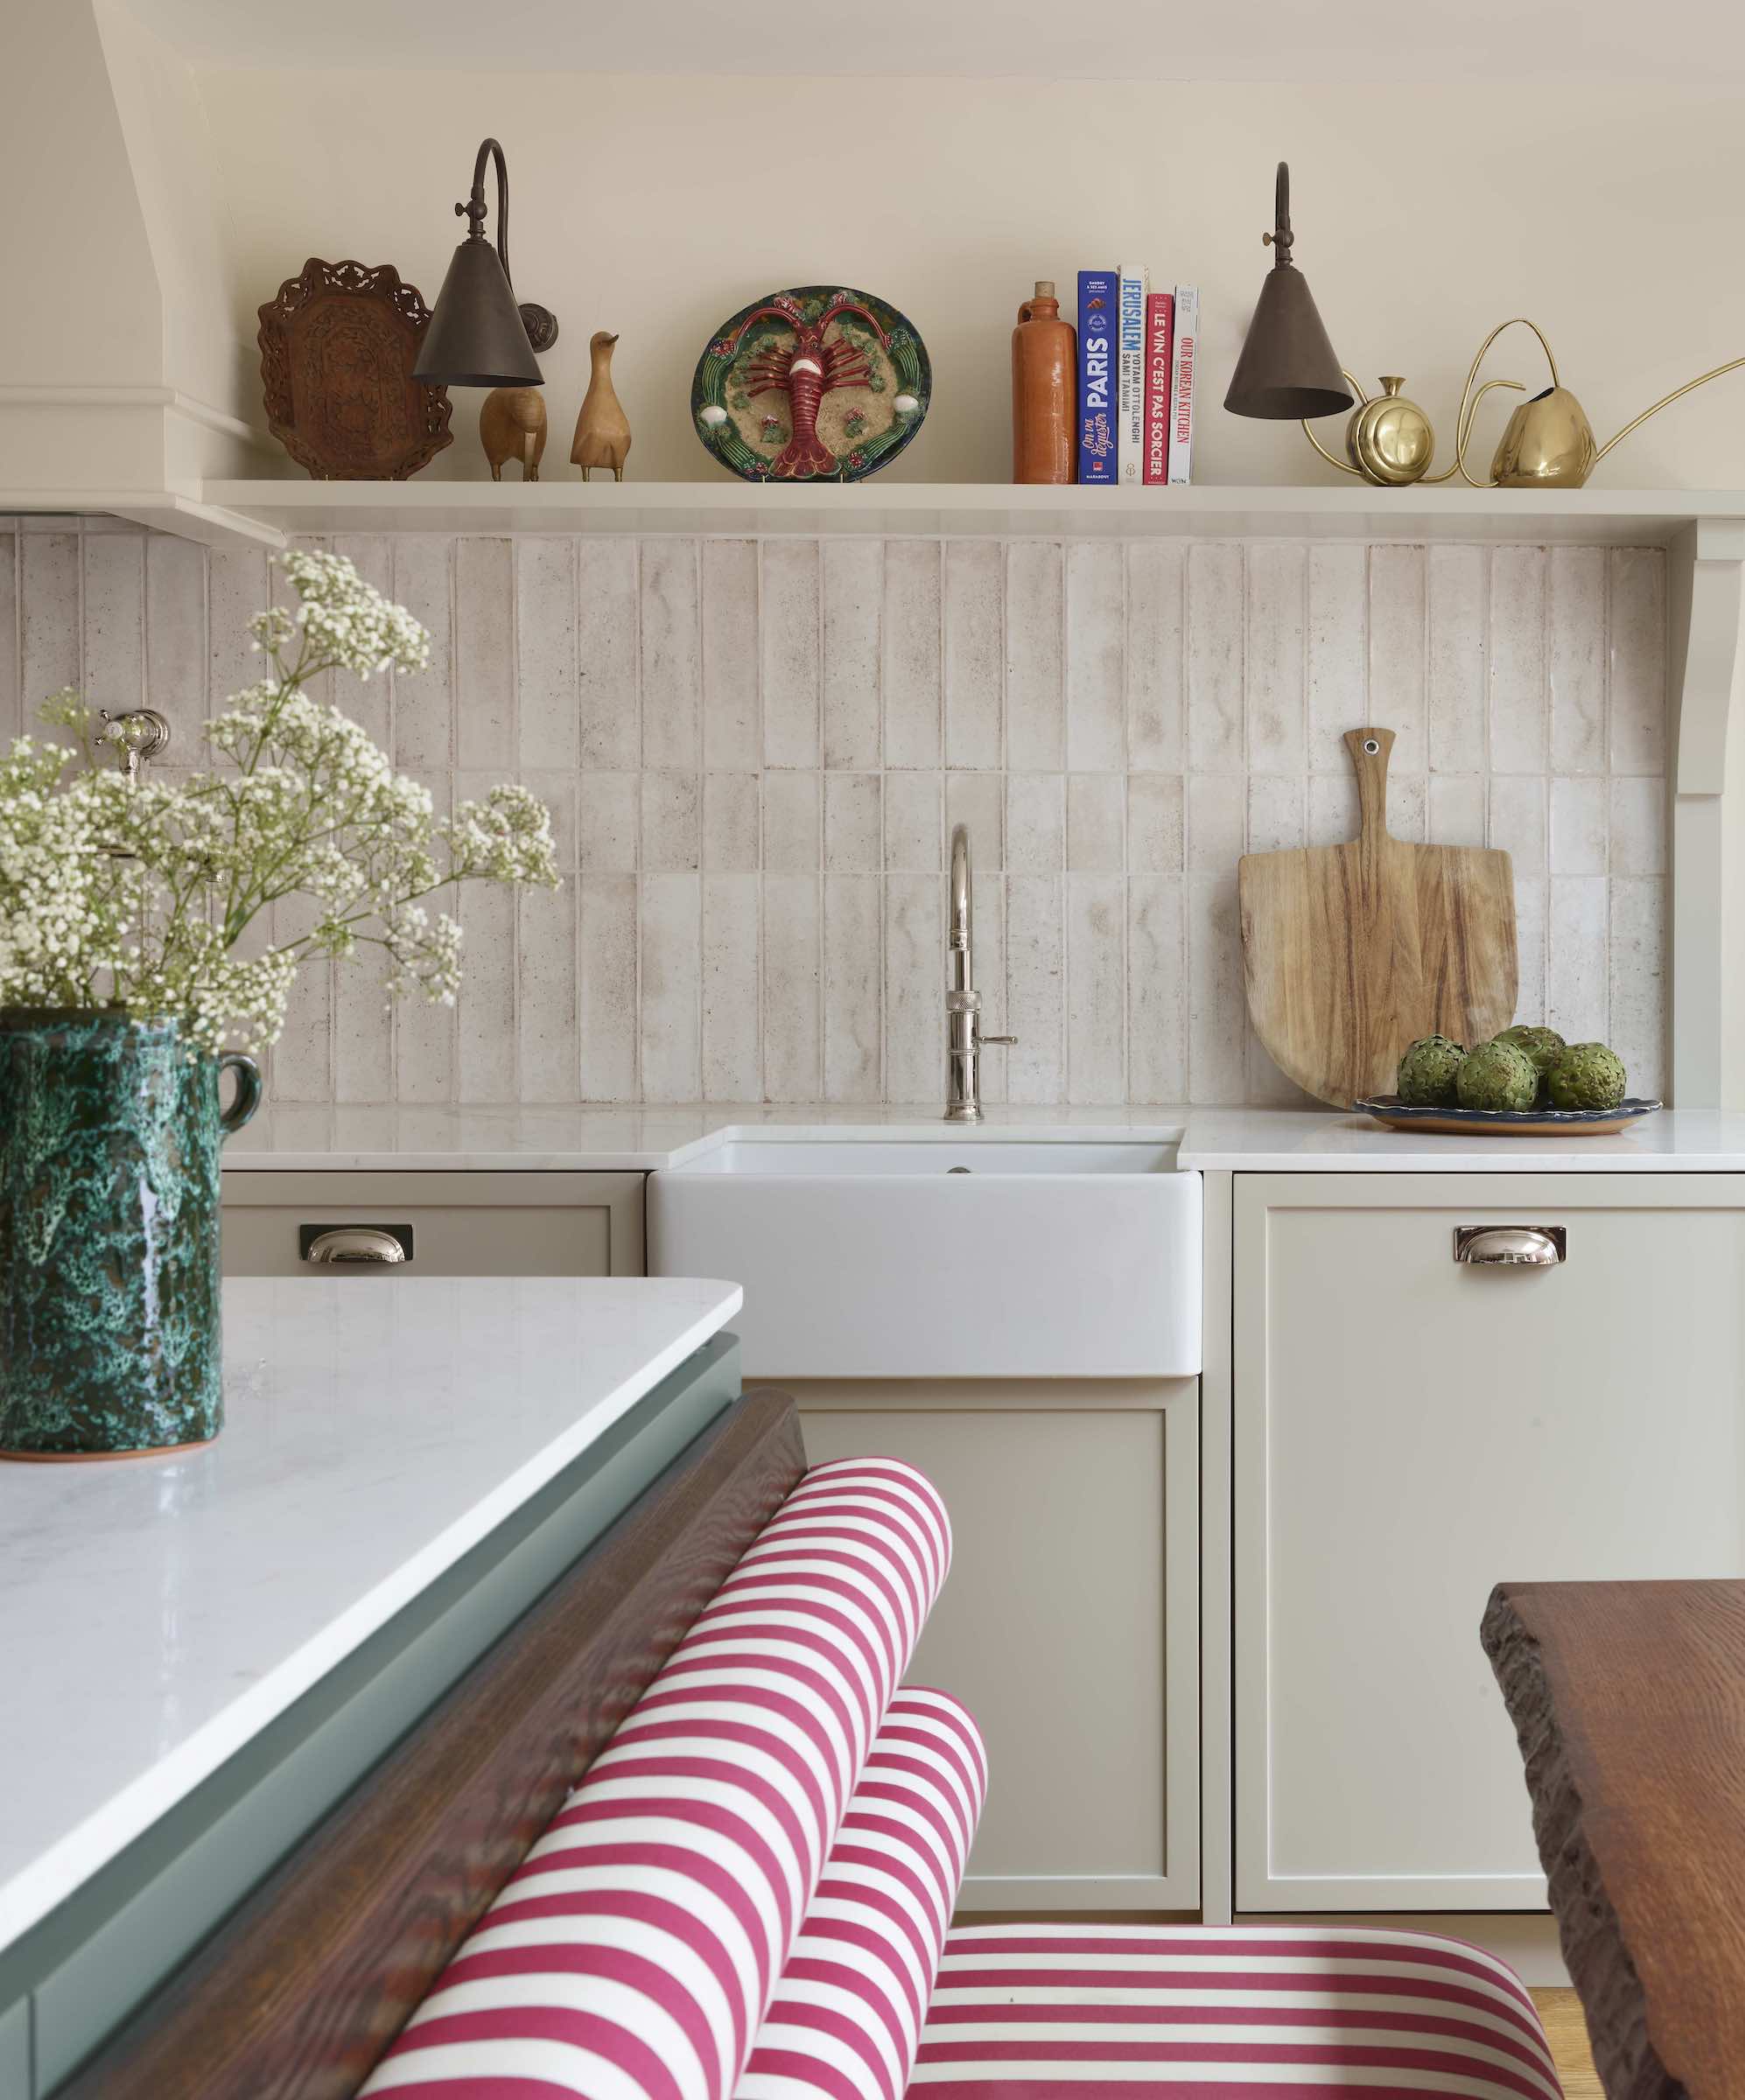
-
Coordinating Electrical Outlets Early:
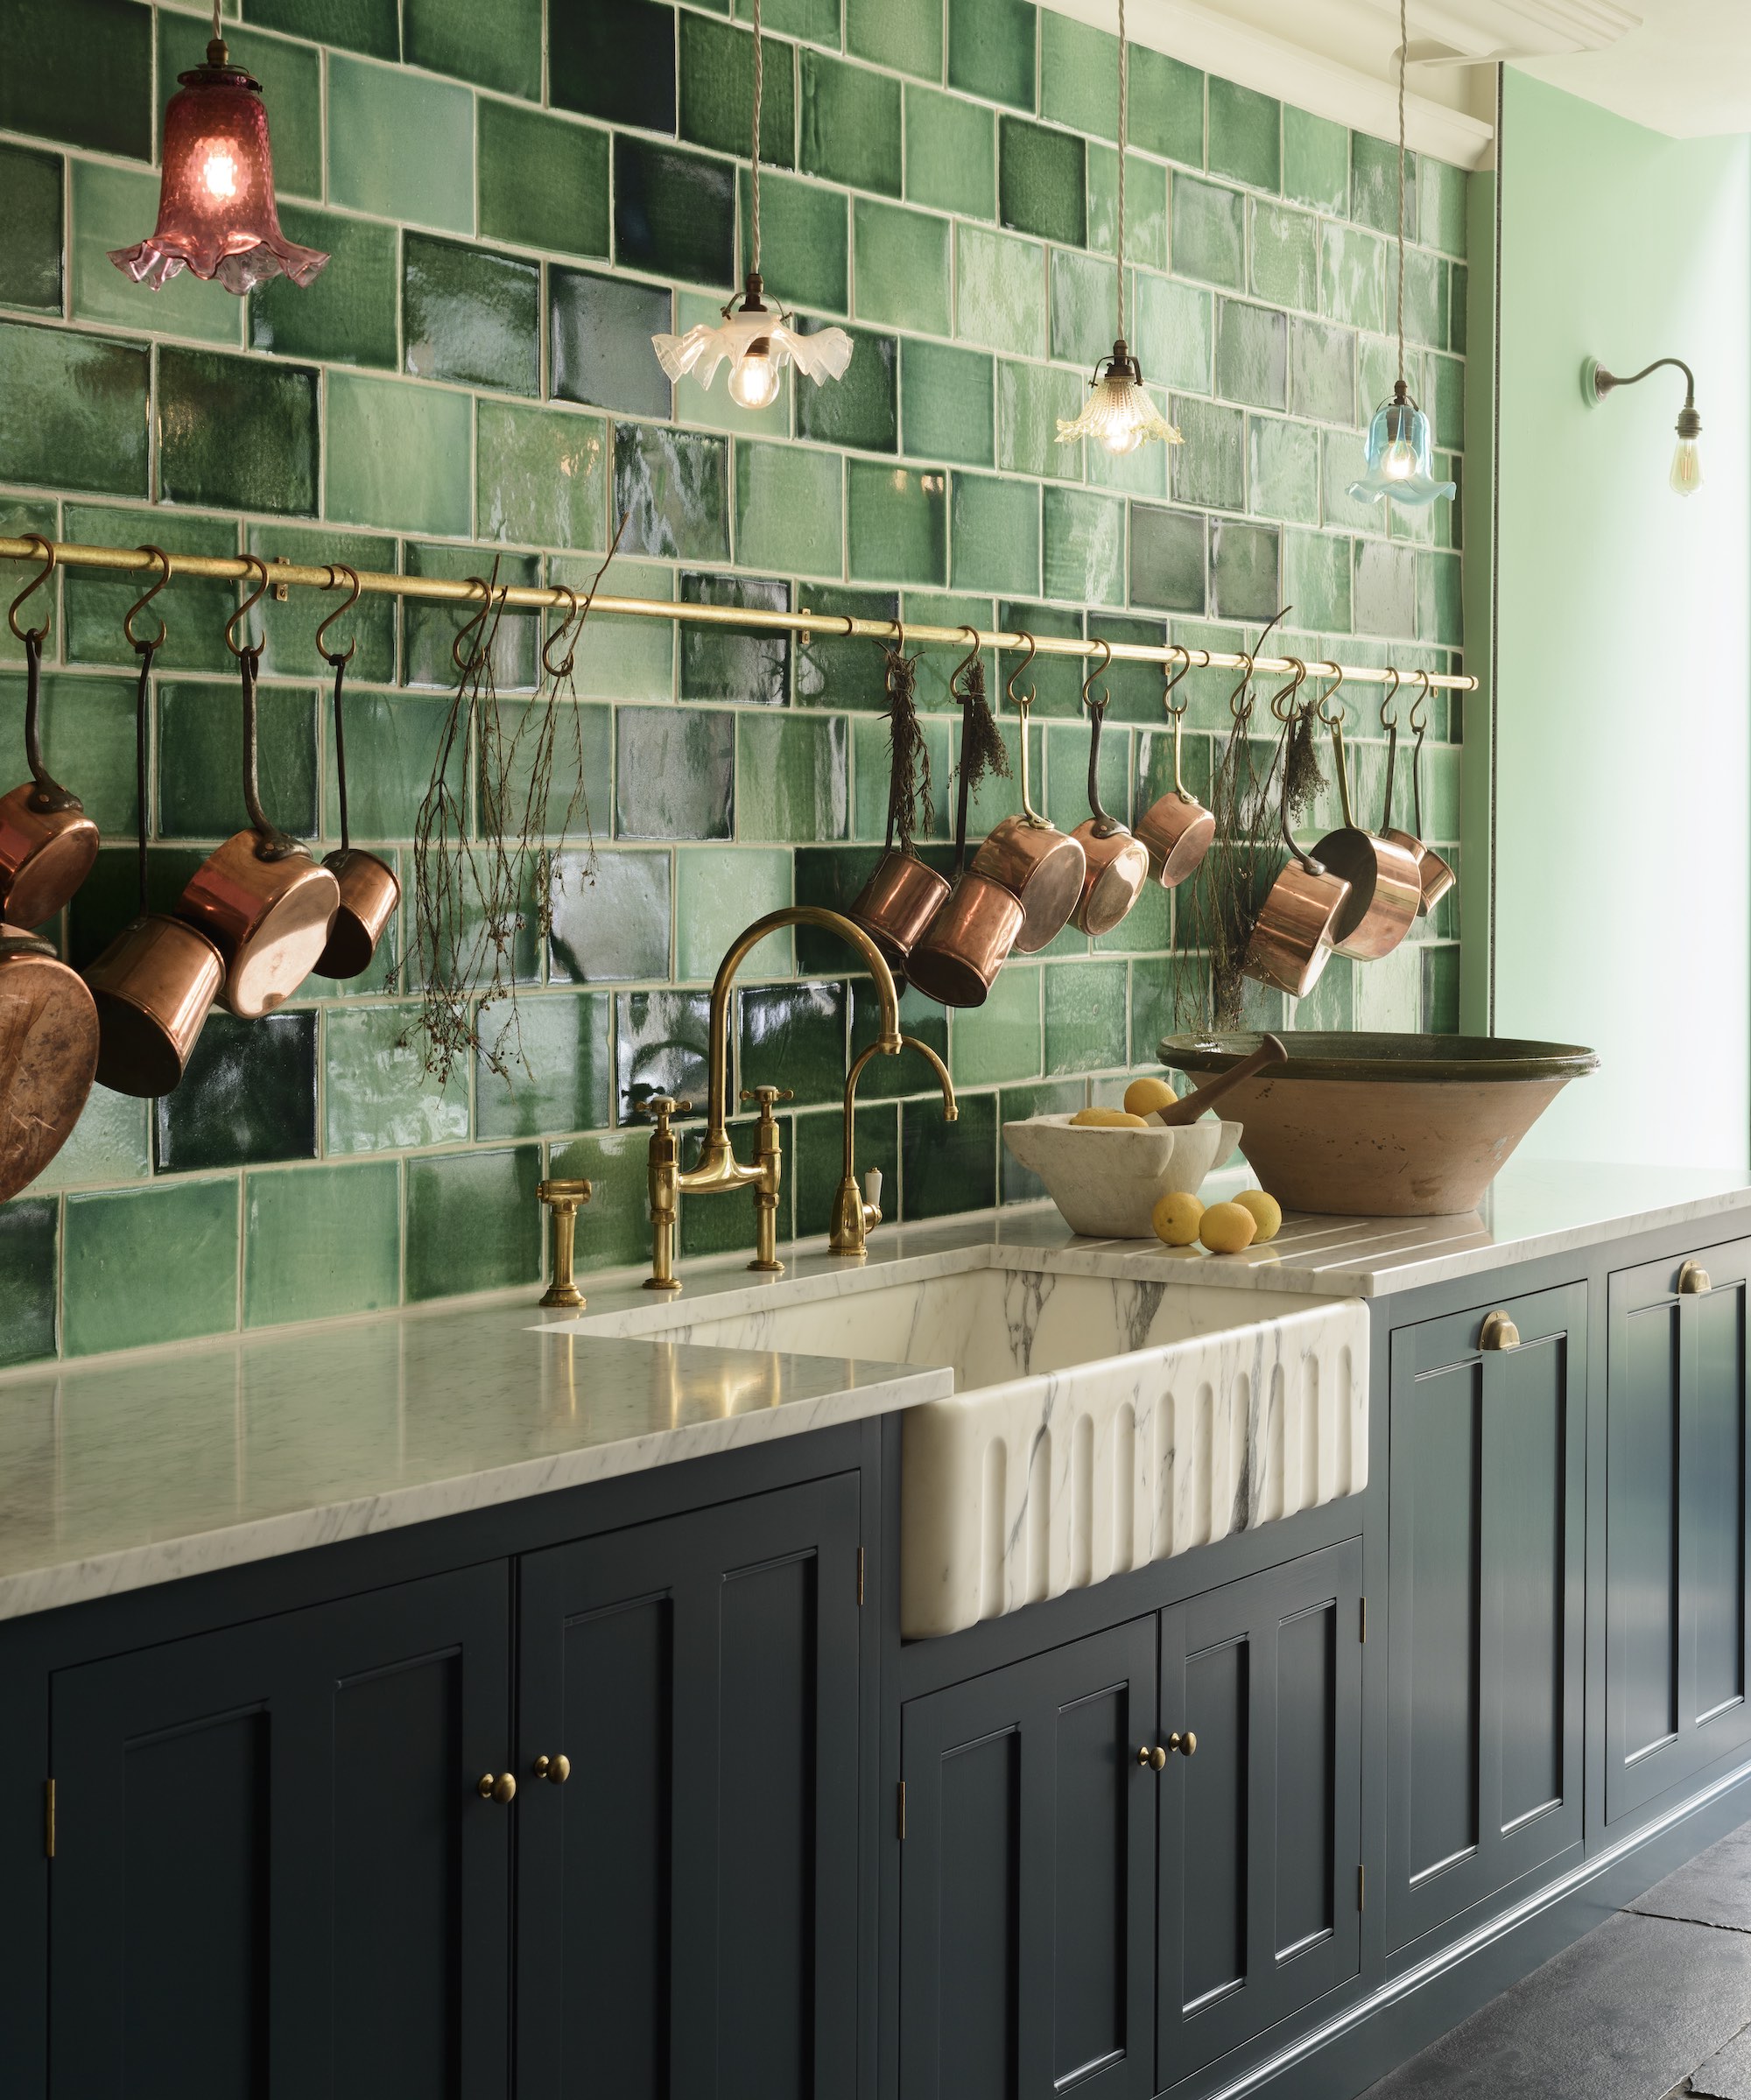
"Outlets and switches should be coordinated as early as possible, ideally while the backsplash is being designed rather than after the tile has been selected. An outlet placed in the middle of an otherwise beautiful tile pattern can completely disrupt the design."
— Seth Ballard, Founder & Principal Architect, Ballard & Mensua Architecture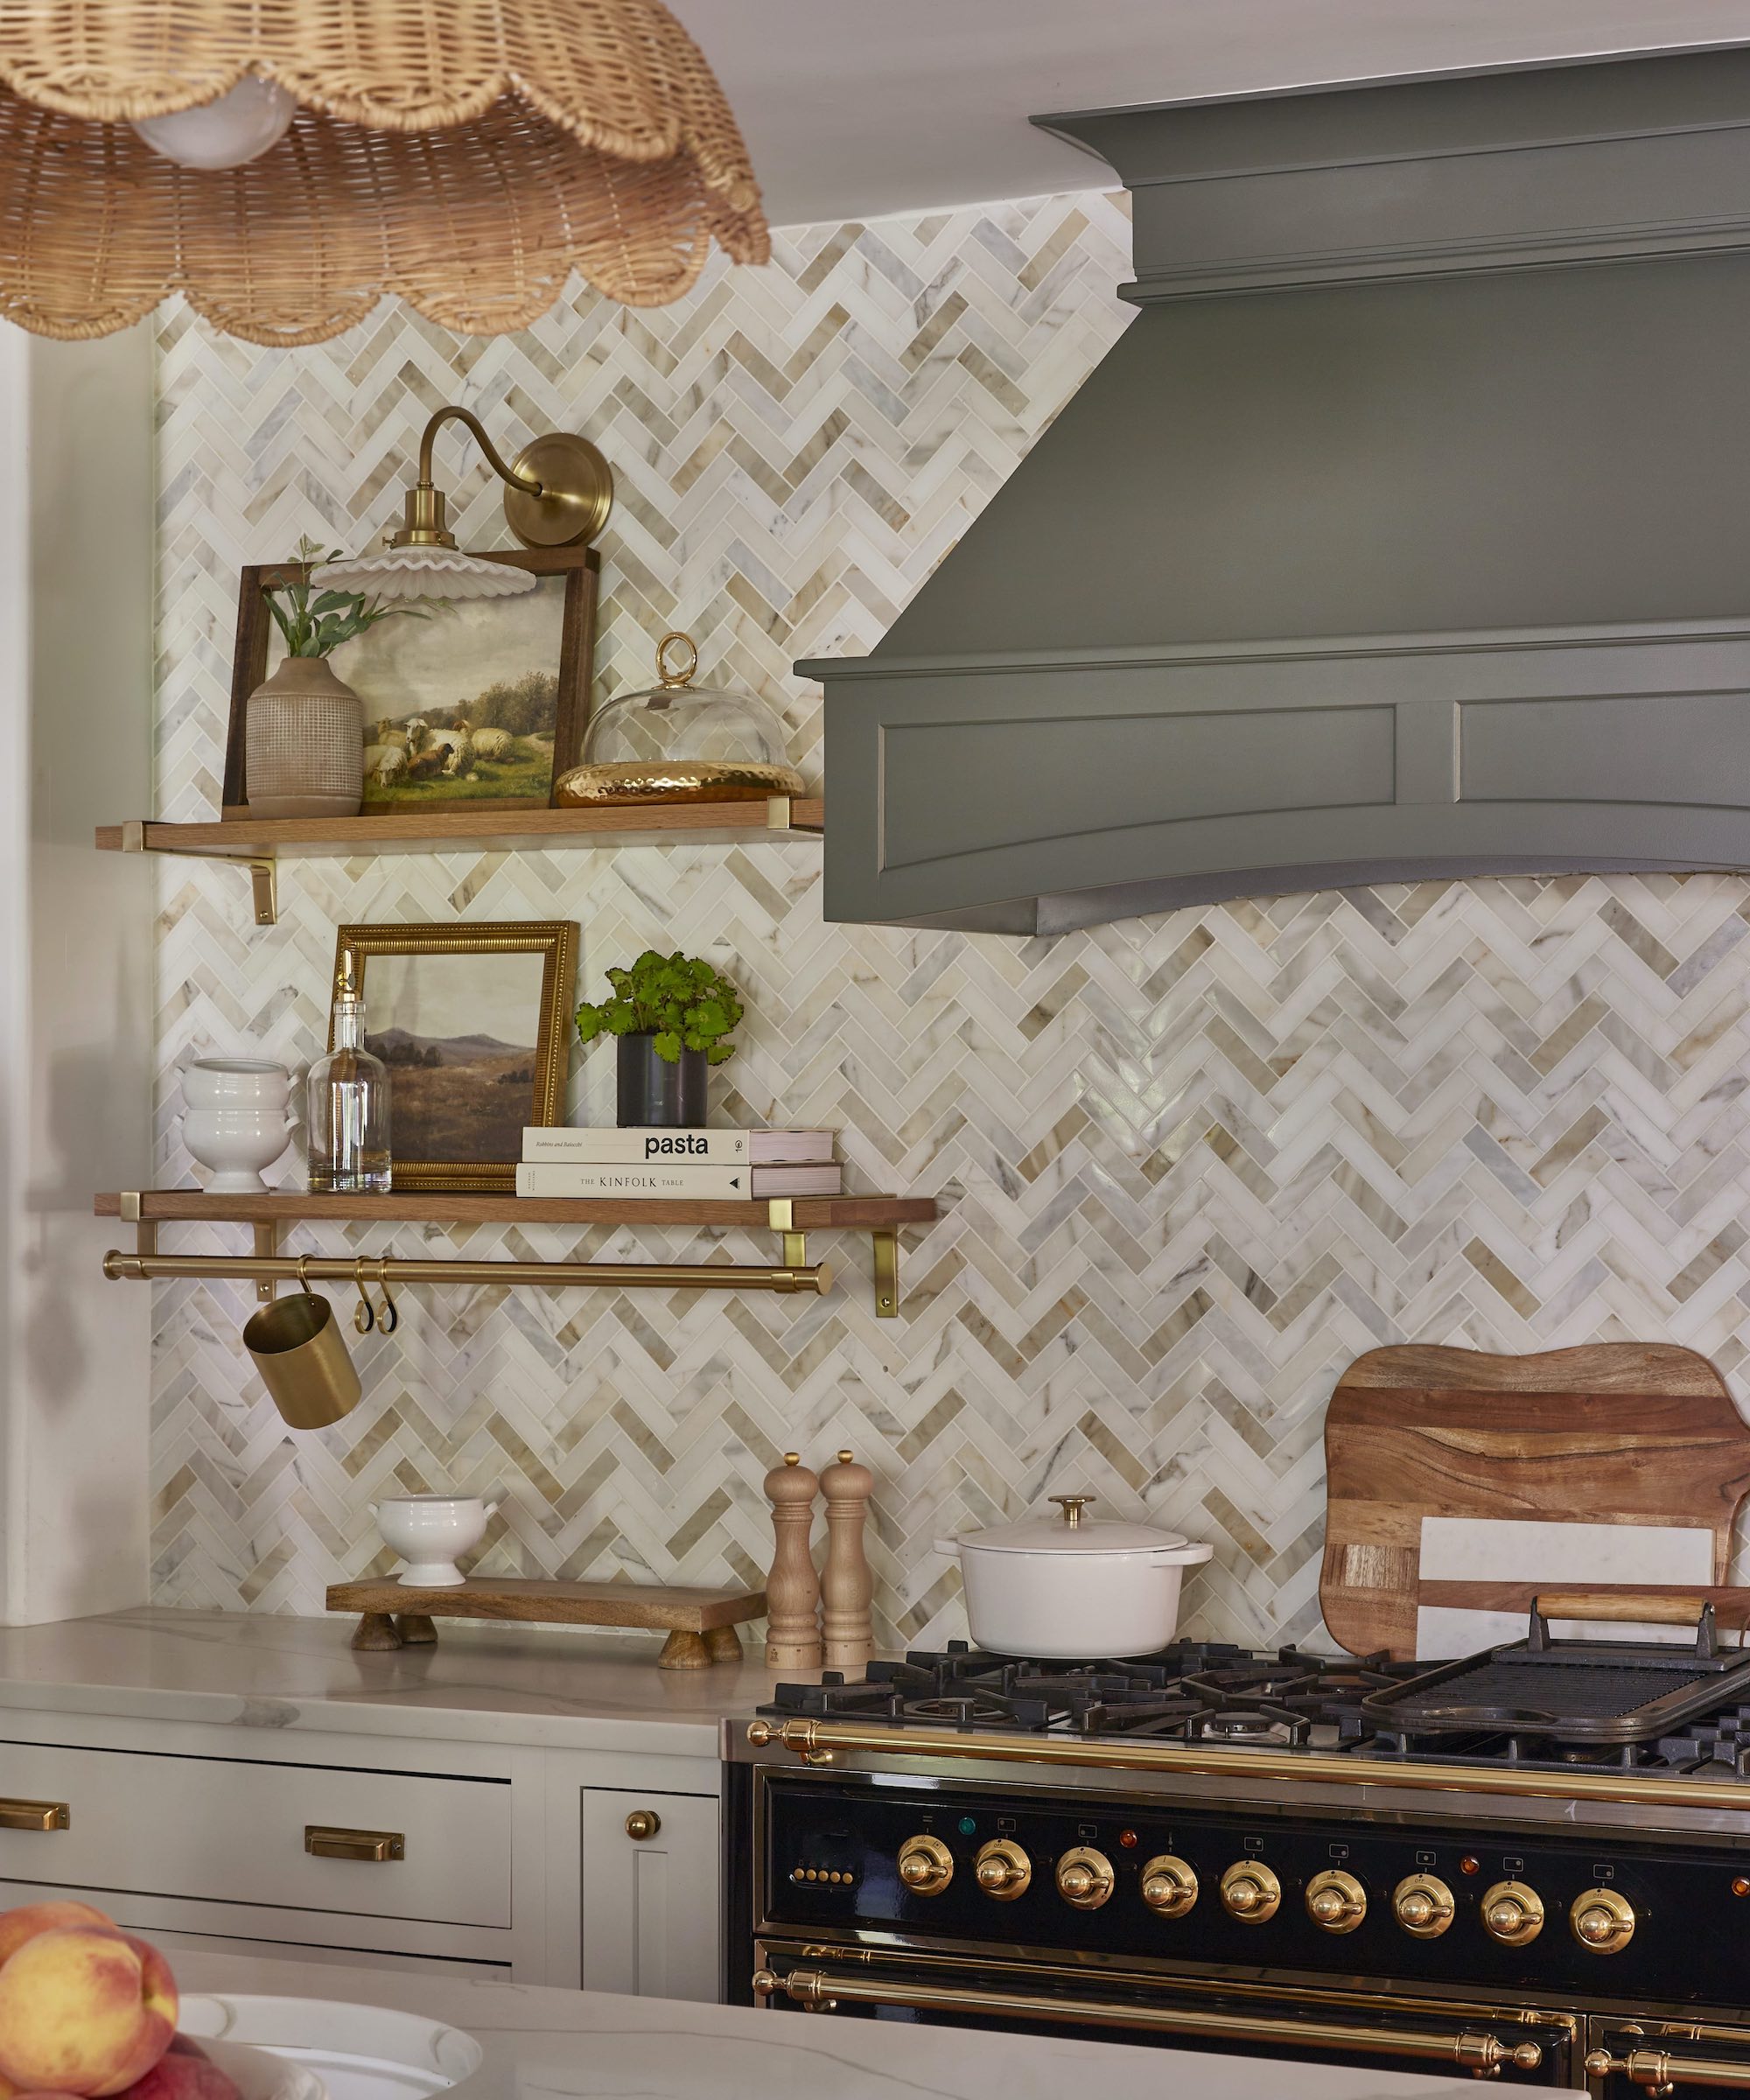
Implications: Cost, Installation Realities, and Long-Term Maintenance
Financial Considerations Beyond Square Footage
A common misconception among homeowners is that material costs dictate the overall budget. In reality, installation labor, wall leveling, waterproofing, edge profiling, and complex cut-outs represent substantial line items. Complex layouts like herringbone patterns, intricate mosaics, or book-matched stone slabs require specialized fabrication and longer installation timelines, directly inflating project costs.
The Critical Role of Wall Preparation
The finished backsplash is only as reliable as the substrate beneath it. Plaster or drywall must be structurally sound, moisture-resistant, and entirely flat. Large-format porcelain panels and stone slabs are profoundly unforgiving of uneven walls. Furthermore, electrical fixtures, plumbing lines for pot fillers, and structural blocking for open shelving must be mapped out before installation begins.
Future-Proofing and Repairs
Homeowners selecting tile are strongly advised to purchase 10% to 15% extra stock and store a few spare tiles safely. Ceramic glazes, dye lots, and natural stone variations change across production batches. Having replacement pieces on hand ensures that minor future repairs do not necessitate a complete kitchen overhaul.
